LivePlan's New Plan Experience has introduced many exciting new features, including Market Research, Plan Review, Reference Files, enhanced AI writing tools, improved export options, and many more!
Plans created in the Classic Plan Experience will continue to work normally, but these newer features won’t appear until the plan has been converted. This guide will show you how to migrate into the New Plan Experience.
This article will contain support resources for our Legacy AKA Classic Plan Experience.
1.
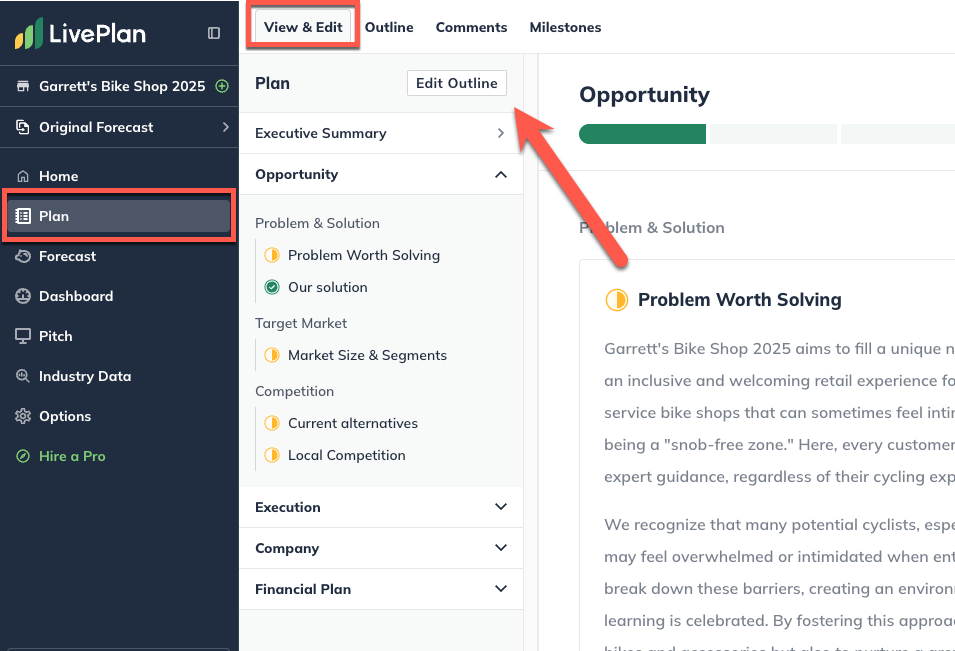
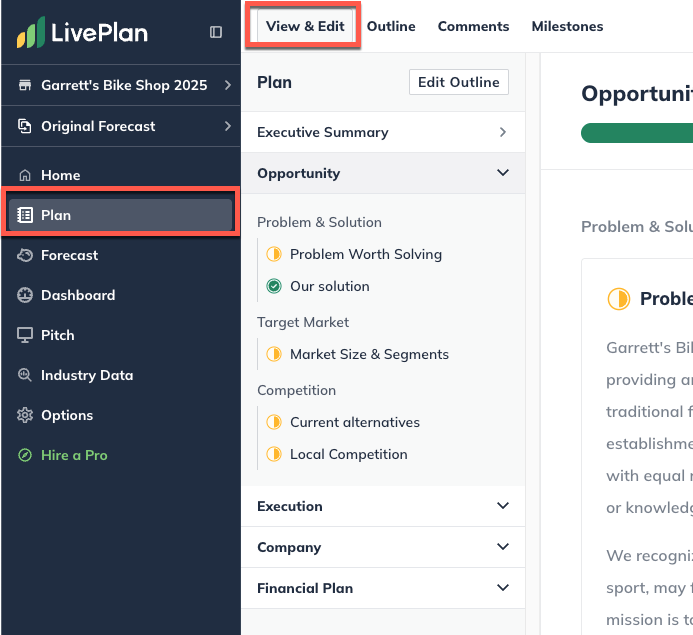
To begin writing a text section, click on the Plan tab. This will place you on the View & Edit page.
2.
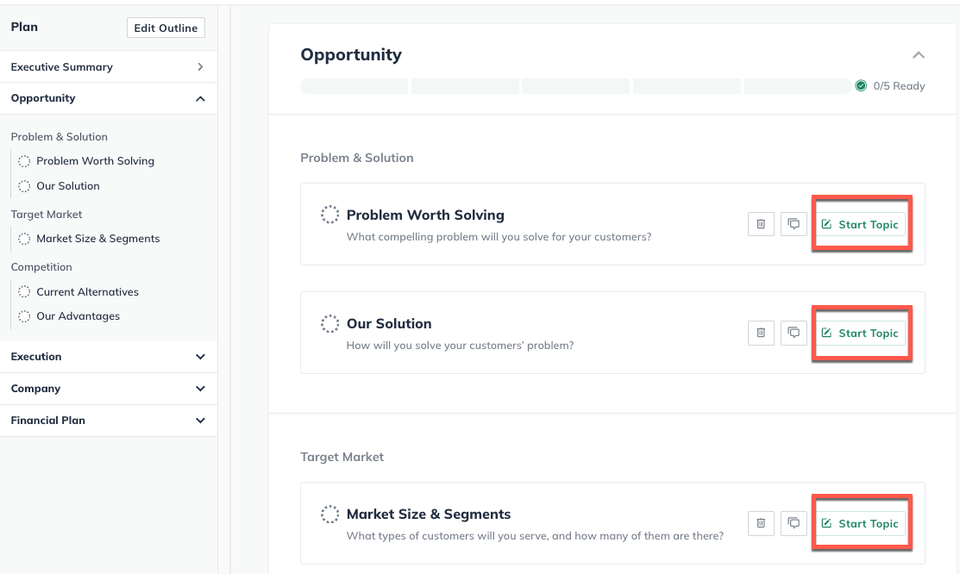
The main area of the page then displays the topics within that section. Click Start Topic to begin working on a topic:
3.
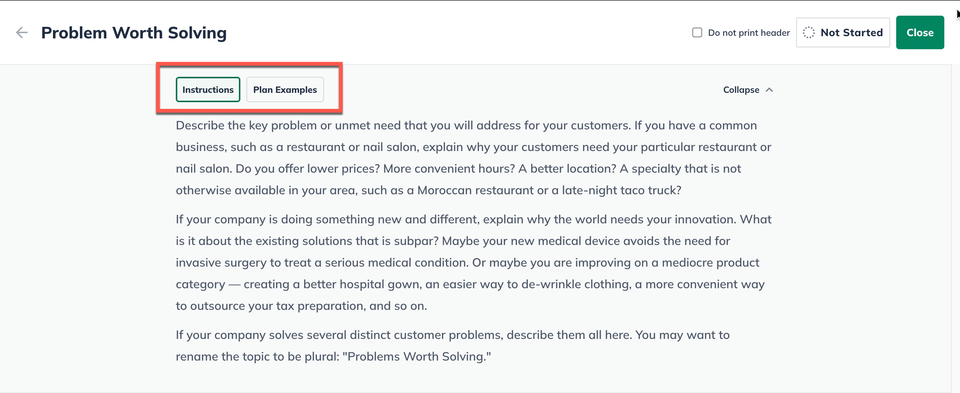
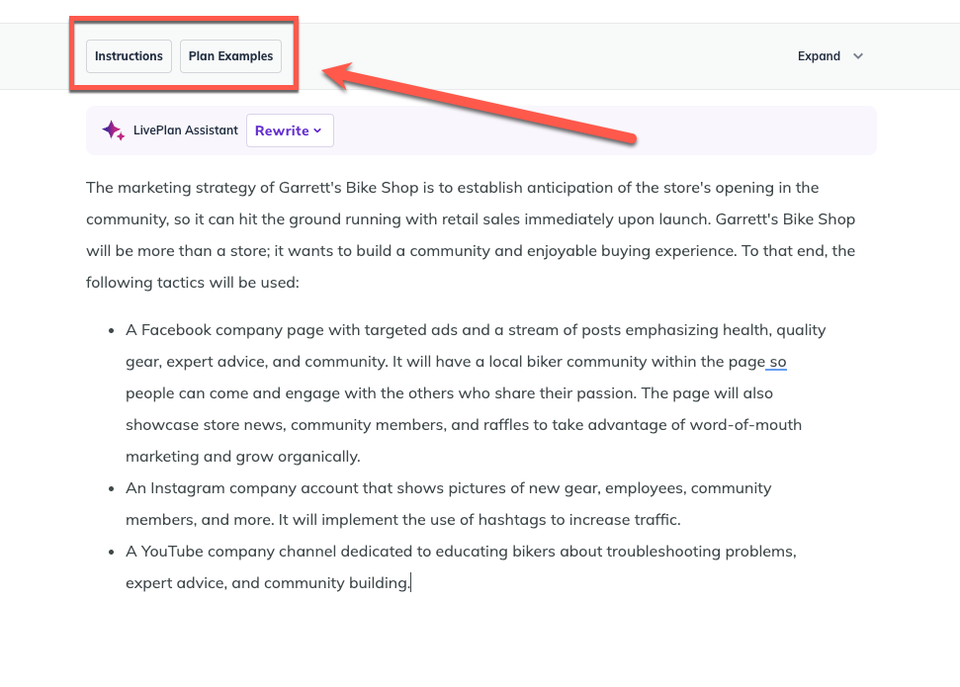
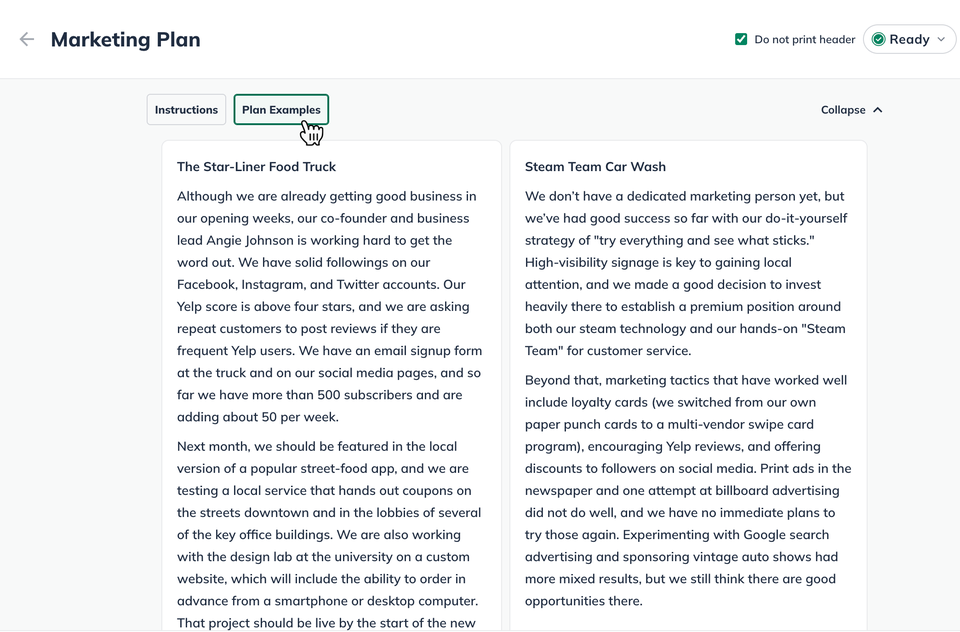
In the text editor, for each topic, you'll see a toolbar that contains two sections: the general instructions for writing the section and two examples.
4.
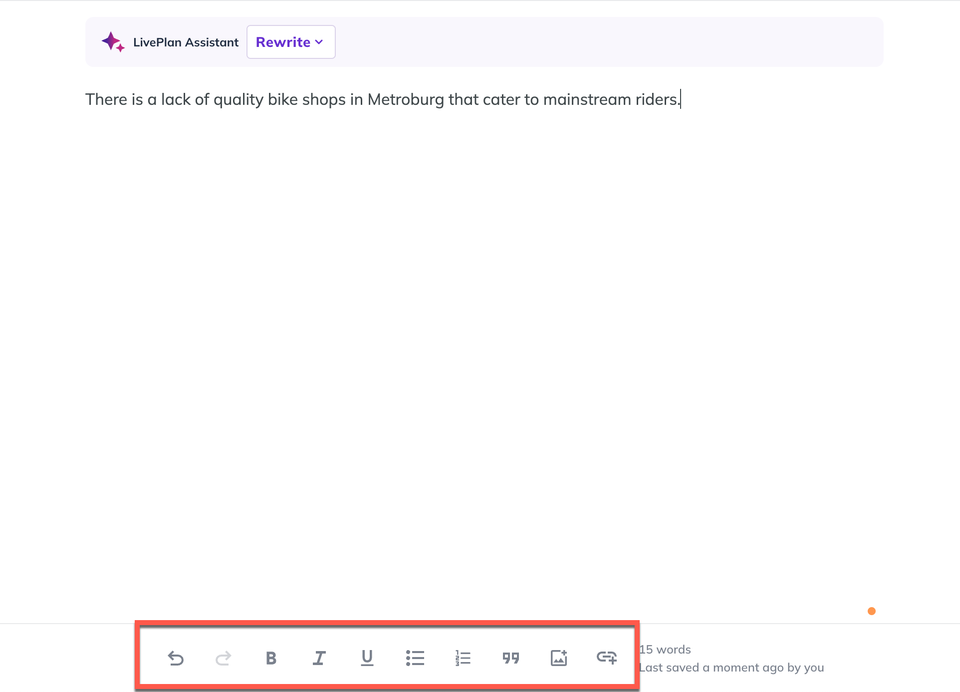
To enter your text into the section, type into the editor box. Add formatting, images, or hyperlinks with the formatting toolbar as needed:
5.
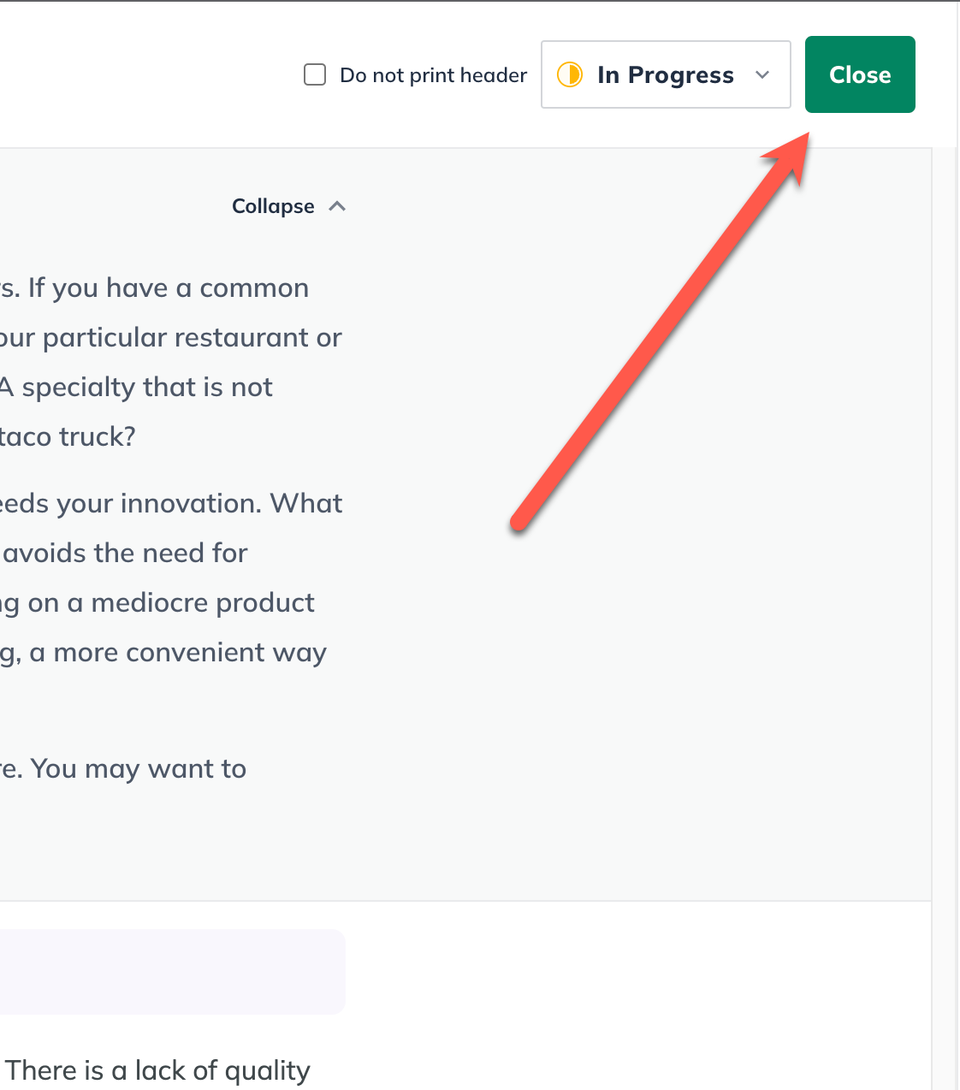
Click Close to save changes:
You can edit the text topics you've created in your plan at any time.
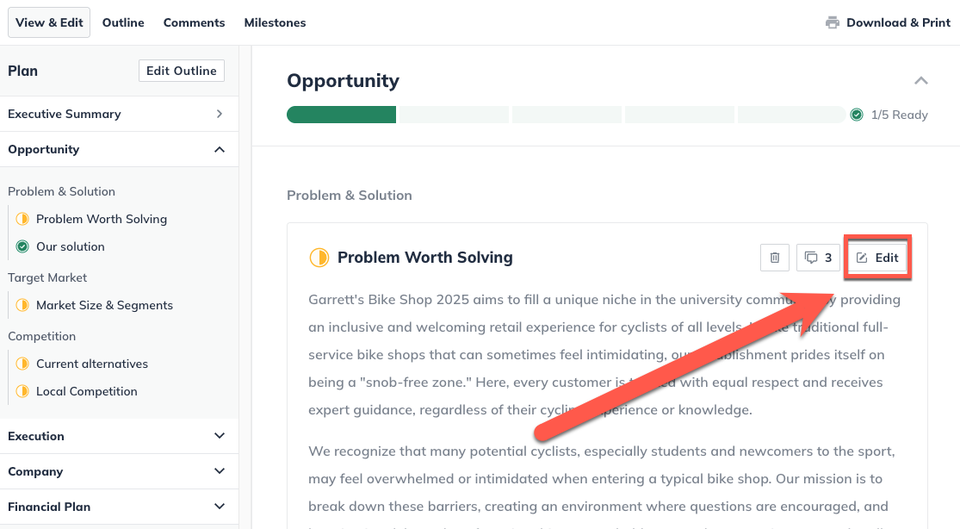
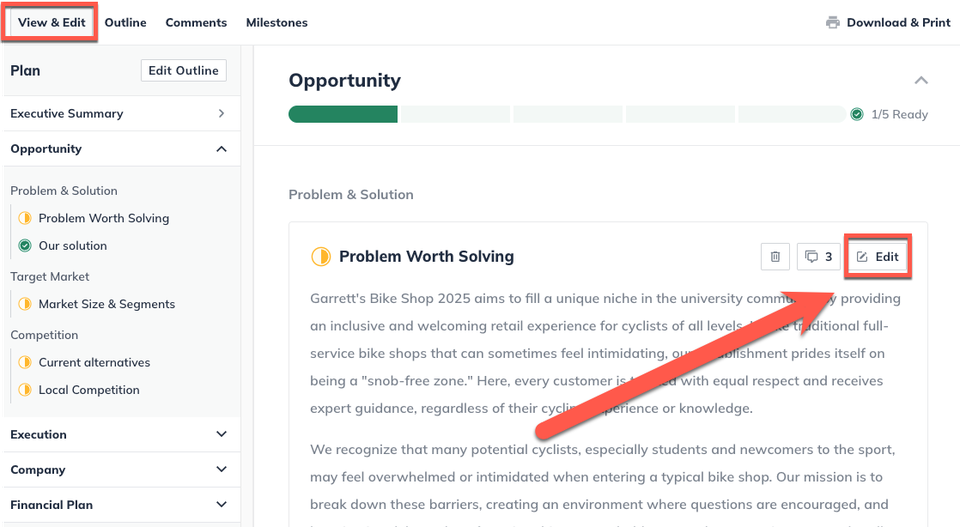
To begin, navigate to the outline section you want to update. Then click the Edit button to access the text editor again:
1.
In the View & Edit page of the Plan section, click the EDIT button next to the text topic where you want the image to appear.
2.
In the text editor, place the cursor where you want to insert the image.
3.
Click the Add an image button in the toolbar:
4.
A dialog box will appear. Select the image from the location where it is stored on your computer.
5.
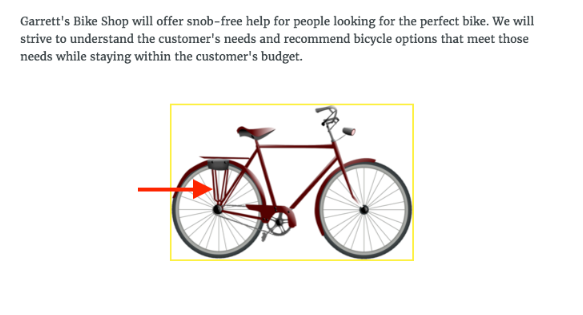
When the image is done uploading, click on it to adjust the size and alignment:
6.
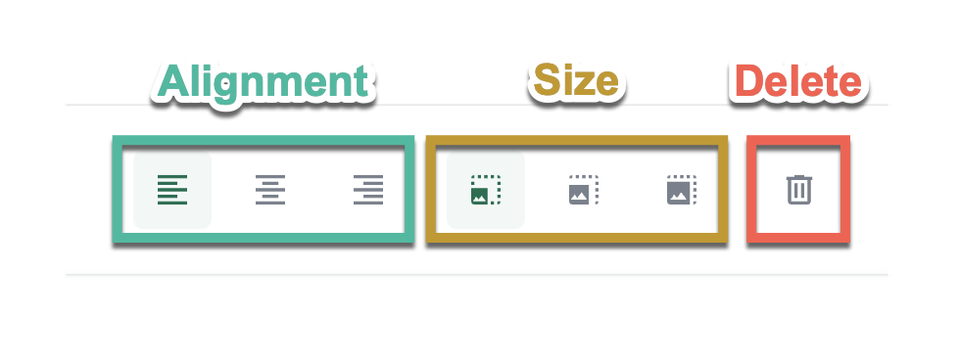
Choose whether you want to align the image to the left, center, or right of any accompanying text:
7.
Choose how big you want the image to appear in your plan. The options are small, medium, or large:
Note: If the original size of an image is too small, the medium and large size options may not be available to you. LivePlan will not enlarge small images if it means that they will be low quality (pixelated or blurry) in the printed plan.
8.
Click I'm Done. You can adjust the alignment and size again as needed by clicking directly on the image and using the toolbar:
Even after you’ve inserted an image in LivePlan, you can easily go back and adjust its size or alignment.
1.
In the Plan section, select View & Edit:
2.
Navigate to the text topic where the image was placed. Click Edit to open the text editor:
3.
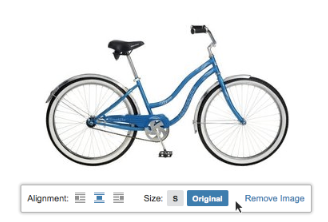
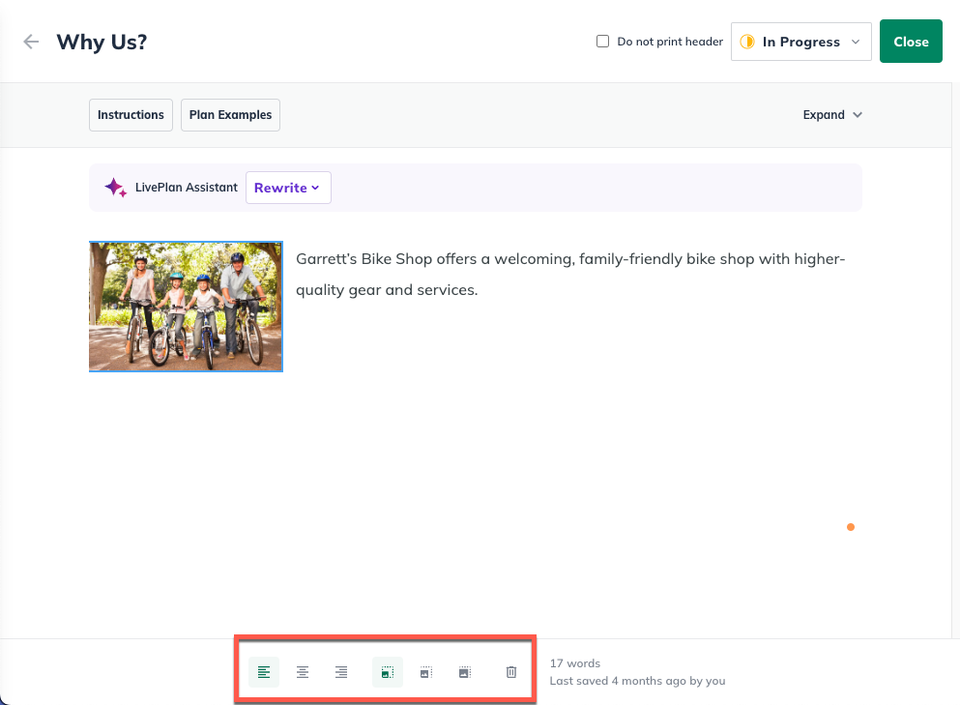
Click on the image to select it. When selected, image sizing and alignment options will appear in the toolbar along the bottom of the LivePlan window:
4.
Select left, center, or right for the image alignment and small, medium, or large for the image size:
Note: The size choices available (Small, Medium, or Large) will depend on the size of the image file you've originally uploaded. If you want finer control over image sizing, you may wish to export your finished plan to Word and adjust the images there.
5.
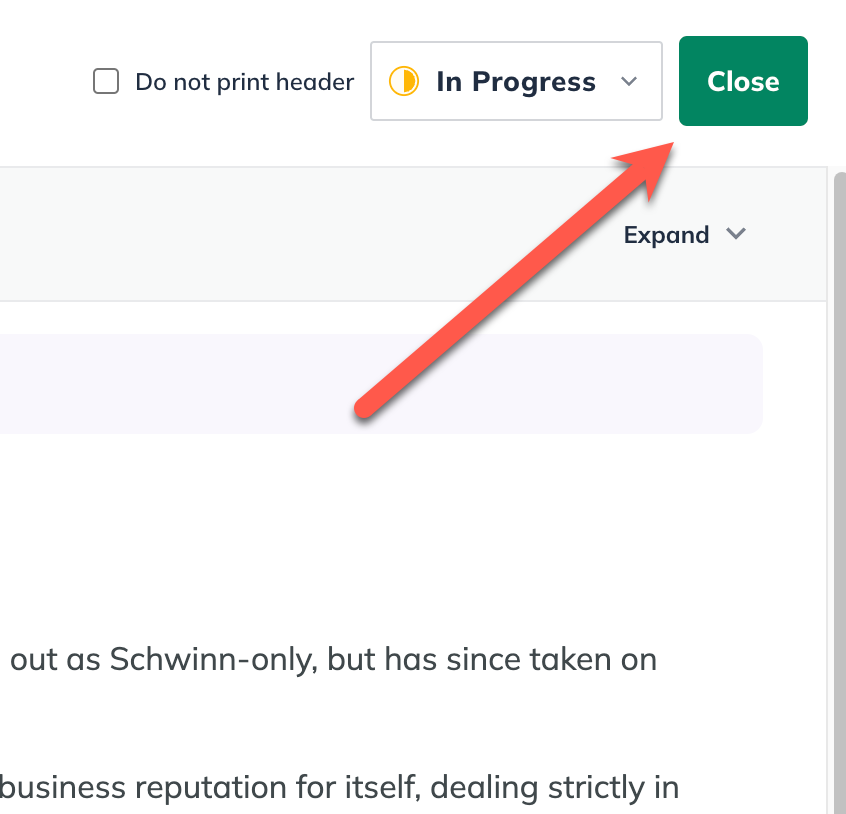
Click Close in the top-right of your LivePlan window to save the changes and return to the Plan view:
1.
In the View & Edit page of the Plan section, navigate to the text topic that contains the image you want to remove.
2.
Click the Edit button to open the text editor, and then click on the image in the text editor.
3.
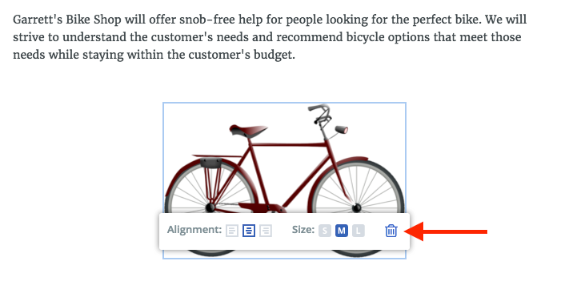
Click on the trash can icon that appears in the toolbar:
4.
The image will be immediately removed.
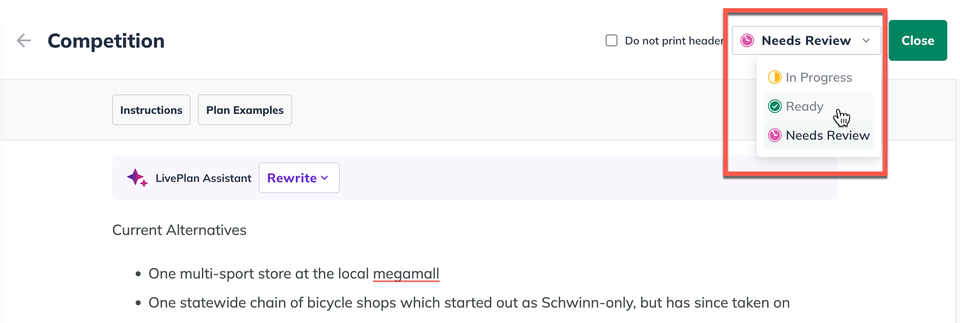
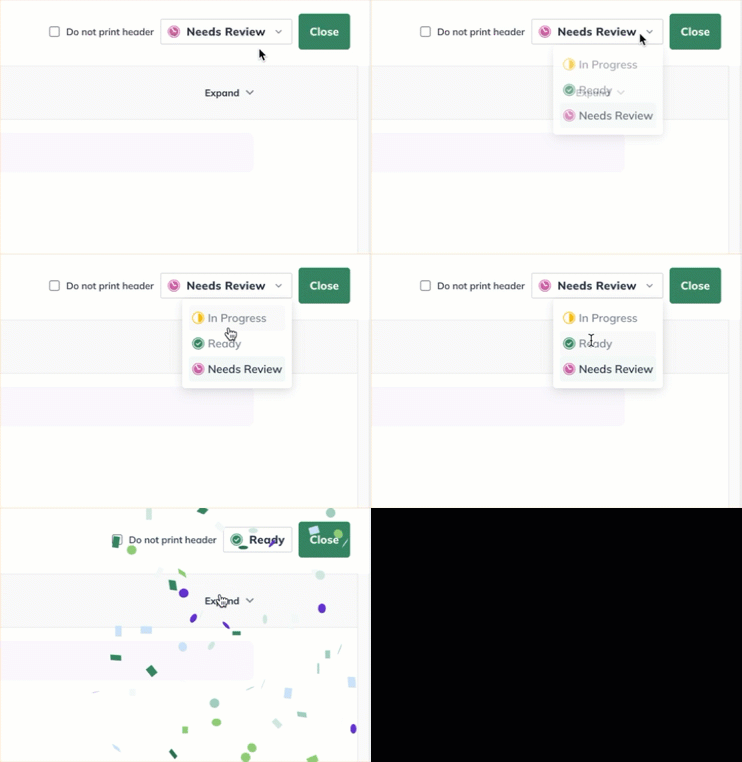
Each topic in the plan outline includes a progress indicator. The status helps track completion for solo and team planners.
You can change these manually at any time during your plan editing.
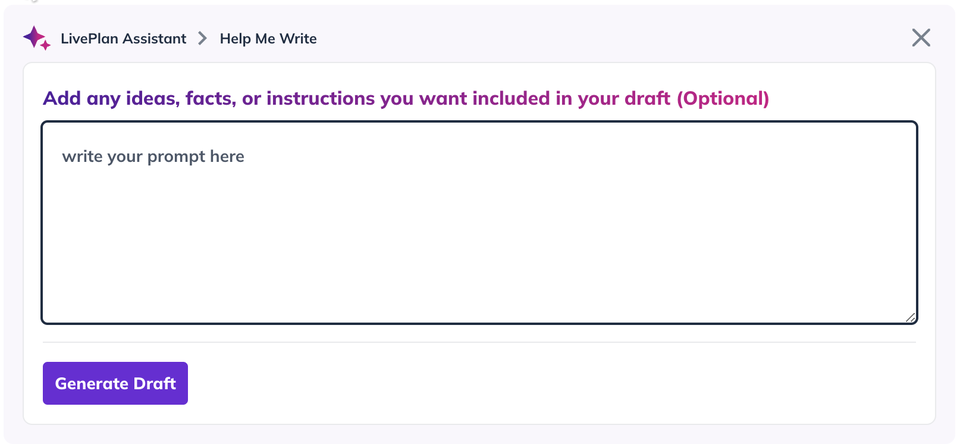
LivePlan Assistant integrates seamlessly with the Plan topic text editor. While you are working on a plan topic that you would like the LivePlan Assistant to help generate work for, you can use the Assistant's purple bar at the top of the text editor. If you're working in a blank section, you'll see a purple Help Me Write icon that, once clicked, will open a box where you can prompt the Assistant.
It should look like this:
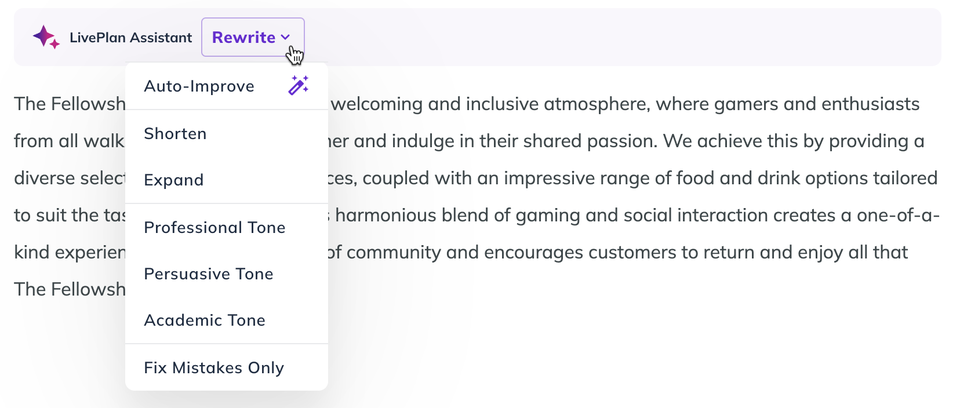
If you're working on a topic that already has some writing in it, then the AI Assistant icon will say Rewrite.
Then, a drop-down menu will appear above the formatting toolbar. This menu provides various options to rewrite your content, catering to your specific needs. The available options include:
Auto-Improve: Enhances the overall quality of the passage by refining grammar, tone, and style.
Make Shorter: Summarizes the passage, highlighting the key points.
Expand: Lengthens the passage, providing additional detail and context.
Academic Tone: Adapts the passage to convey an academic style suitable for scholarly writing.
Professional Tone: Reframes the passage with a formal, respectful tone, ensuring clarity and thoroughness.
Persuasive Tone: Recomposes the passage with the intent of convincing the reader to align with the writer's perspective, utilizing assertive, passionate, or even aggressive language to persuade effectively.
Fix Mistakes Only: Will only fix spelling and grammar mistakes without rewriting the plan.
These tools let you customize your business plan content, tailoring it to your target audience and effectively communicating your ideas. Don't worry; your original content will only be replaced once you review and approve the rewritten topic.
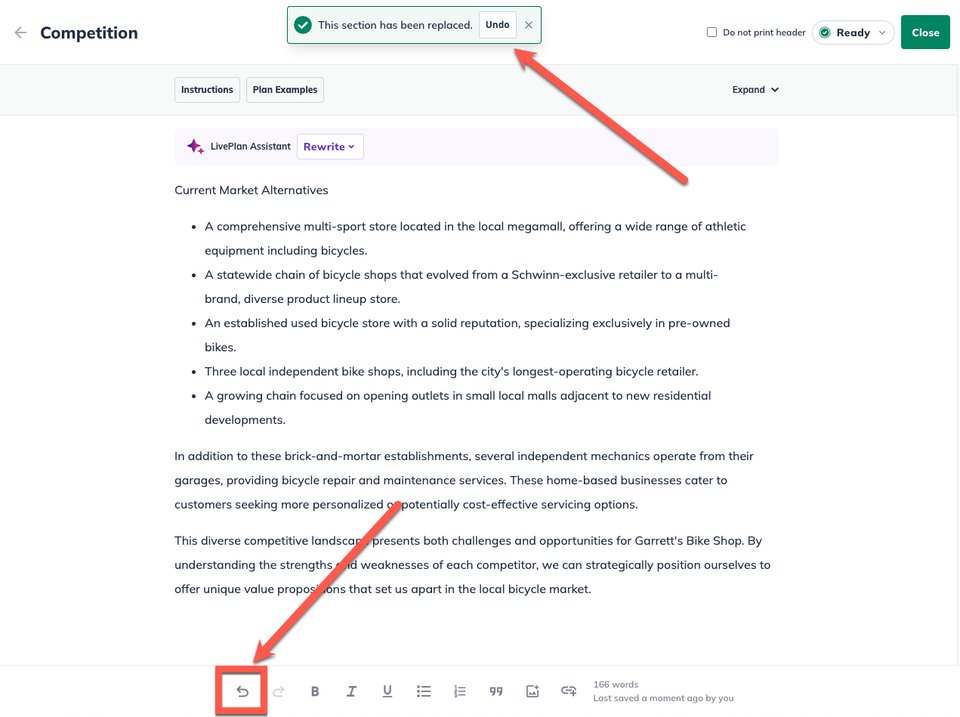
Please remember that replacing your topic content with the Assistant's generated work will erase and overwrite what you had in the topic before. You can undo the content replacement using the green Undo pop-up at the top center of your screen when you select this or the undo arrow icon that is in the lower text editor bar; CMD+Z or CTRL+Z keyboard shortcuts work as an undo, as well.
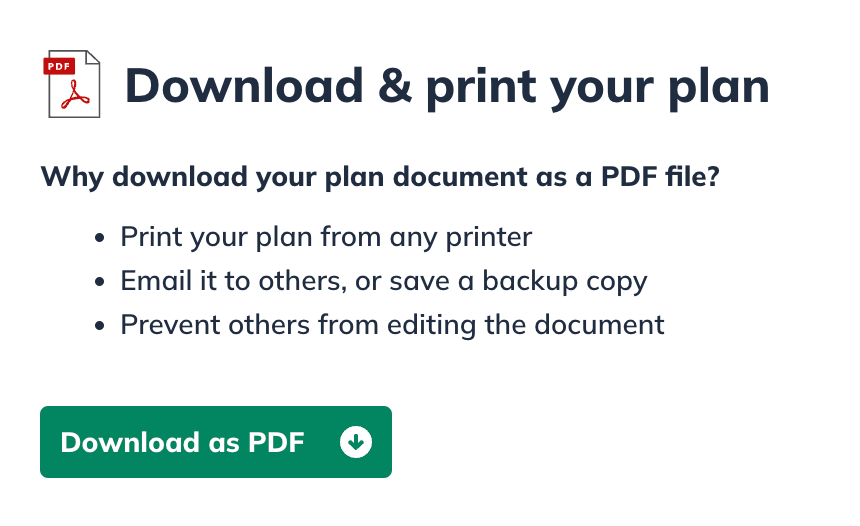
Your LivePlan business plan can be downloaded as a PDF document, which is helpful if you want to save it locally, email it to others, or print it to any printer. PDF documents can be read on nearly any device and require no special software to view. The process for downloading your plan to PDF will differ slightly for each browser. We provide general instructions below.
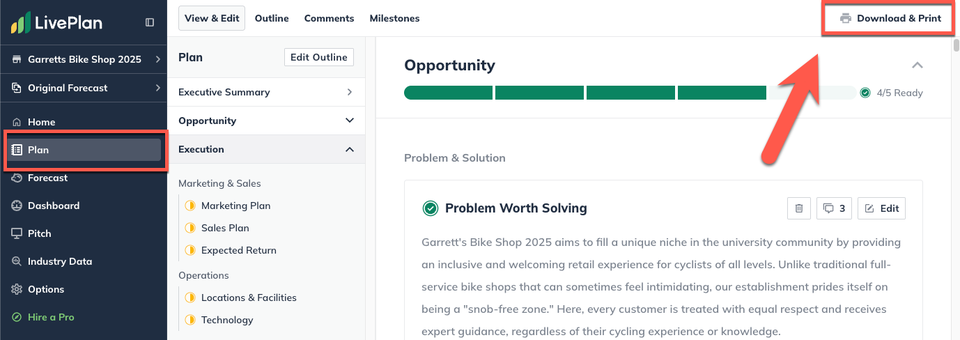
In the Plan section, click Download & Print:
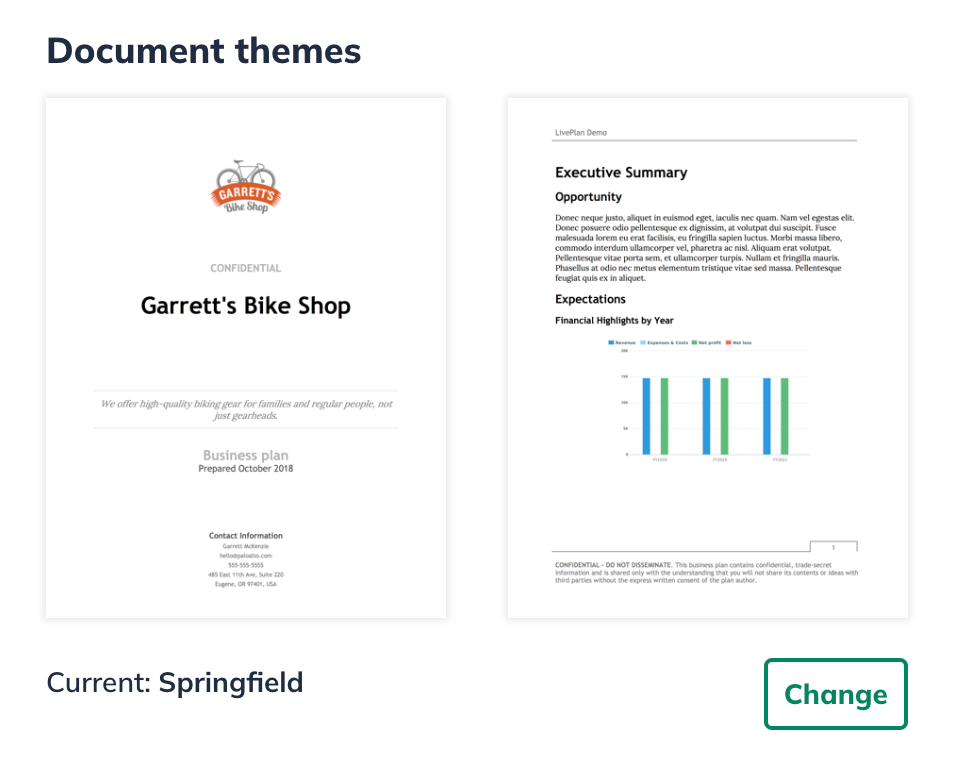
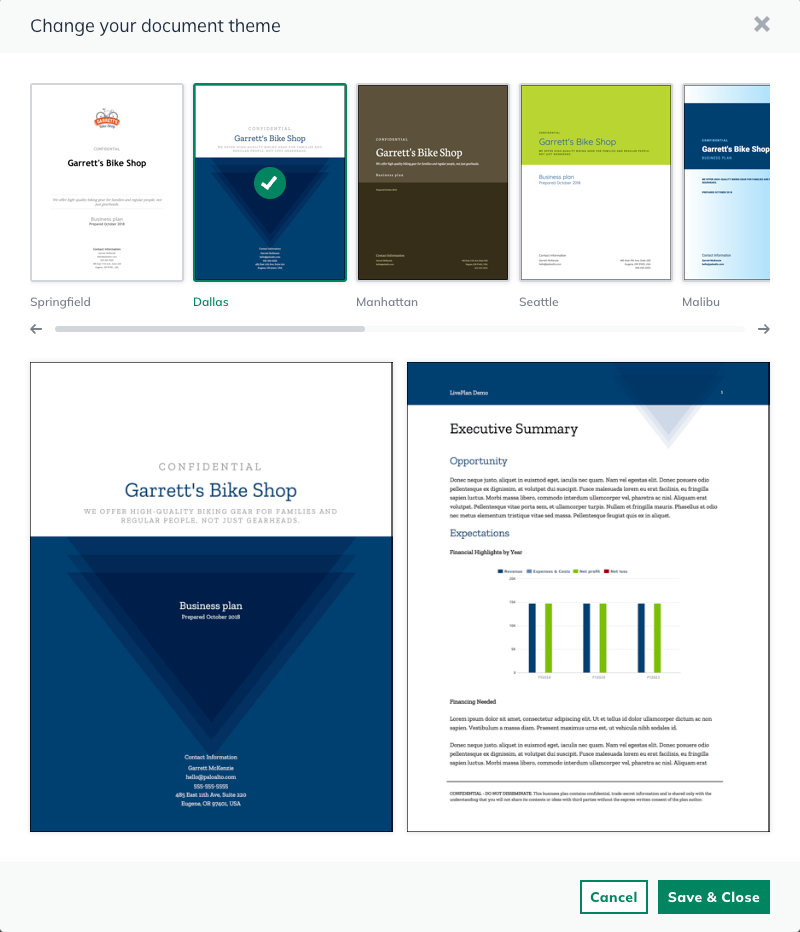
The default theme is Springfield. If you'd like to use a different one, you can find the Document Themes section of the page. Click the Change button:
Select a document theme from the menu. You can scroll to the right to see additional themes. Click Save & Close:
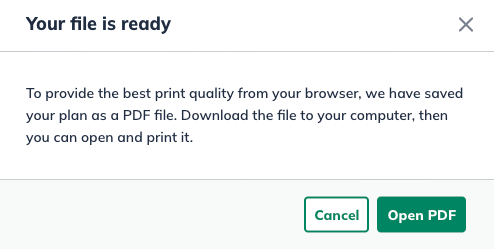
In the overlay that appears, you'll see the download in progress. When the Open PDF button appears, click it:
The PDF will display in a new tab in your browser. To download the PDF to your computer, follow the instructions below for your browser.
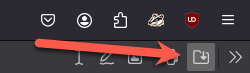
Near the upper right corner of the display, click the Download icon:
Near the upper right corner of the display, click the Download icon:
The file will be saved to your computer's Downloads folder.
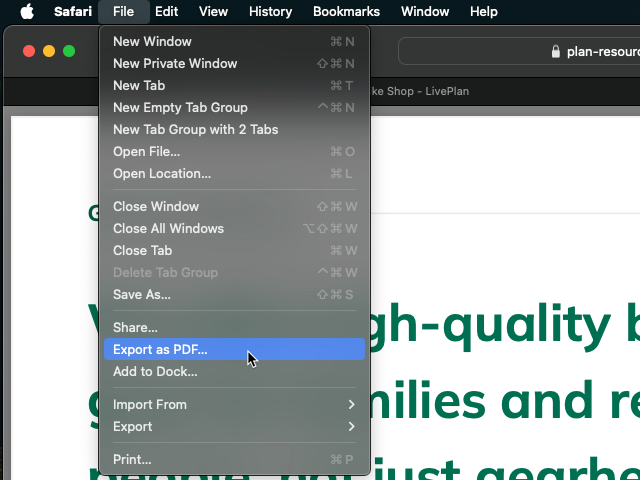
In the File menu, click Export as PDF.
The file will be saved to your computer's Downloads folder.
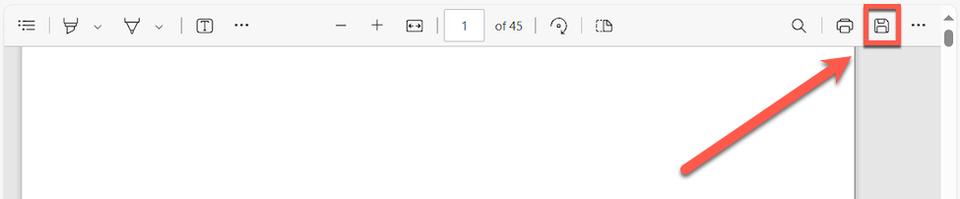
For Microsoft Edge users:
Click the Save icon in the document toolbar, shown in the screenshot below:
LivePlan's New Plan Experience has introduced many exciting new features, including Market Research, Plan Review, Reference Files, enhanced AI writing tools, improved export options, and many more!
Plans created in the Classic Plan Experience will continue to work normally, but these newer features won’t appear until the plan has been converted. This guide will show you how to migrate into the New Plan Experience.
This article will contain support resources for our Legacy AKA Classic Plan Experience.
When you create a new company in LivePlan, it contains the default business plan outline. We intentionally start you out with a simple, lightweight outline containing the sections nearly everyone should have in their plans.
To help you customize your plan, we also offer many optional items that may be important for particular types of businesses. You can add, remove, rename, and re-order the default outline parts as needed.
The current plan outline is displayed in the left-hand column when you click the Plan section. You can click on any chapter title to see the sections included in it:
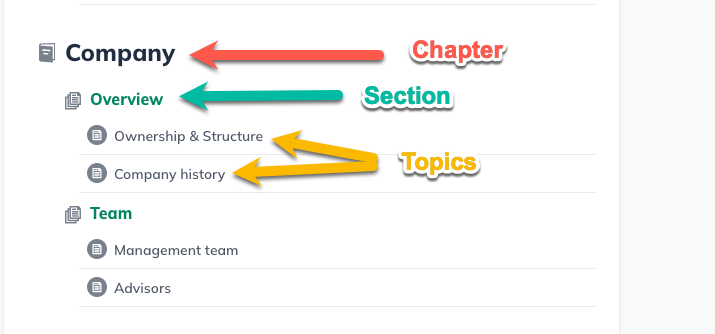
Like any detailed report, a business plan has chapters (first level), sections (second level), and topics. The topics are where you'll enter your text; chapters and sections are there for organization. This view makes it easy to navigate to any part of the plan so you can edit it.
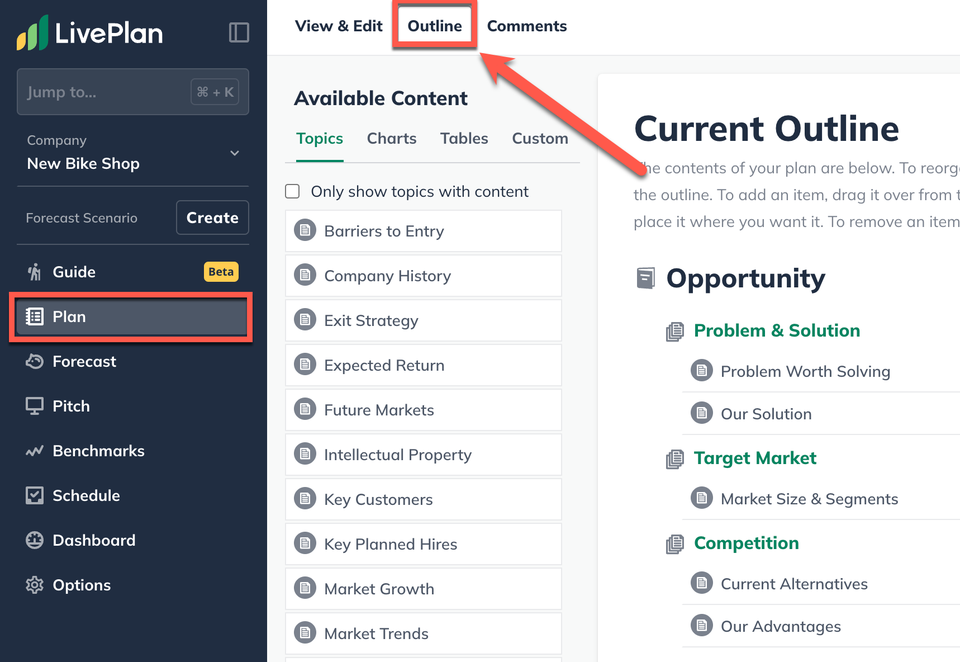
To see an editable view of your outline, click on the Outline section of the Plan section:
In this view, you will see the same outline with the chapters, sections, and topics in place. This screenshot shows you how the parts of the outline are named, which will be helpful to know as you use the instructions below:
The first chapter in any newly created plan will be your Executive Summary. It will look a little different from the rest of the plan outline. We recommend writing the executive summary last after the later sections of the plan have been completed. This makes it easy to summarize your work in the direct and concise language that will best convey your ideas to the reader.
If you’re new to business planning, you may wish to use this default outline. It includes instructions and examples for each topic to help direct your writing, and LivePlan Assistant can revise and rewrite your work.
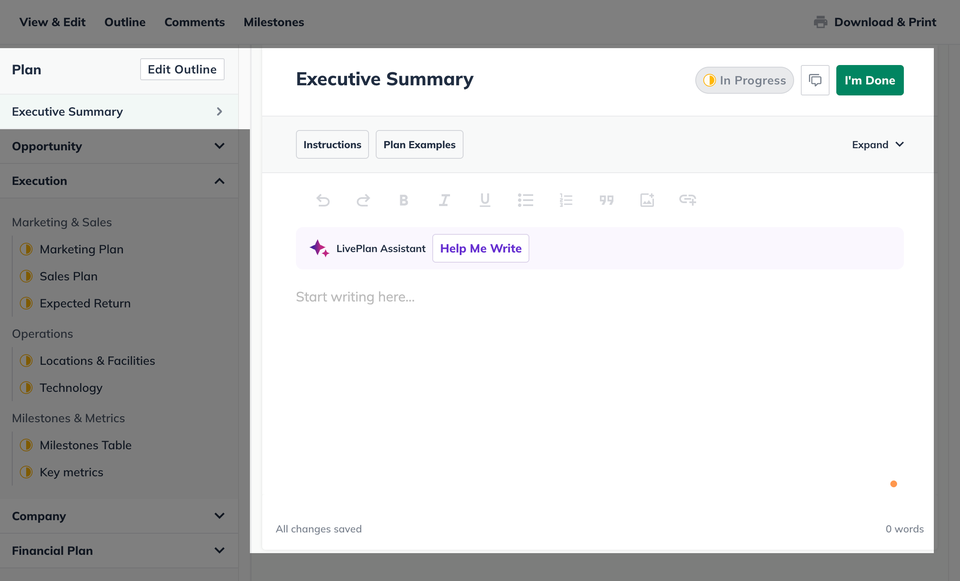
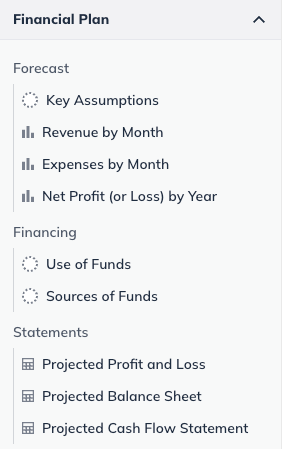
The default sections that are included in a new company's plan document are listed below:
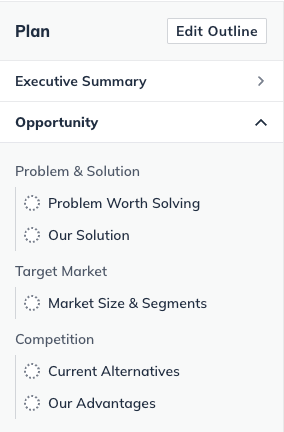
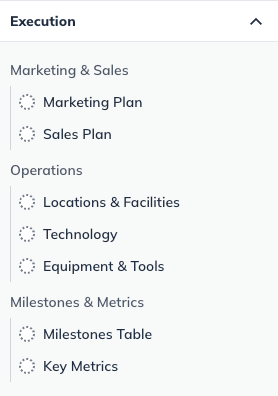
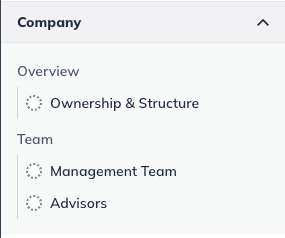
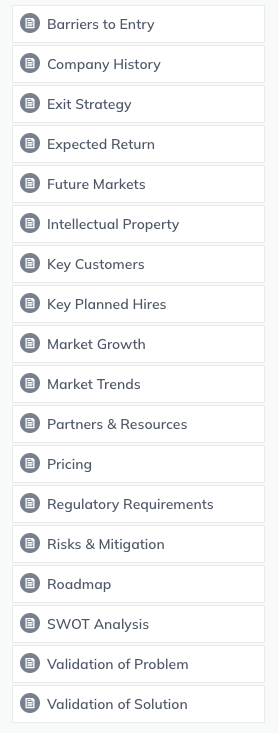
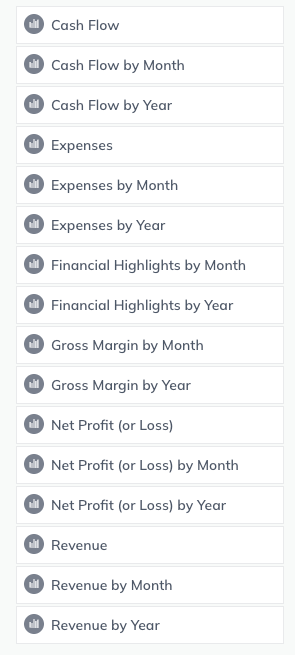
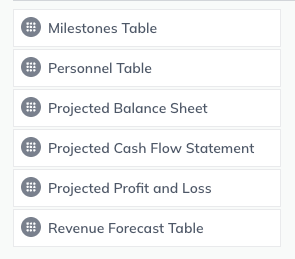
In addition to the default plan outline, LivePlan provides a selection of pre-built topics, charts, and tables that may be useful for specific kinds of businesses.
This content is available on the Outline page of the Plan section. You can easily add these items to any section of your plan.
Note: If you need content not included in the list below, you can add custom chapters, sections, and topics to your plan.
Available topics:
Available charts
Available tables
Note: Only topics can have text written in them. Chapters and sections exist to organize the topics, while topics contain the actual plan content.
In the Plan section, click Outline:
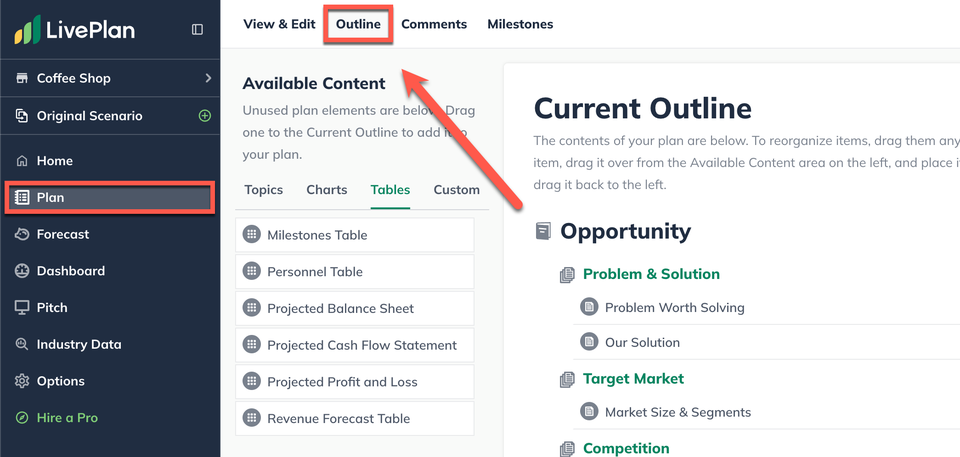
2. At the top of the Available Content menu, select Topics, Charts, or Tables to choose the type of item you want:
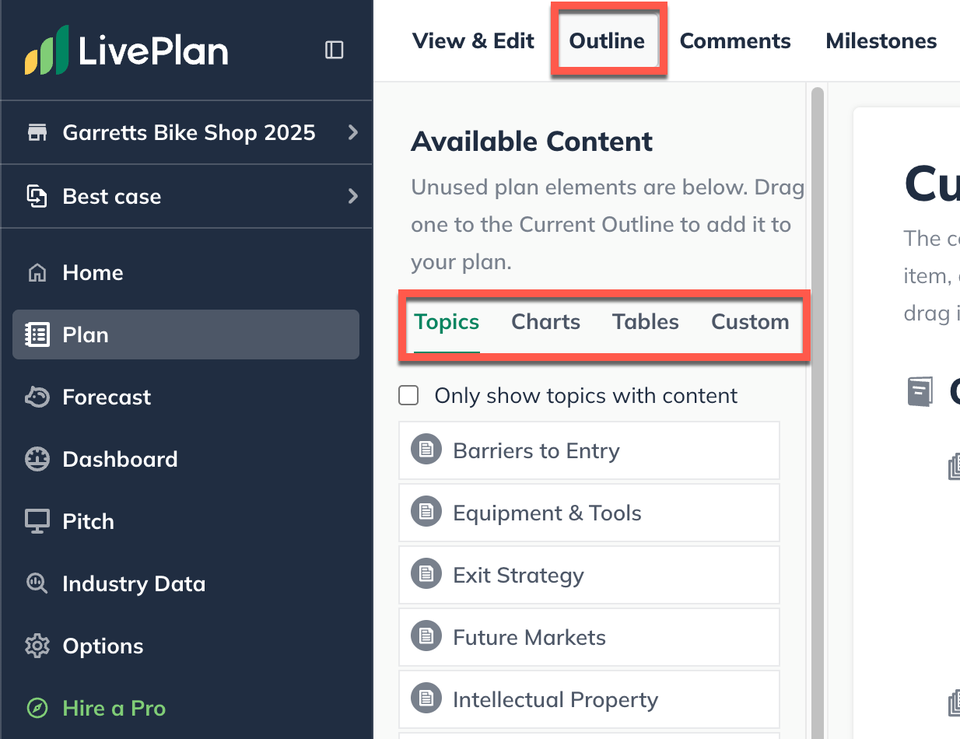
3. From the Available Content menu, click on the item you want to add to your outline and drag it to the location on the right side of the page. The change will save automatically:

Adding custom chapters, sections, and topics
In addition to the default outline, LivePlan lets you create custom chapters, sections, and topics to place anywhere in the plan.
In the Plan section, click Outline:
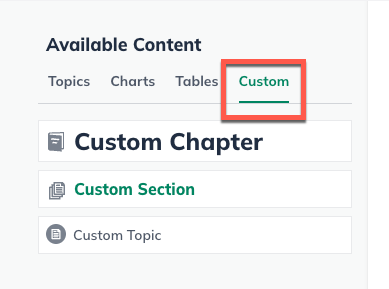
At the top of the Available Content menu, select Custom:
3. In the Available Content menu, click on the item you want to add to your outline and drag it to the new location, then type in the title of the new item:

4. The change will save automatically.
Note: A topic must be placed within a section. A section can only be placed within a chapter. If you drag a custom topic directly under a chapter heading, LivePlan will create a section heading between them. This can create duplicate headings in your plan. To correct these, read Avoiding duplicate headings.
You can change the default title of any chapter, section, or topic in the plan outline to better suit your needs. For example, if you sell products but not services, you can change the preset title “Products and Services” to just “Products.”
In the Plan section, click Edit Outline:
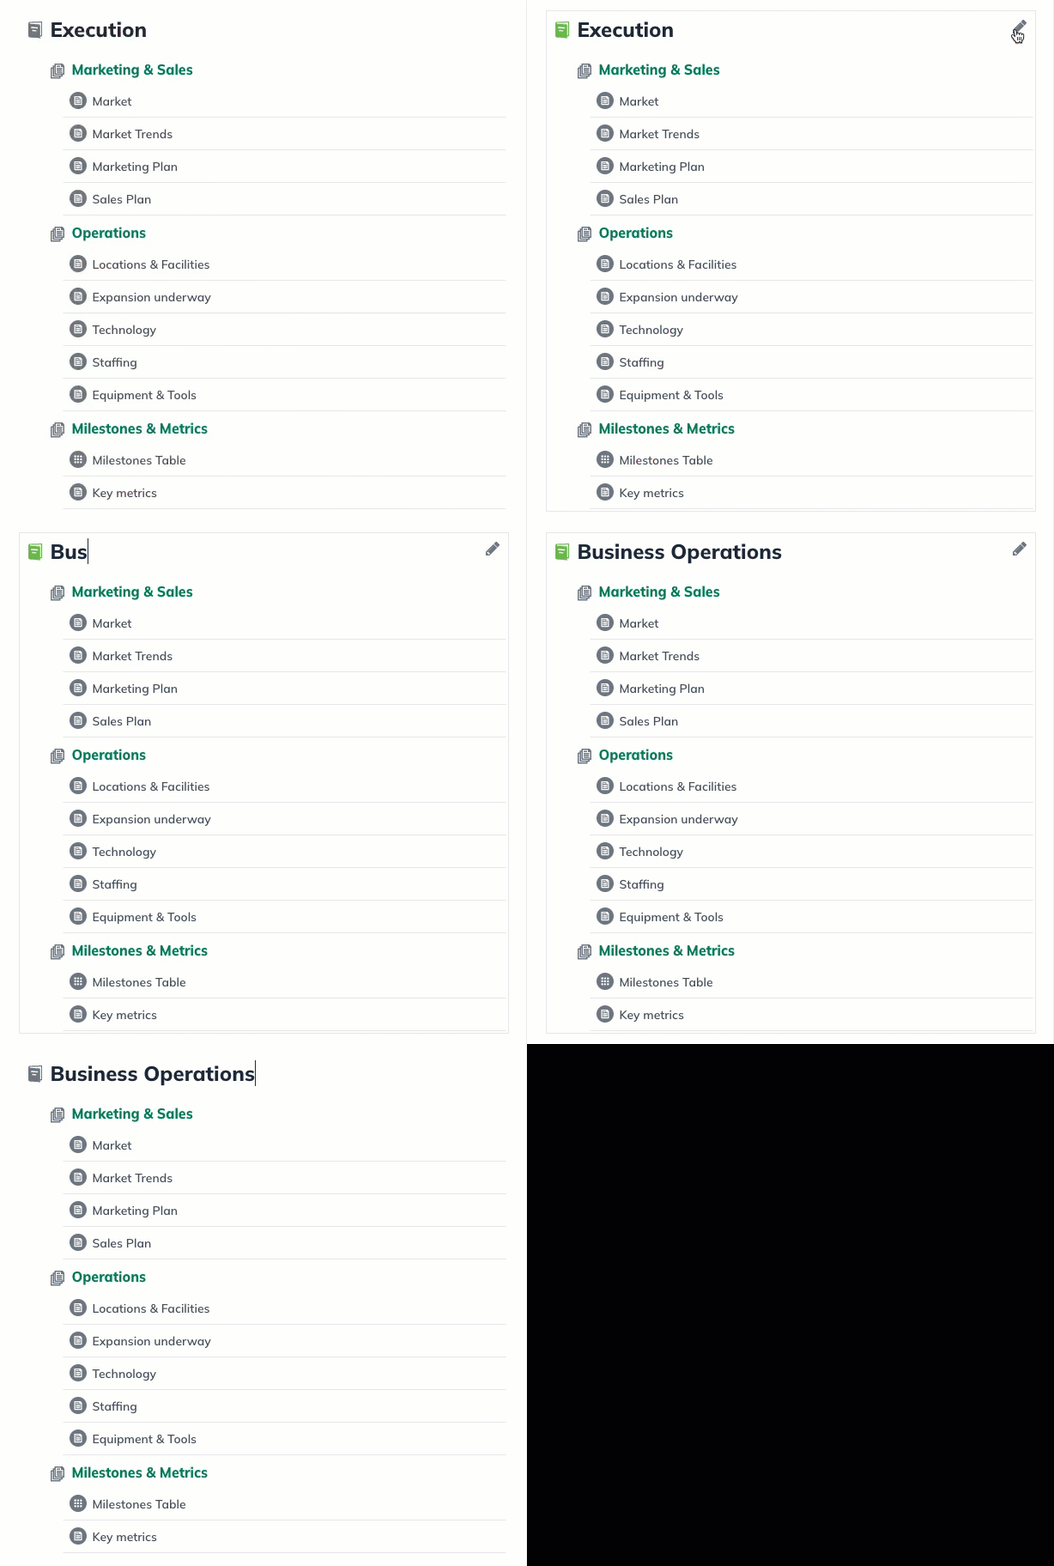
Hover over the item you'd like to edit. A pencil icon will appear to the right of the title. Click the pencil icon. The title will be highlighted. Type in the new name:
Your changes will be saved automatically.
In the Plan section, click Edit Outline:
2. Click the pencil icon to the right of the title you want to change and enter a new title:

3. Your changes will be saved automatically.
LivePlan's business plan outline is fully customizable. You can build a plan that reflects your unique business and market by adding, removing, renaming, and rearranging chapters and sections. You might find What's included in the default outline helpful to get an overview of the default plan outline.
The plan outline is highly flexible. You can change the order of the chapters within the plan and the order of sections within a chapter. You can even move sections and topics from one chapter to another.
In the Plan section, select View & Edit, then click Edit Outline:
Click on the chapter heading you'd like to move, and drag the chapter or section to the new location:
When you move a chapter, all the sections and topics in that chapter will move along with it. The change will save automatically.
In the Plan section, select Outline:
2. Click on the section or topic you'd like to move and drag it to the new location:

3. If you move a section, all topics in that section will move along with it. You can move sections or topics within the same chapter or into another chapter.
4. The change will save automatically.
Note: Topics must be contained within sections, and sections must be contained within chapters. If you move a topic directly under a chapter heading, the software will insert a section between them, as shown below:
In this case, you can give the section and topic the same title. Then, hide the topic's title to avoid a duplicate heading displaying in your plan.
If there are chapters, sections, or topics in the outline that you don’t want to be included in your plan, it is straightforward to remove them. Removed chapter or section headings will be permanently deleted from your outline. (If you want to re-instate these later, you can easily re-create them.)
Note: As a non-permanent option, you may want to hide some chapters in your plan when you download it instead.
When you remove a topic, it will no longer appear as part of your plan’s printed output, but any information you have entered in the topic will be saved. Other users on your account can view the contents of any removed topic, and you can restore it to your plan at any time.
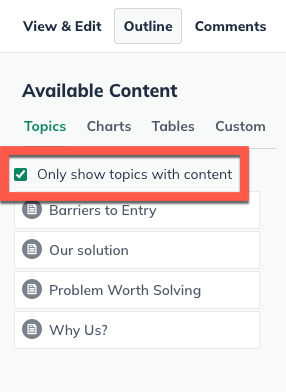
If there is a chapter, section, or topic you would like removed from your plan, any text you have entered in the topic will be saved in the Available Content list.
In the Plan section, click Outline:
2. Click on the chapter, section, or topic you want to remove.
3. Drag the chapter, section, or topic to the left sidebar. Drop it there. If you are deleting a chapter or section, a warning message will appear:

4. Click Confirm to save the change. Although the chapter or section heading will be deleted, any topics you've created within it will automatically be saved in the Available Content list.
If you've created a custom topic and then removed it from your plan outline, that topic and any text you've entered will be retained in the Available Content sidebar in the Topics section. If you'd like to delete this topic and its text permanently, follow these steps:
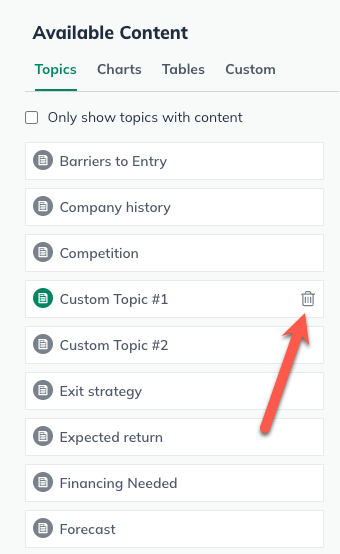
Mouse over the custom topic in the sidebar. A small trash can icon will appear:
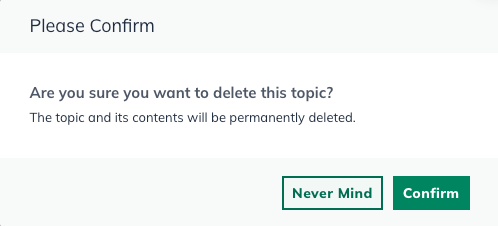
2. Click that icon. An overlay warns you that the topic and text will be deleted permanently. Click Confirm to process the deletion:
When you remove a chapter or section from your plan outline, all topics within it and any text you've entered into those topics will automatically be saved in the Available Content list for later use. The chapter and section headings, however, are deleted permanently.
Using the instructions and examples to help write your plan
LivePlan's default outline includes instructions for each written topic and two examples of responses. The examples' specifics won't match your business plan, but they'll give you an idea of how to structure your response.
Next to the instructions, you'll find Plan Examples, which you can click on to view. You can click Collapse to hide them if you want to continue writing without the examples shown.
If you like a particular example, you can copy its text and paste it into the text editor, as shown below. Then, you can modify the text to fit your plan:
Click I'm Done to save your changes:
You may want to use the library of sample business plans within LivePlan to see how other similar businesses have approached their business plans. Seeing how other entrepreneurs in your industry have expressed their business ideas can help inspire you to describe your business.
While we don't offer these sample plans as templates, you are always welcome to copy material from them and paste it into your plan to use as a starting point for your editing.
We also publish industry guides for popular industries. These guides contain many helpful details on starting companies in those industries.
Remember that the essential information in most business plans is quite similar. You'll need to explain how your company is solving a problem and who your target market is. You'll need to explain how you'll be distinct from your competitors. You'll need to build a forecast. All of that is the same in any industry.
If you're unsure how to customize the LivePlan outline, don't worry too much about it. You can start by filling in the default outline. As you do, you may be able to think of other details to add that would help describe the company you're starting. You can add these to your plan at any time.
In other words, don't worry about starting perfectly. Think of your business plan as a living document that evolves as you get deeper into starting your business.