Creating And Managing Companies
Setting up a new company
Jump to
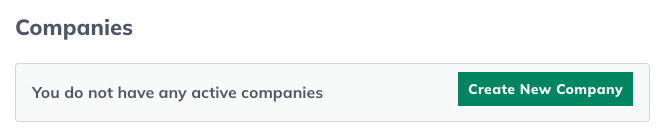
You can create as many companies in LivePlan as you want. There’s no limit to how many you can make. Only a certain number can be active at one time, but you can archive as many as you like to keep for later.
Creating multiple companies gives you the flexibility to plan for multiple business ideas or test several feasibility scenarios for the same idea. You can easily switch between companies in your account using the Companies menu.
Tip: If you are already at your company limit, and you don't want to upgrade to a higher limit, just archive your active company first and then add a new company. There is no limit to the number of companies you may keep in your archive.
Getting started
If you've just created a LivePlan account, you'll automatically be taken to the Create a New Company page.
This will take you to the Company setup screen, where you can configure your plan settings. These settings can be changed later in the Forecast Options menu.
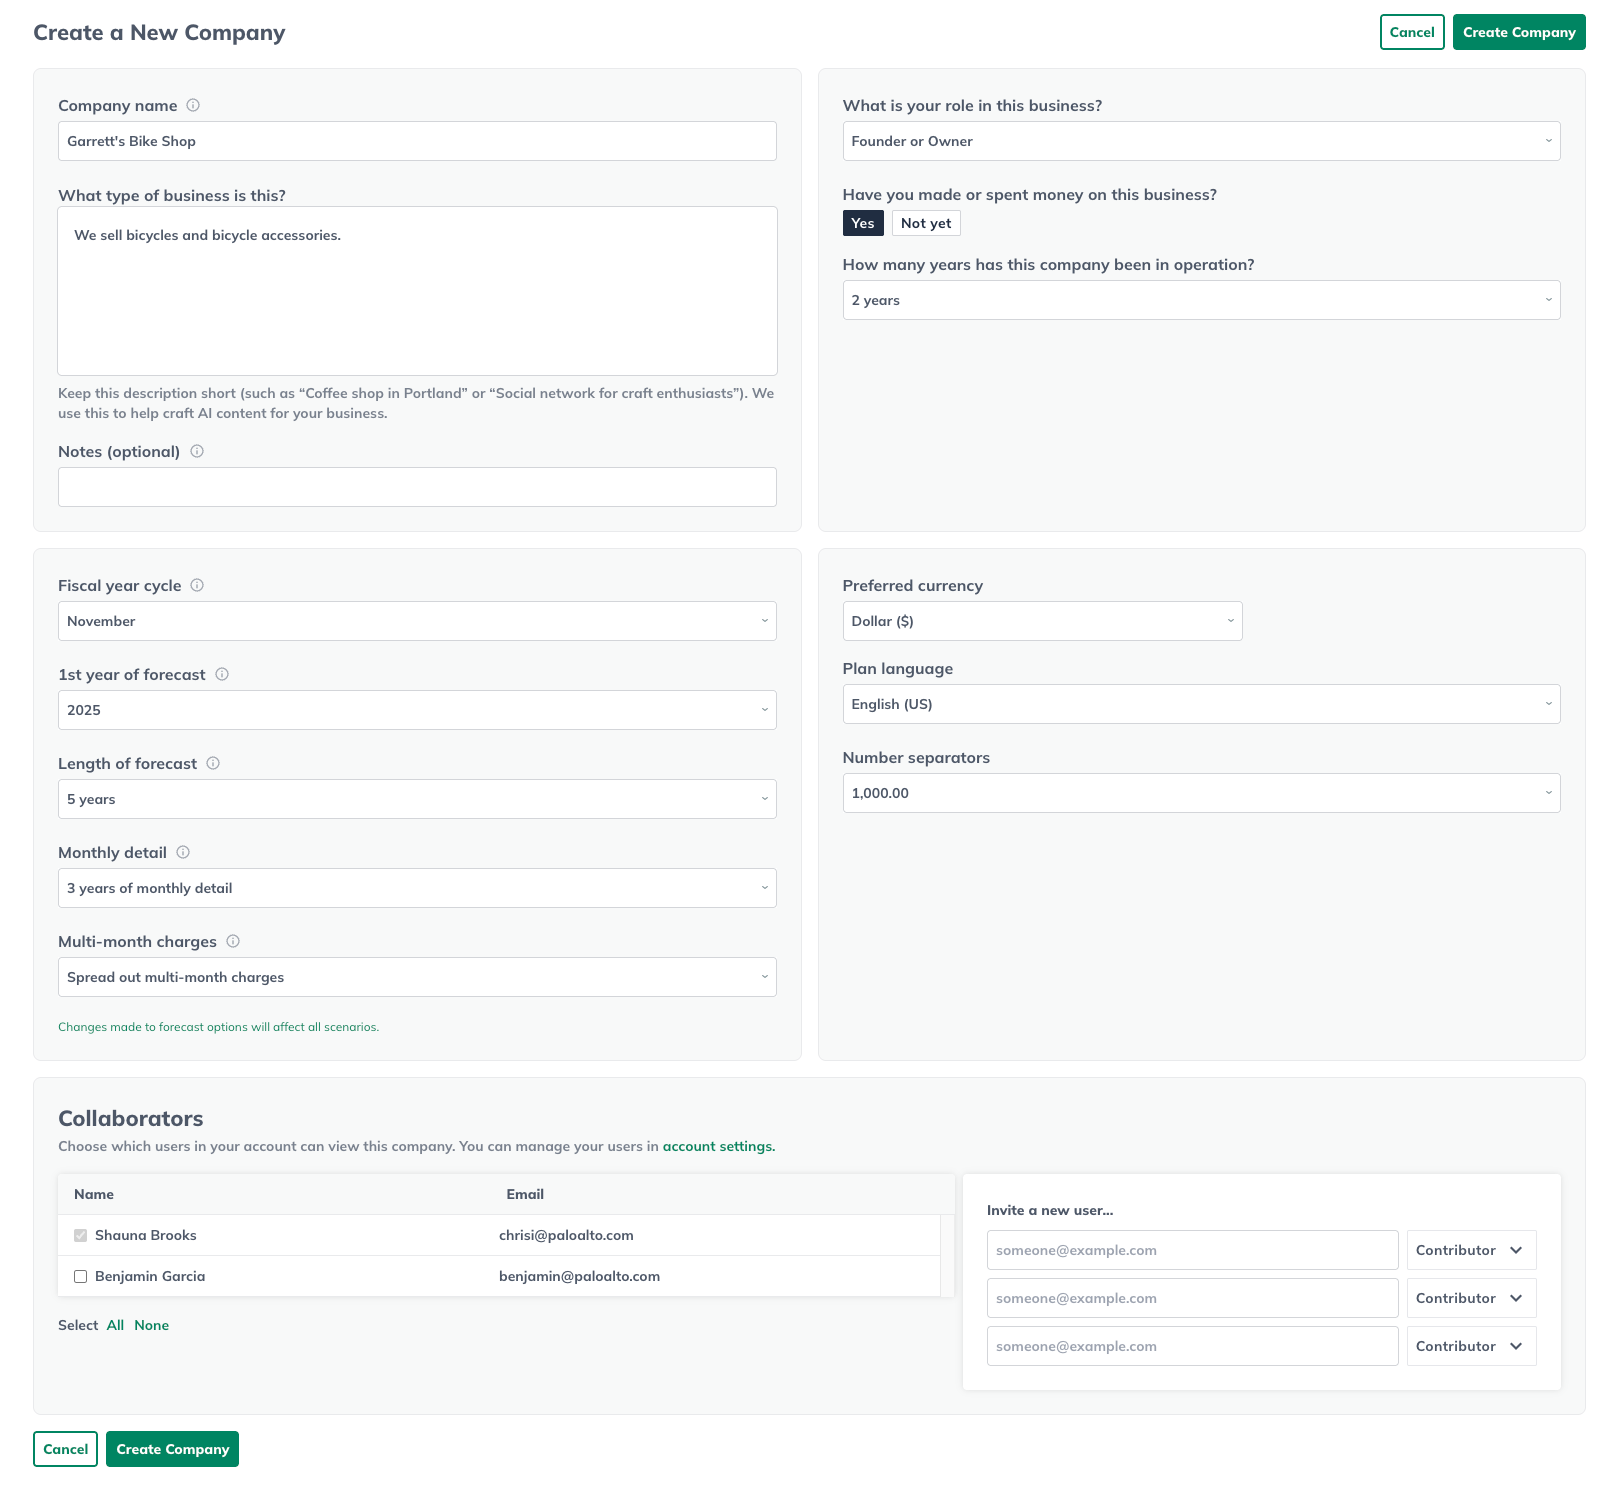
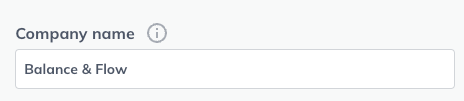
Step 1: Enter a company name
Be sure to give each company a unique and meaningful name (between 2 and 60 characters long). LivePlan allows you to have more than one company with the same name, but this isn't recommended.
The name you enter will appear on your Pitch and at the top of each page of your business plan document. It will also help you distinguish this company from the others in your account:
Step 2: Create a short company description
Write a brief description of your company in 255 characters or less. Try to keep this description as short as possible as this description is what the LivePlan AI Assistant uses to craft custom content for your business in the Plan, Pitch, and Forecast.

Step 3: Decide when your forecast should start
Think about when you will begin to execute your business plan, and then choose the fiscal year cycle and and year that your forecast will start. We recommend selecting a date that reflects when you first begin to experience financial activity. This way, the start-up costs you make as you prepare to open your business are captured in your forecast. If you are forecasting for an existing business, we recommend starting your forecast at the start of your current fiscal year.
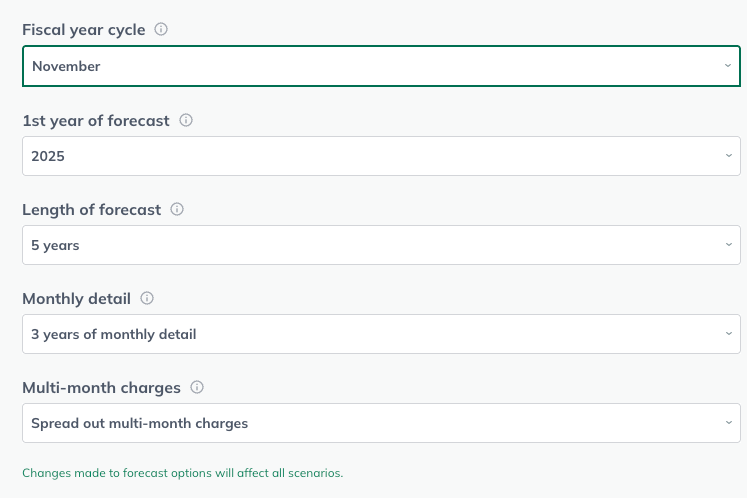
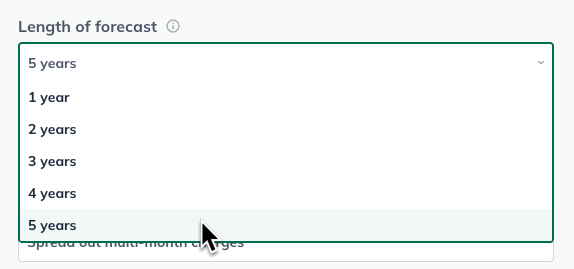
Step 4: Select the length of your forecast
Select your forecast length: between one and five years:
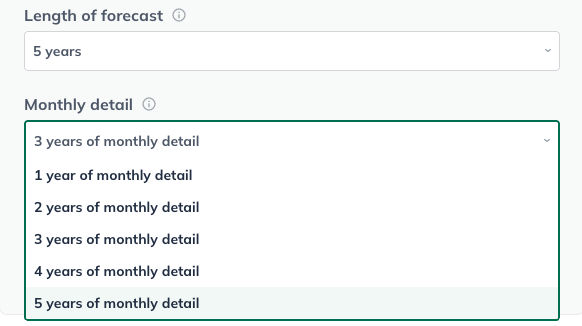
Step 5: Decide how detailed your forecast will be
Indicate how many of those years you'd like to have expressed in monthly forecast numbers (rather than annual totals). The first two years of your forecast defaults to having monthly detail, and you can select up to three years:
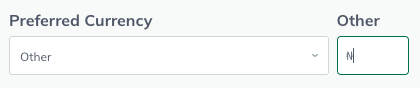
Step 6: Choose the currency you want to use
For each company in your LivePlan account, you can designate the currency symbol you want to use.
Note: This setting only changes the currency symbol; it does not perform currency conversions. The numbers you enter will remain the same regardless of the currency symbol you choose here. Once you've created your company, you can change the currency setting again on the Options tab.

If the symbol you want to use isn't listed, choose Other and enter the desired symbol or notation in the field provided:
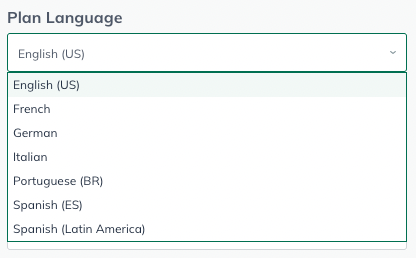
Step 7: Choose a plan language
All of LivePlan's instructions and examples are in English. You're welcome to write the content of your pitch and plan in any language you choose. LivePlan can translate the section titles and table labels into six languages. Select the language of your choice:
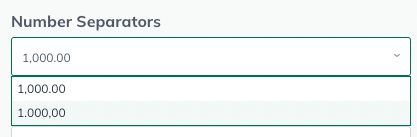
Step 8: Number separators
For each company in your LivePlan account, you can select the type of decimal and thousands separator used in your financials.
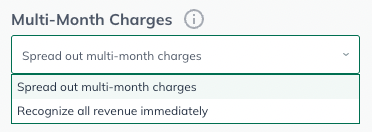
Step 9: Multi-month charges
If you have revenue streams with recurring charges that cover multiple months, LivePlan gives you two options:
To spread those charges out (generally referred to as accrual-based accounting)
To recognize the revenue immediately when you receive it (generally referred to as cash-based accounting)
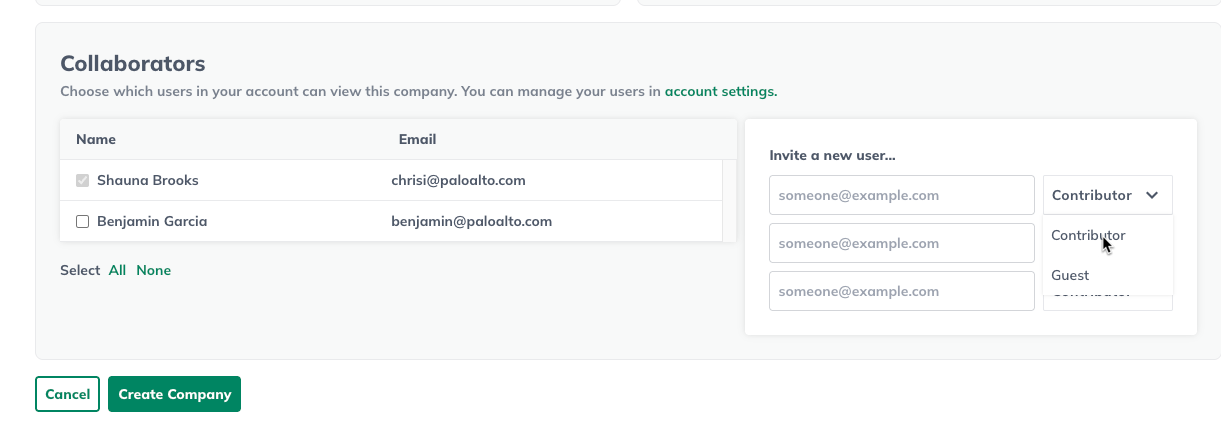
Step 10: Collaborators
Select which users can view the new company. These may either be current contributors & guests, or new users can be invited:
Creating your company and updating Forecast Options
When you have completed all of the selections on this page, click Create Company:

Any of these settings can be changed later by clicking on Options in the left sidebar:
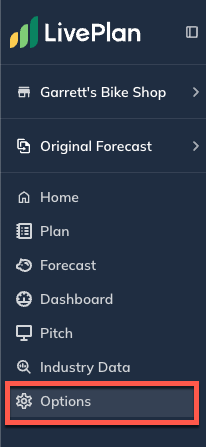
This will return you to the Forecast Options menu, where you can update your plan settings.

Tip: When you make any changes to your forecast settings, please remember that the settings will apply to all scenarios in that forecast. To learn more about this, visit this Help Center article on Forecast Settings.