
Quick Answers
Importing Your Business Plan into LivePlan
You can now upload an existing business plan and map it directly into LivePlan. This guide walks you through importing your plan, reviewing how your content was organized, and getting started with editing.
Import Plan vs. Reference Files
The Reference Files panel in your plan editor includes two options for uploading documents. They serve different purposes:
Import Plan
Moves your plan into LivePlan
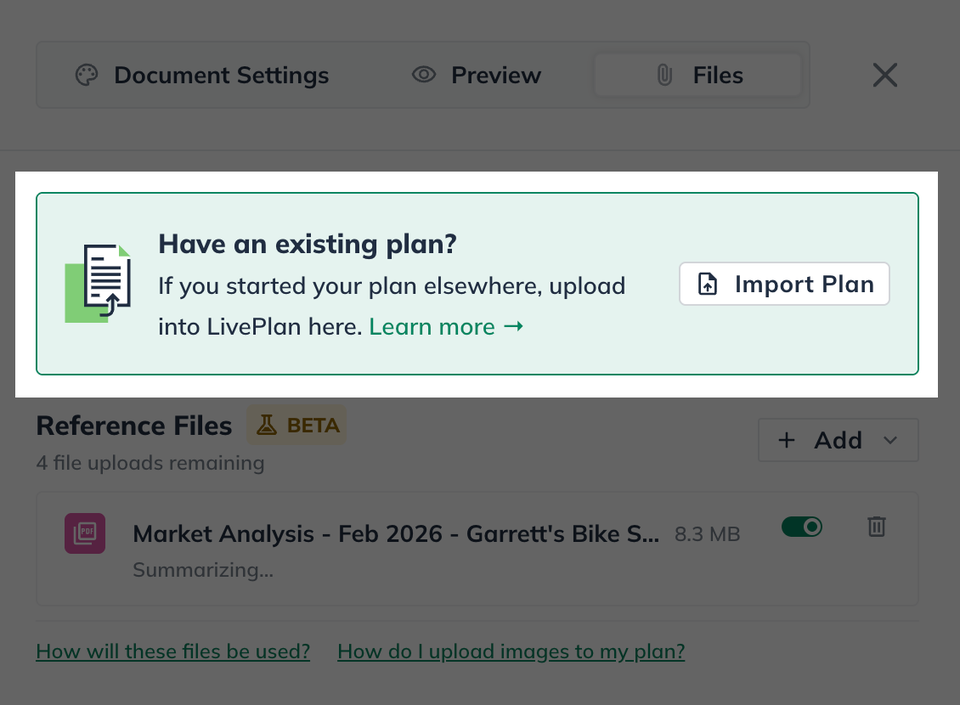
Use when you have a completed business plan and want it moved into LivePlan.
Reference Files
Gives AI context for writing
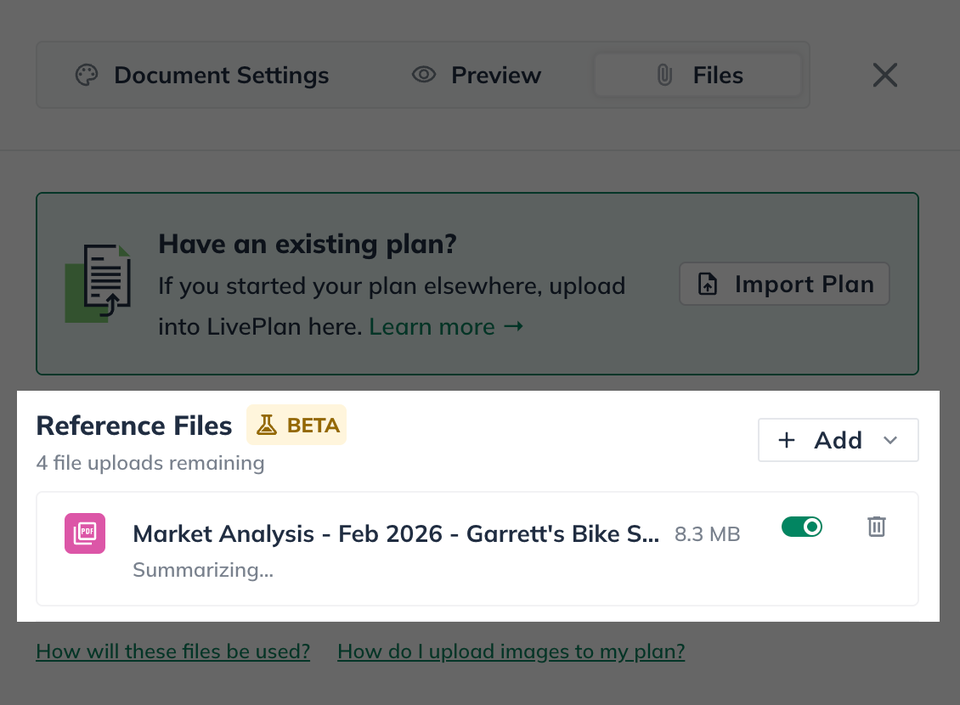
AI writing tools reference your documents. Doesn’t change your plan structure.
Importing Your Plan
Summary: Importing Your Plan
Open the Reference Files panel in your plan editor, click Import Plan, and select the plan document from your device
LivePlan will analyze your document and map its content into your plan outline.
Step-by-step: Importing your plan
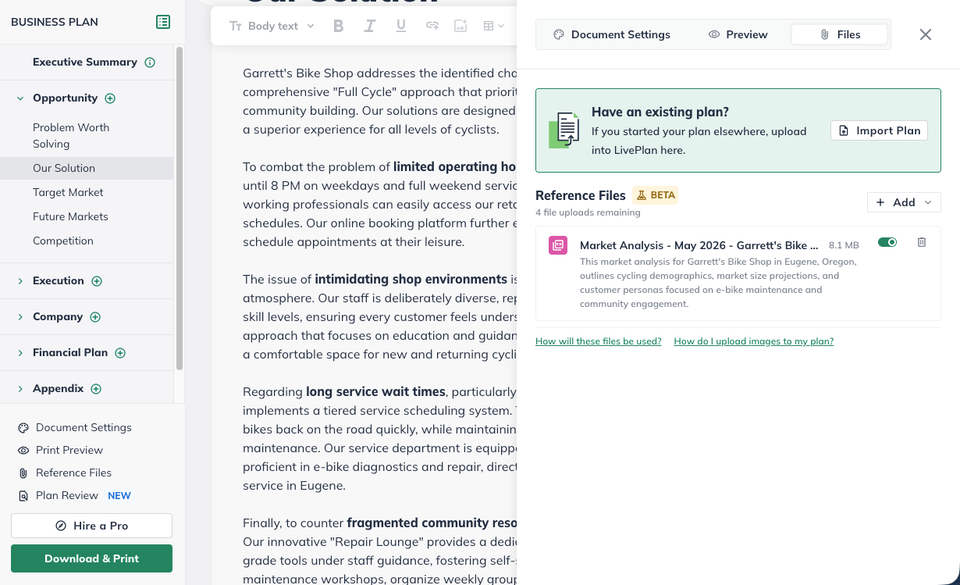
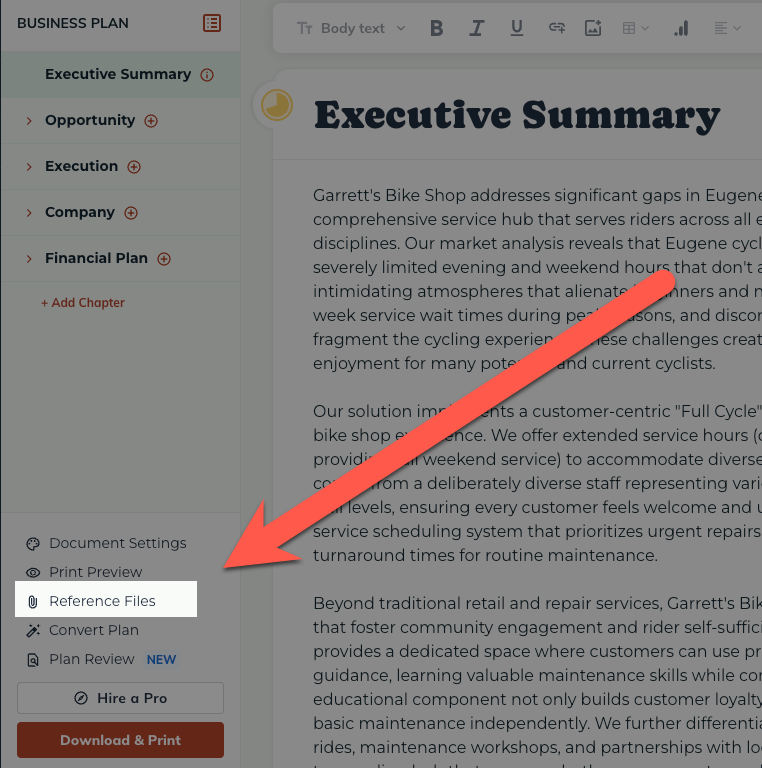
Open your plan in the editor and click the Reference Files tab in the right-hand panel.
This will open the Reference Files window.
Click Import Plan in the “Have an existing plan?” prompt.
Select your file from your computer. Supported file types include .doc, .docx, .txt, .md, .pdf, and .csv. Maximum file size is 20MB.
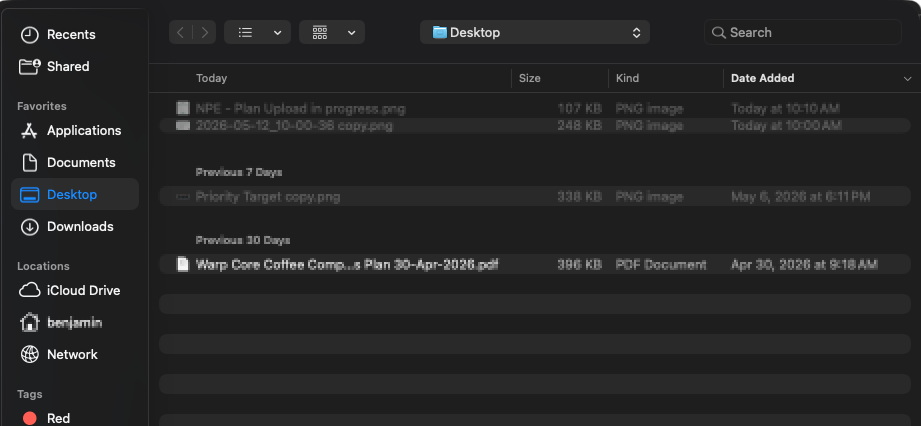
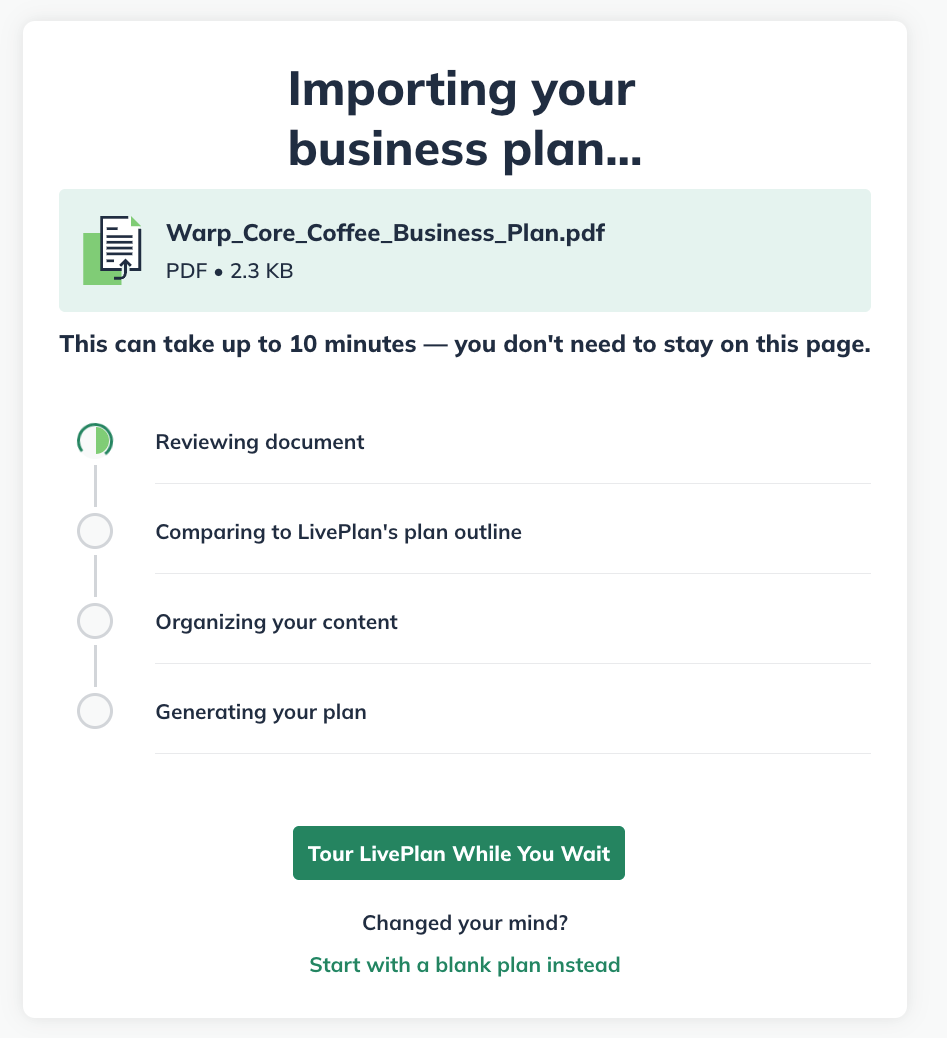
LivePlan will then begin processing and mapping your document.
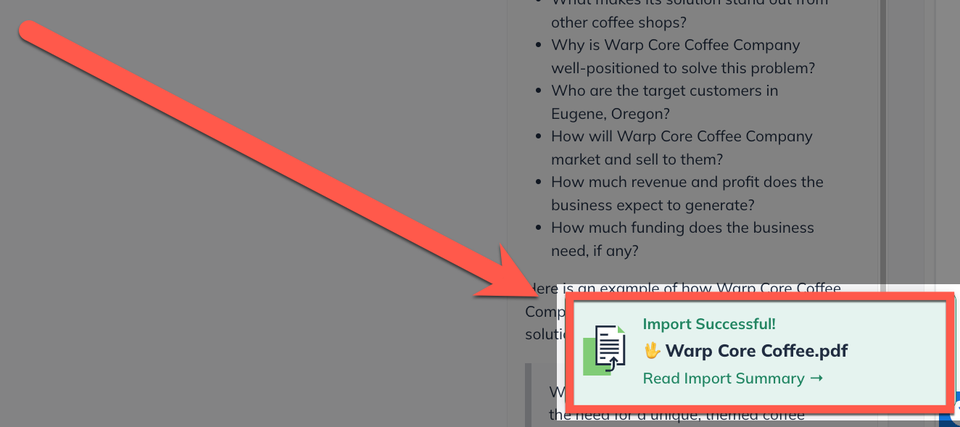
When the import finishes, you’ll see an Import Successful confirmation in lower right corner of your plan section with a link to Read Import Summary.
The process can take up to 10 minutes depending on file size. You don’t need to stay on the page while it runs.
From here, you can start working on your imported plan or review the import summary.
Reviewing Your Import Summary
After a successful import, click Read Import Summary to see how your content was mapped into LivePlan.
This is your first chance to review and make adjustments before you start editing in LivePlan.
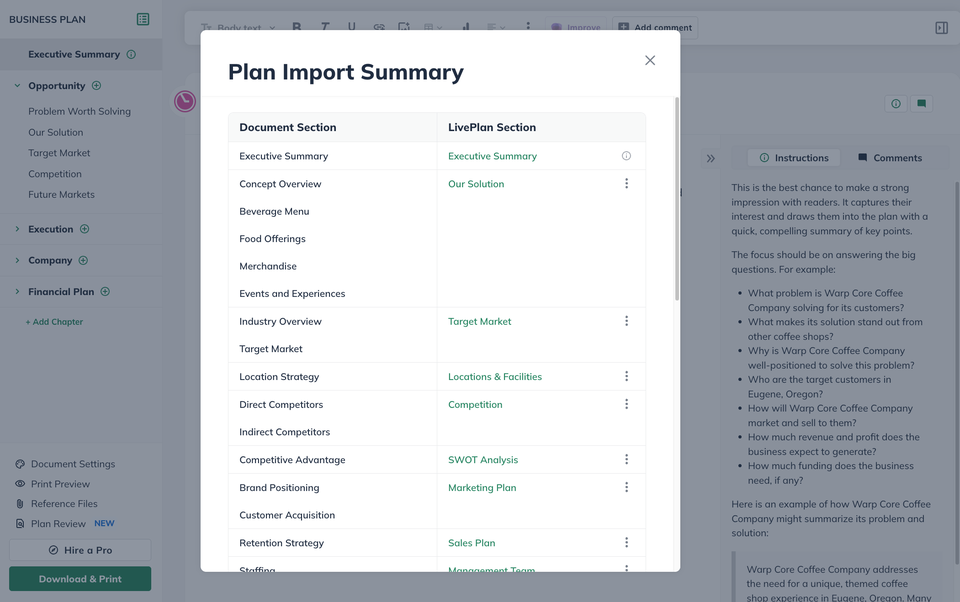
The Mapping Table
Mapped Content
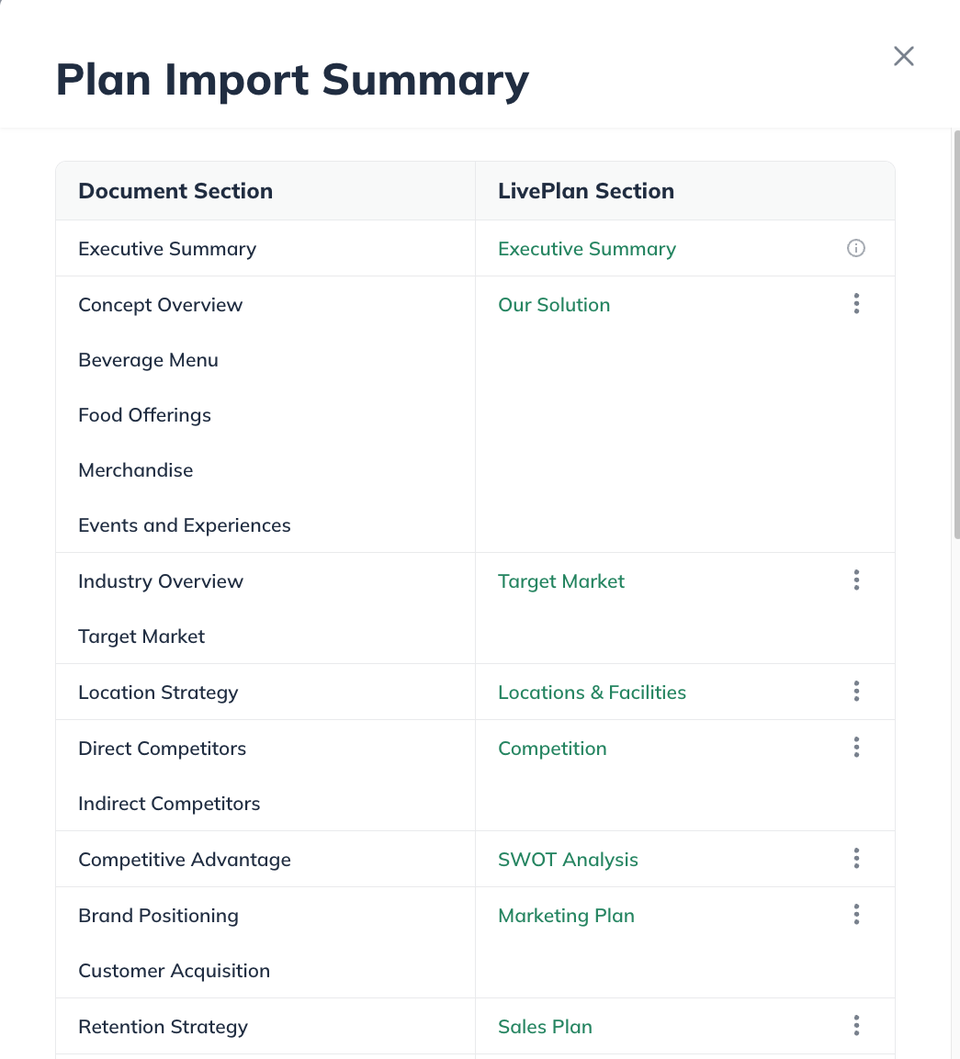
The summary shows a two-column table with your original document’s sections on the left and the corresponding LivePlan sections on the right. This is how LivePlan organized your content.
Where your document sections matched LivePlan’s standard plan outline, content was placed into the corresponding section.
Unmapped Plan Sections
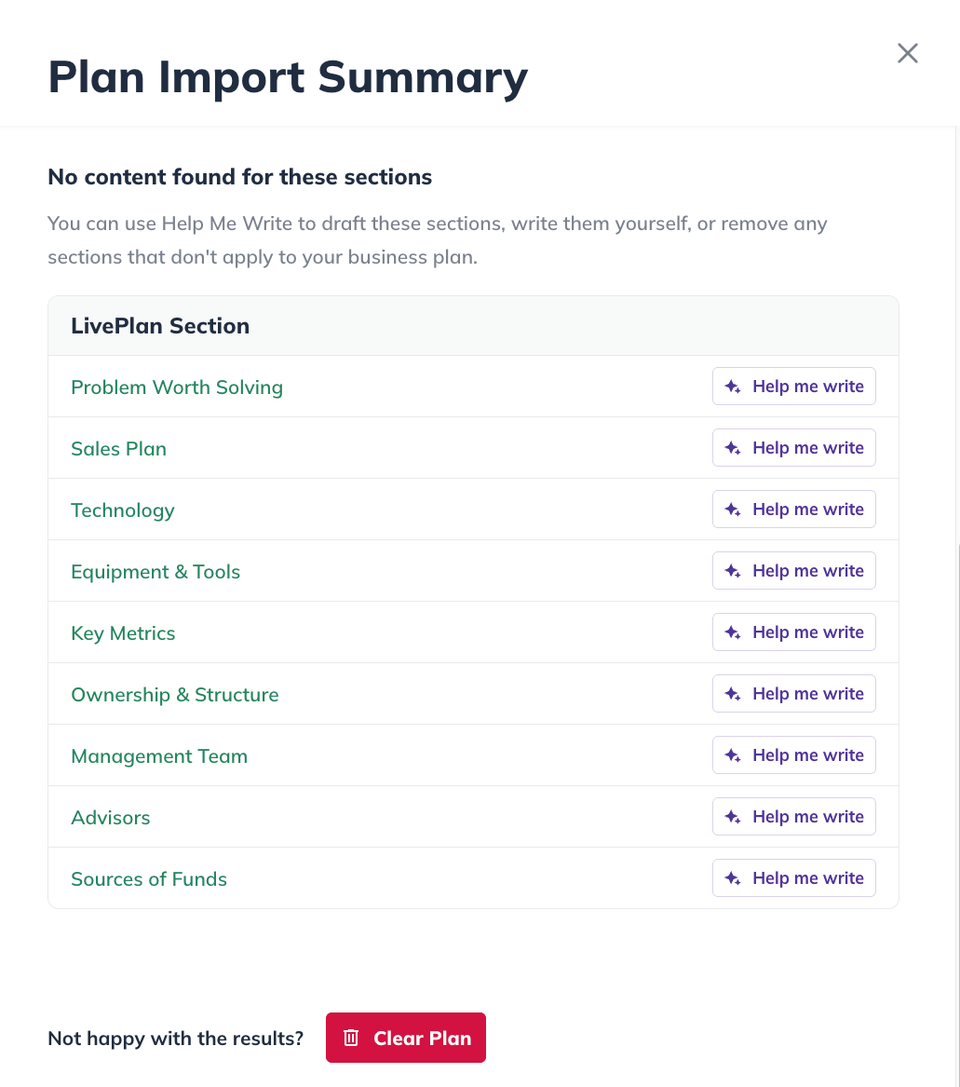
Below the mapping table, you’ll see a list of LivePlan sections where no matching content was found in your document. These sections still appear in your plan outline.
Each one includes a Help me write button so you can use LivePlan’s AI writing tools to draft content for them.
Note: If a section doesn’t apply to your business, you can remove it from your plan outline later.
Starting Over
If the import results don’t look right, you can click Clear Plan at the bottom of the summary to remove all imported content and reset to a blank outline.

Note: This cannot be undone, but you can always import a new document afterward.
Editing Your Imported Content
After closing the import summary, you’re in the plan editor with your imported content. The left-hand outline shows your chapters and sections, and each section contains the content LivePlan mapped from your document.
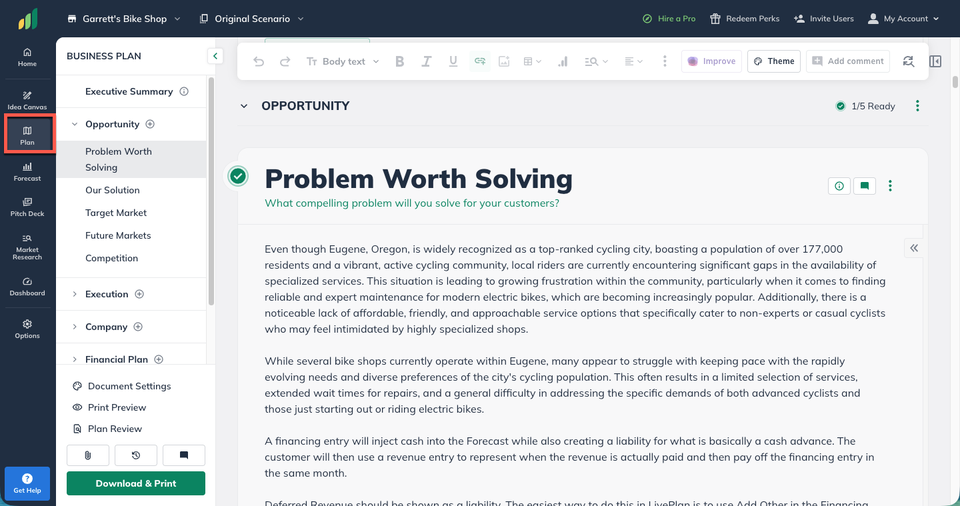
This interactive demo will show you how to start editing your plan content now that it's in LivePlan.
To learn more about working in LivePlan, please read: The New Plan Experience
Using Reference Files to Improve Your Plan
Uploading reference files allows LivePlan’s AI writing tools to generate content that better reflects your specific business. To supplement the context given in the company description and Help Me Write prompt, the AI uses your uploaded materials to create consistent, tailored, and even more accurate plan content.
Reference Files Menu
Once uploaded, your reference files are automatically used whenever you run Help Me Write or other AI rewrite tools in your plan. This means your documents help guide AI-generated content across your entire plan, improving clarity and consistency with every draft.
Reviewing your uploaded files
You can upload and manage reference files from the Plan section under Reference Files.
From there, you can add files, review what’s been uploaded, preview individual documents, and remove or replace files as needed.

Importing Financials into LivePlan
If you already have a financial forecast in a spreadsheet, Import Financials can use it to build your forecast in LivePlan. Upload an Excel or CSV file, and Help Me Forecast will map your data into LivePlan's forecast structure. You will then review and approve the proposed entries before anything is created.
Import Financials is designed to create a new forecast from a spreadsheet — it's not for adding a spreadsheet to a forecast you've already started in LivePlan.