Creating Your Pitch
Working in the LivePlan Idea Canvas
The LivePlan Idea Canvas helps you organize and explore the key elements of your business idea, making it easier to refine your strategy and build a stronger business plan.
The Idea Canvas is organized into chapters, each containing numbered sections that focus on a different part of your business. This guide covers each section in detail, along with the tools available to help you build and refine your ideas.
Note: If you haven’t already, see Using the LivePlan Idea Canvas for an overview of the Idea Canvas and what you’ll find inside it.
Adding new ideas to the Idea Canvas
Each section of the Idea Canvas includes a text field for capturing your ideas as short entries. You can add multiple entries per section to build out different aspects of your thinking.
Summary: Adding ideas to your canvas
Navigate to the Idea Canvas, click into any section, type a short entry, and press Enter or click the add button to save it.
Repeat for each idea you want to capture.
Note: You can use the LivePlan Assistant to generate suggestions for any Idea Canvas entry.
Step-by-step guide: Adding ideas to your canvas
Click Idea Canvas in the left-hand navigation menu.
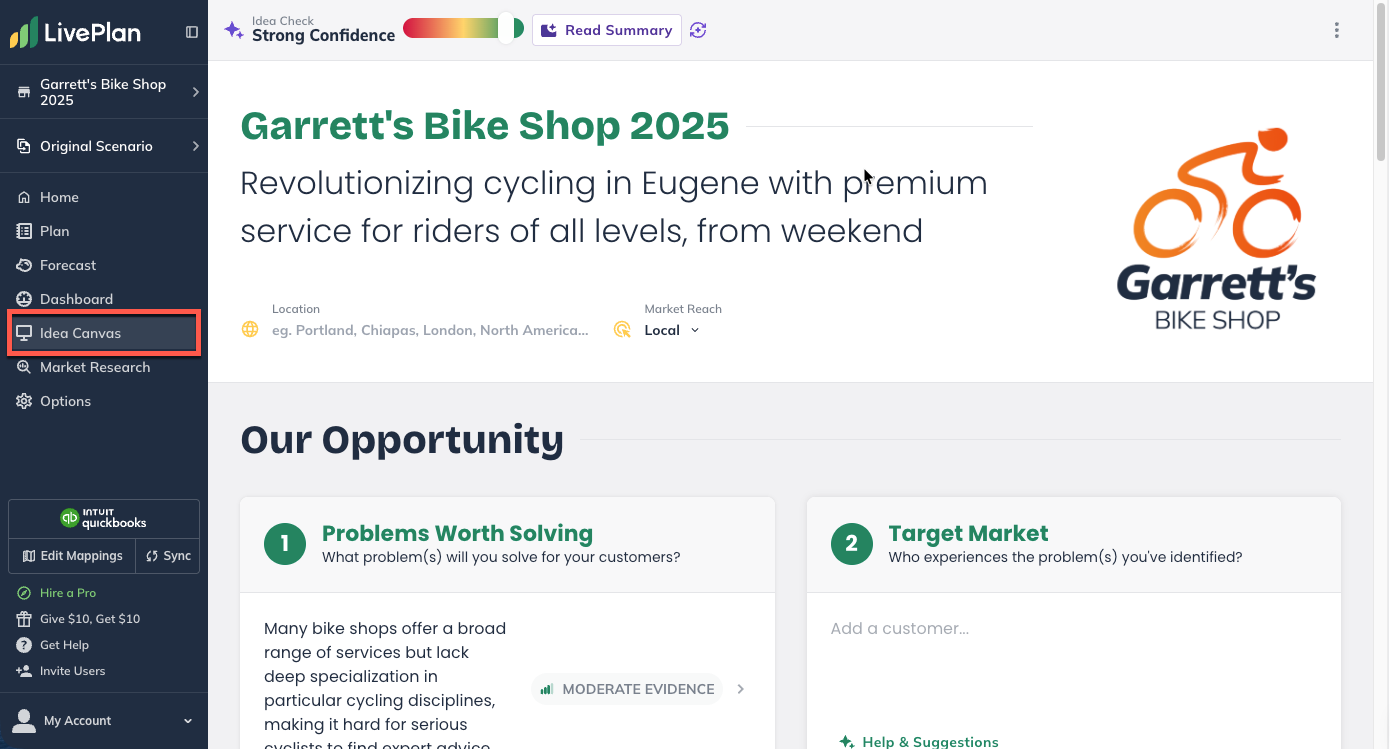
Click on the section you want to work on.
Click in the text field and type a short entry.
Note: You can use the LivePlan Assistant to generate suggestions or import ideas from existing Plan content.
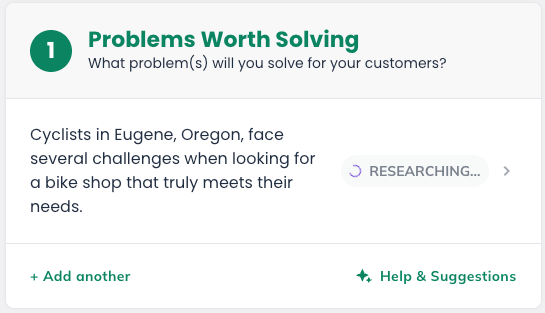
Press Enter or click Submit to save the entry.
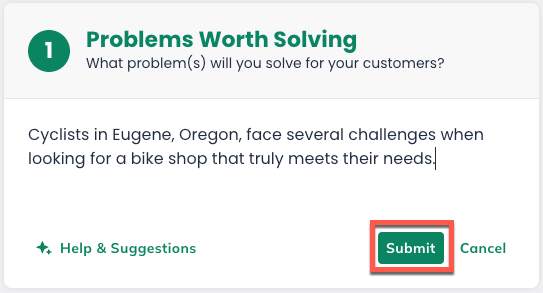
The LivePlan Assistant will then conduct deep research on the added idea.
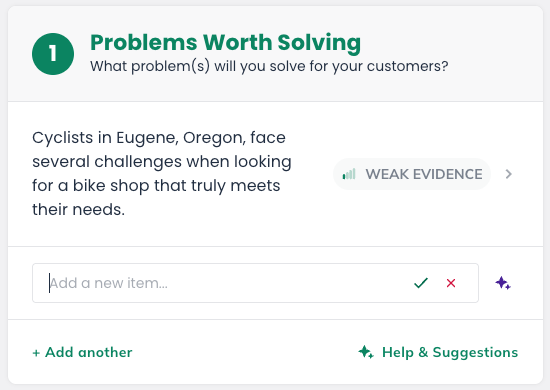
Repeat for additional ideas. You can add multiple entries to each section and work through sections in any order.
Editing Idea Canvas entries
The Idea Canvas is designed for easy review and refinement of ideas as you learn more. As your thinking evolves, you can edit, reorder, or remove entries in any section.
Summary: Editing and organizing entries
Click on any entry to edit its text.
Drag entries to reorder them within a section.
Click Remove to delete an entry.
Note: After editing, click Regenerate to update Evidence Badges.
Step-by-step guide: Editing Canvas entries
Click on the entry you want to edit.
This will display the Evidence panel for the selected entry.
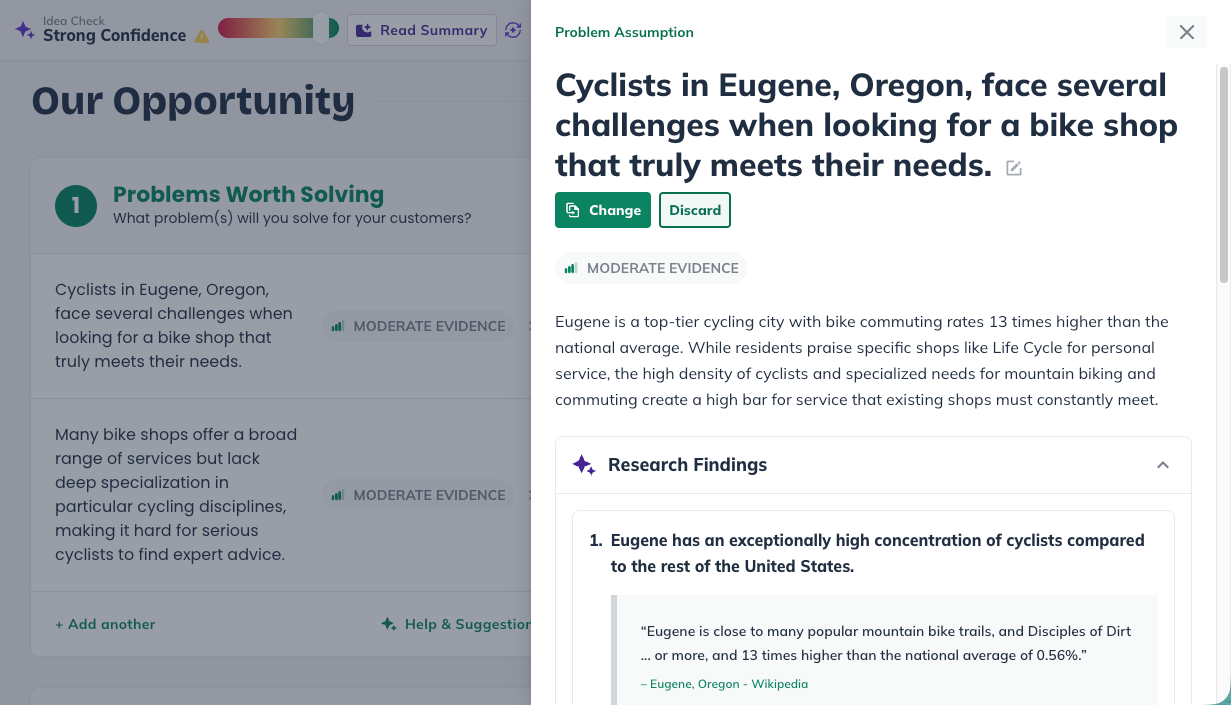
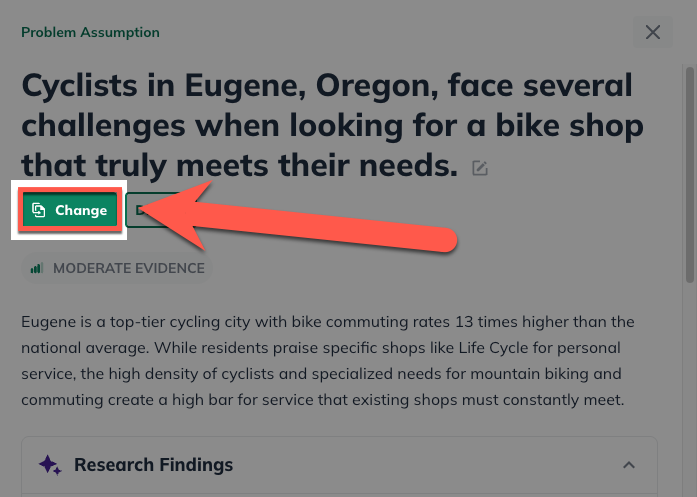
Click Change to display editing options.
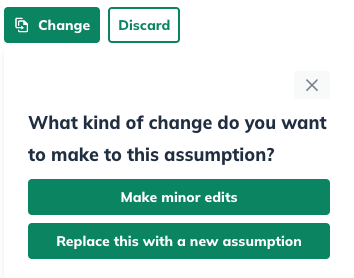
Choose Make Minor edits to edit the existing text, or Replace this with a new assumption to display a blank field to add new text.
Make the desired changes to the entry.
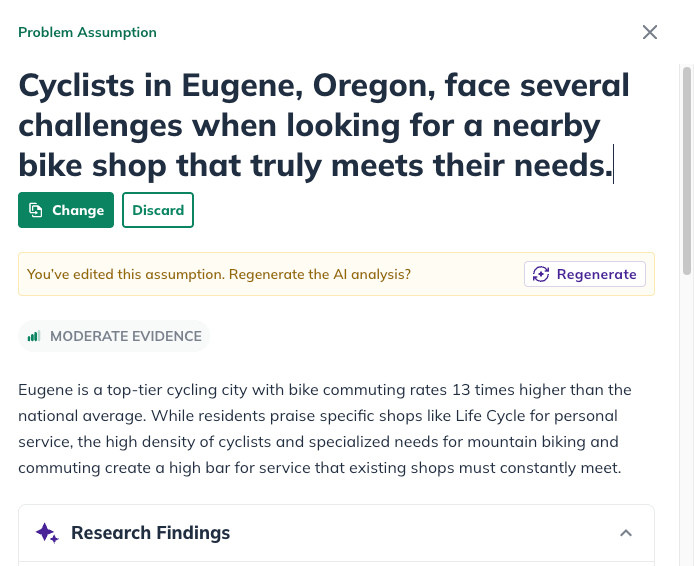
Note: An edited idea entry does not automatically update the research findings.
Updating your Evidence Badge
Click Regenerate to update Evidence Badges to reflect your edits.

The LivePlan Assistant will then conduct updated research to reflect the changes you made.
Once research is completed, the findings and new Evidence Badge will be reflected in your entry.
Step-by-step guide: Reordering Canvas entries
Navigate to the section that you want to reorder.
Hover your cursor over an entry to display the drag pad.
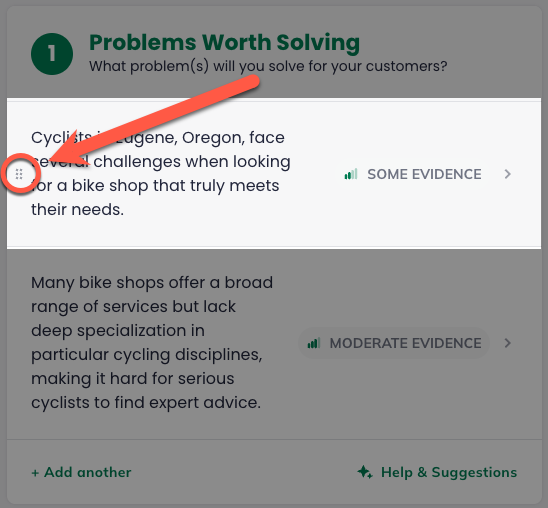
Click, hold, and drag the entry to its new position within the section.
Step-by-step guide: Deleting Canvas entries
Click on the entry you want to delete.
This will display the Evidence panel for the selected entry.
Click Discard to display editing options.
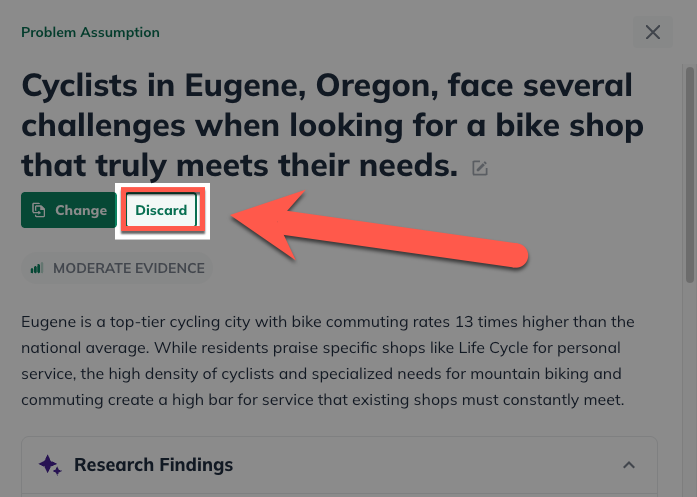
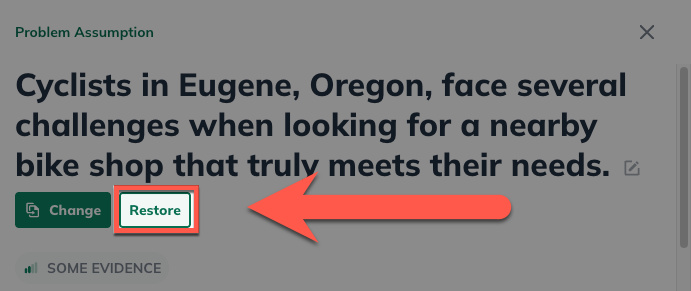
Note: To undo deleting an entry, click Restore before closing the Evidence Panel.
Working Through the Idea Canvas Sections
The Idea Canvas is organized into four main sections, each containing numbered sub-sections. Additionally, there are 4 optional sections that can be added.
You can work through the sections in any order.
Start with what you know best and come back to fill in the rest.
Below is an expandable guide to each section: What it’s for and examples of entries you could add.
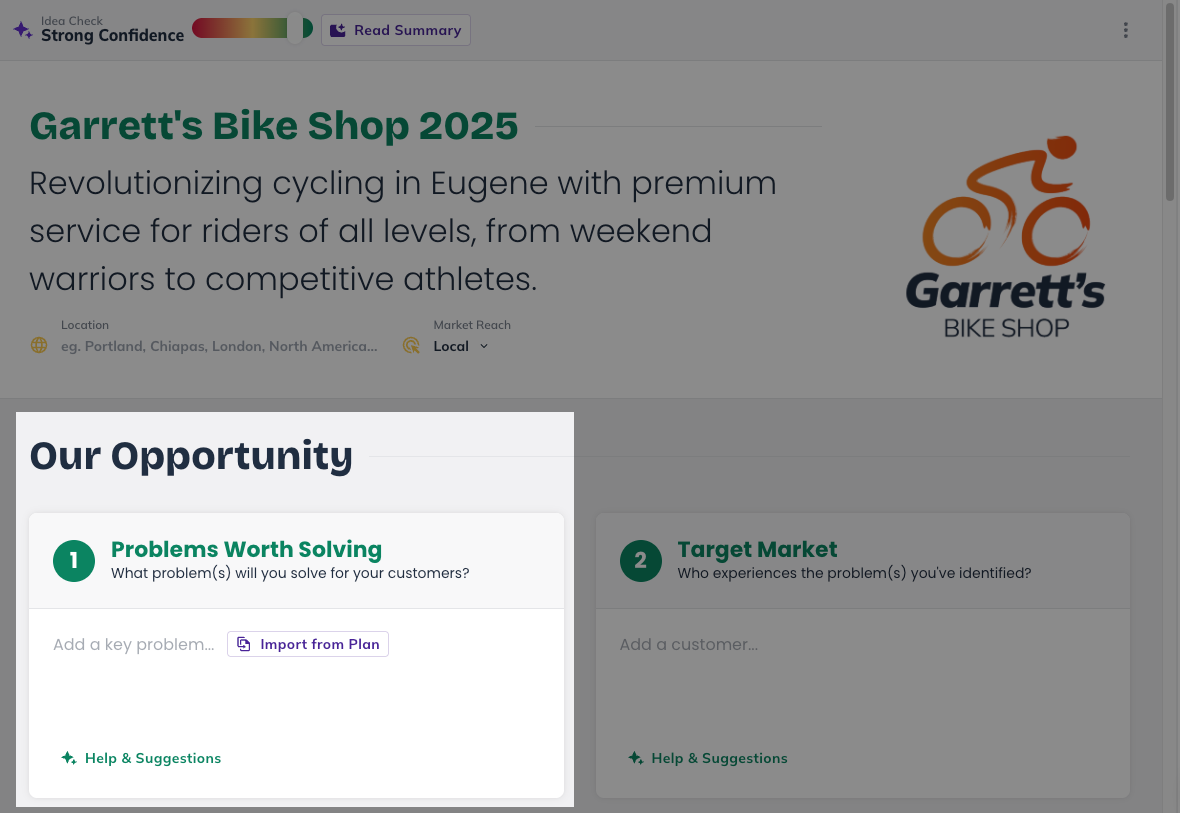
Our Opportunity
This is where you define the core of your business idea: What problem you’re solving, who it’s for, and how your solution works.
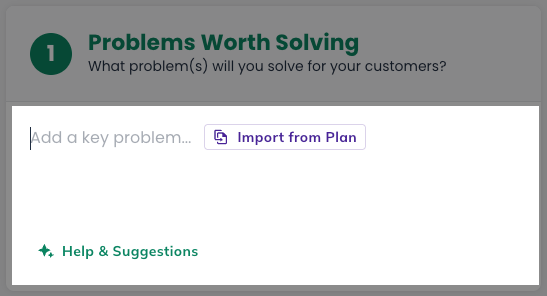
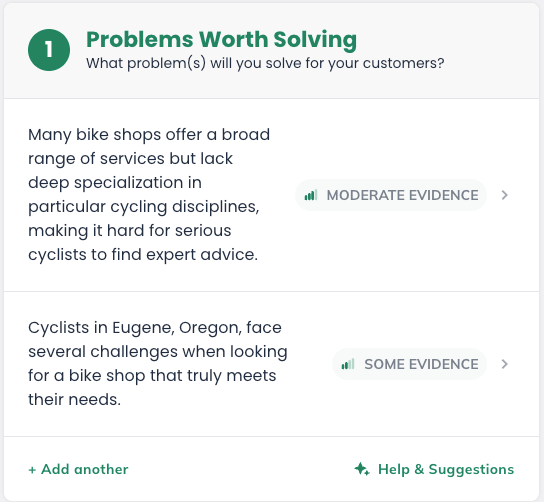
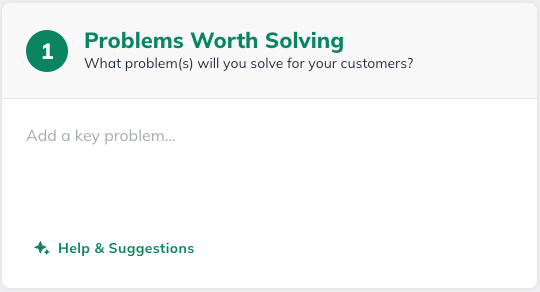
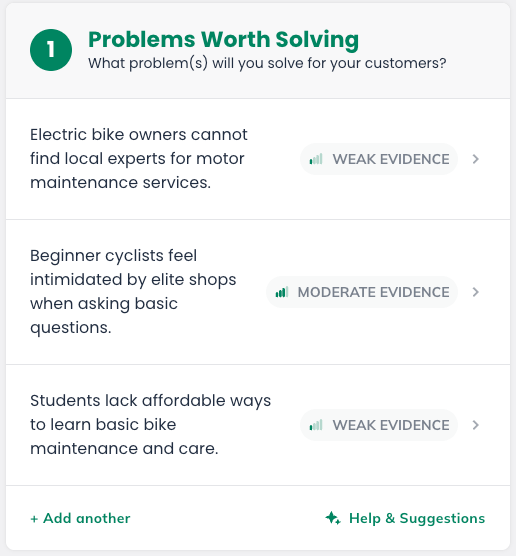
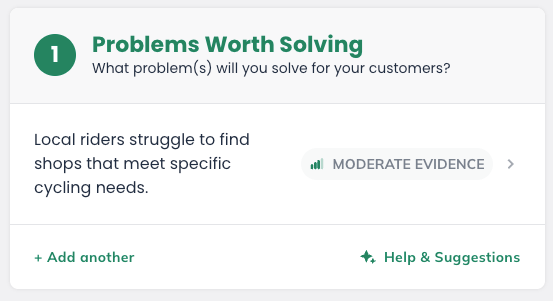
1. Problems Worth Solving
Purpose:
Identifies the key customer needs or challenges your business aims to address.
What to add:
Specific problems your customers face that your business can solve. Focus on real, concrete problems instead of features of your product.
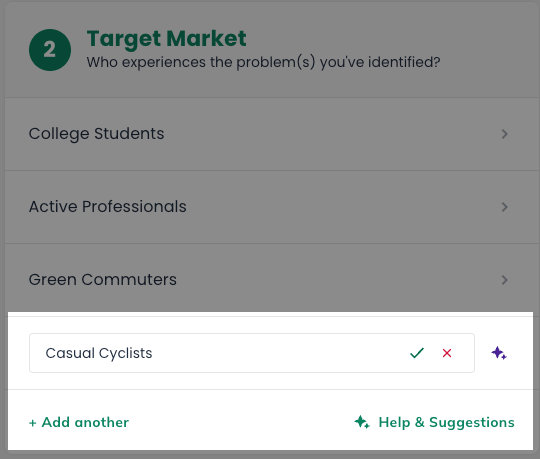
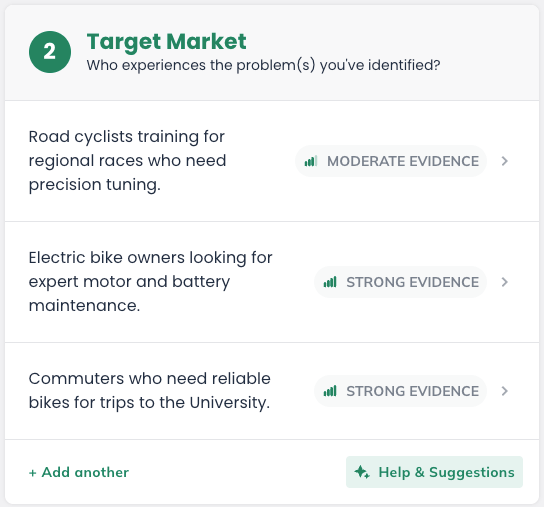
2. Target Market
Purpose:
Defines the groups of customers your business is designed to serve.
What to add:
Descriptions of your ideal customer segments: Who they are, what they need, and why they’d care about your solution.
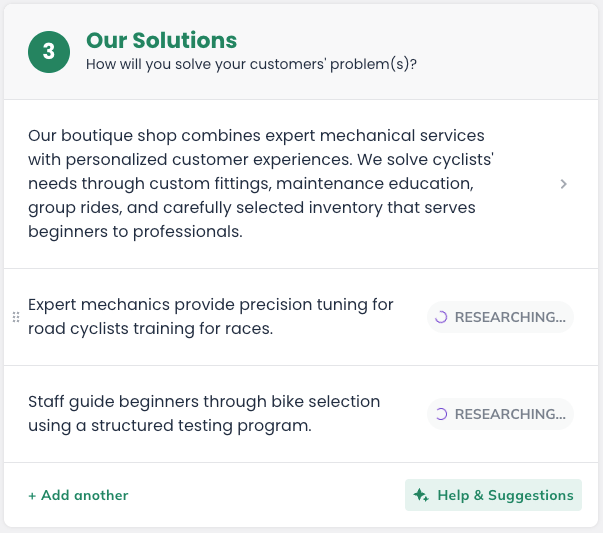
3. Our Solutions
Purpose:
Outlines the products or services your business will offer to solve the problems you identified.
What to add:
What you’re selling or providing, and how it directly addresses the problems listed in section 1.
Competitive Landscape
Once your core idea is defined, the next step is understanding how it fits into the existing market.
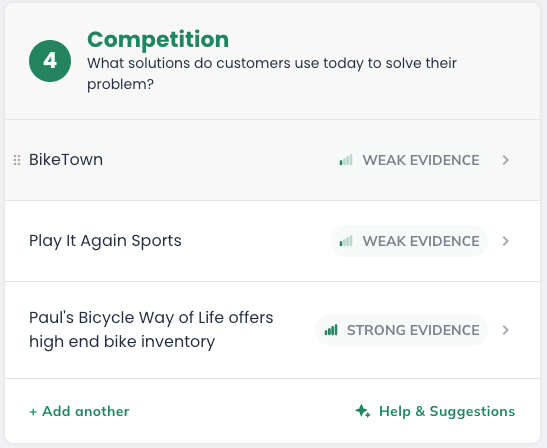
4. Competition
Purpose:
Identifies the other businesses or alternatives competing for the same customers.
What to add:
Names or types of competitors and what they currently offer.
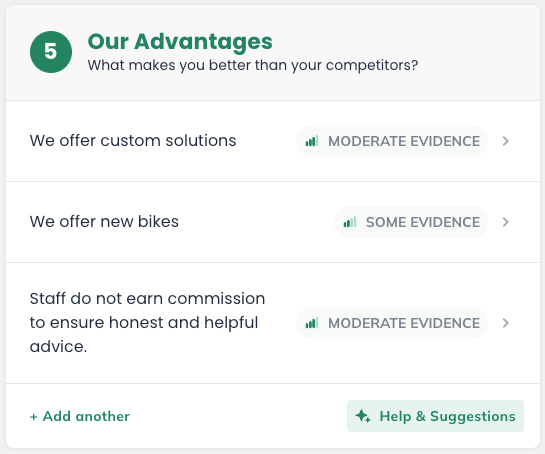
5. Our Advantages
Purpose:
Highlights the strengths or differentiators that make your business stand out from competitors.
What to add:
What you do better, differently, or uniquely.
Sales & Marketing
With your positioning in place, you can start thinking about how your business will reach and attract customers.
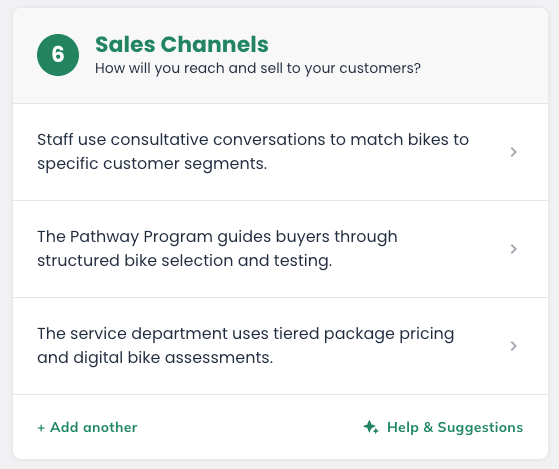
6. Sales Channels
Purpose:
Explains how your business will reach and sell to customers.
What to add:
The channels, platforms, or methods you’ll use to get your product or service to customers. Examples: online store, retail location, direct sales team, partnerships.
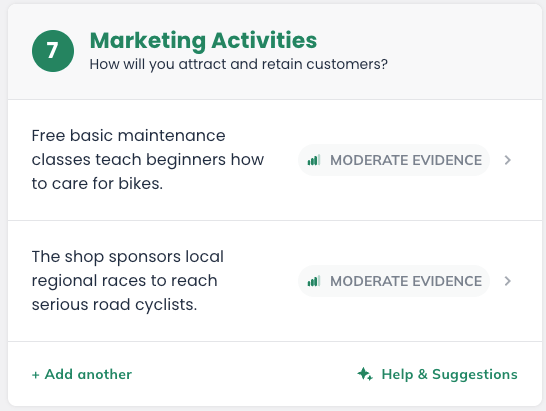
7. Marketing Activities
Purpose:
Explains how your business will attract and retain customers.
What to add:
Examples: social media advertising, email campaigns, community partnerships, content marketing.
Financial Model
Finally, you’ll begin outlining the financial side of your business at a high level.
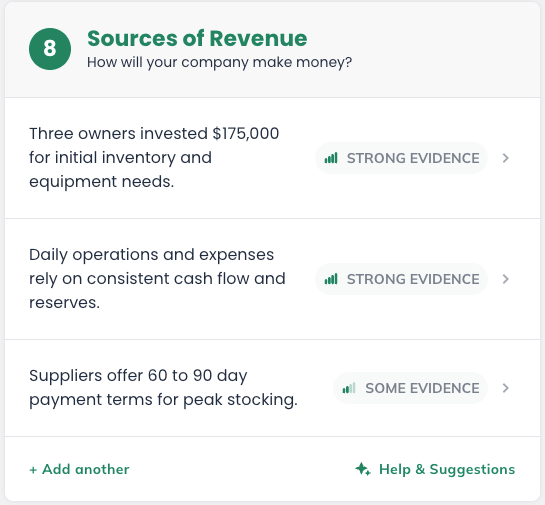
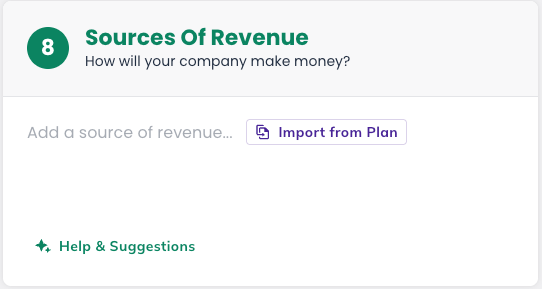
8. Sources of Revenue
Purpose:
Summarizes how the business plans to make money.
What to add:
Revenue streams, pricing models, or ways your business generates income. Examples: subscription fees, one-time purchases, consulting fees, advertising revenue.
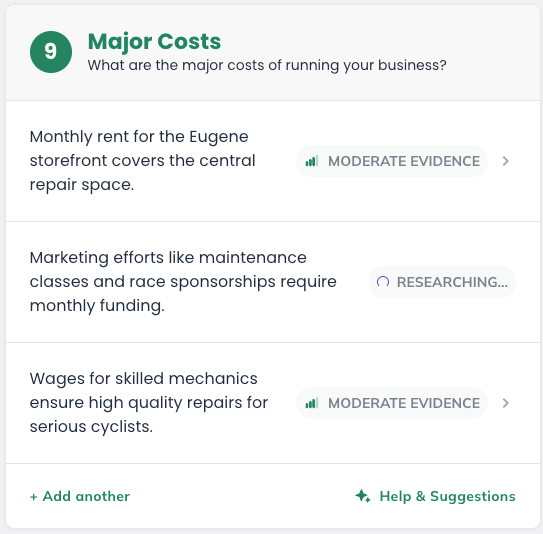
9. Major Costs
Purpose:
Identifies the biggest expenses involved in running the business.
What to add:
Key cost categories that will impact your bottom line. Examples: rent, labor, materials, marketing spend, software, insurance.
Additional Sections
You can add optional sections by clicking Add Additional Sections at the bottom of the canvas.
Note: These sections are not included in Idea Check
Using the LivePlan AI Assistant
The Idea Canvas includes AI-powered tools to help you build and refine your ideas. These tools are part of LivePlan’s AI Assistant and are available throughout the canvas.
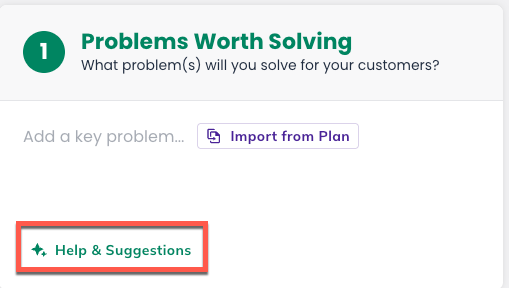
AI Help & Suggestions
Every section of the Idea Canvas includes a Help & Suggestions button.
This generates AI-powered ideas based on what you’ve already added to your canvas, not generic advice, but suggestions specific to your business.
Summary: Adding AI Suggestions
Click Help & Suggestions in any section to receive a list of AI-generated ideas tailored to your business.
Review the suggestions and add any that fit.
Step-by-step guide: Adding AI Suggestions
Navigate to the section you would like to edit and click the Help & Suggestions button.
LivePlan generates suggestions based on your business context: What you’ve entered in other sections, your location, and your market.
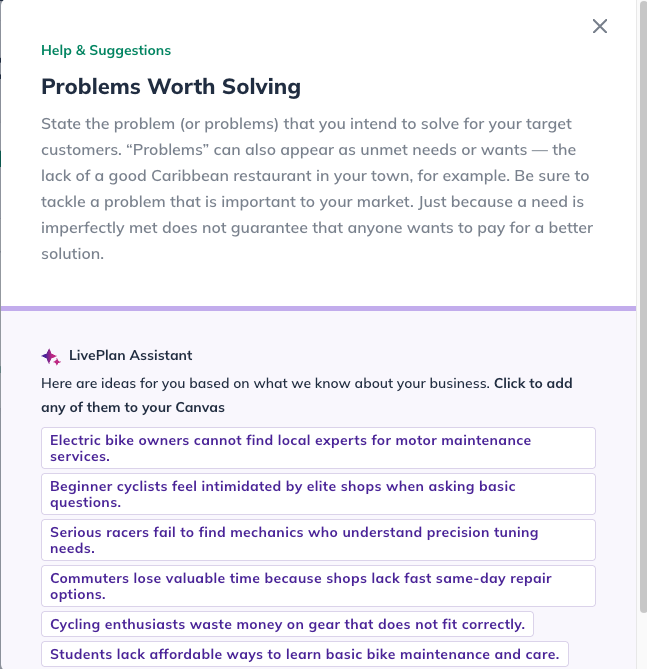
Review the suggestions. Click on any suggestion to add it directly to your canvas.
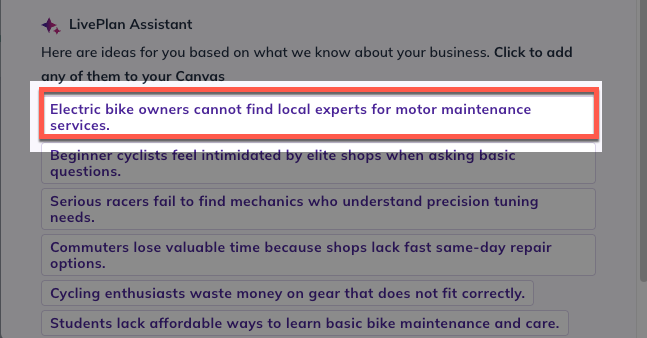
LivePlan will automatically run a Evidence check on the selected suggestion.
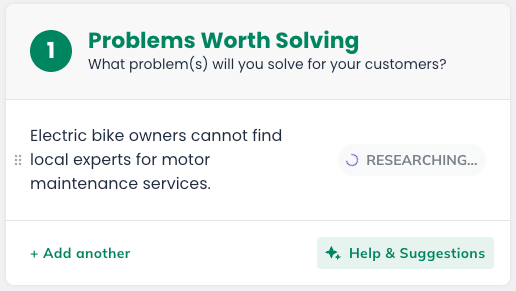
You can then view and edit any added suggestion after it’s in your canvas, just like any other entry.
AI suggestions are a starting point: Use them to fill gaps in your thinking or to spark new ideas, then use your own expertise to refine them to match your specific vision.
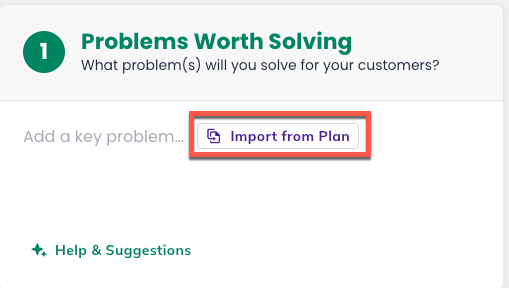
Import from Plan
If you’ve already started a business plan in LivePlan, the Import from Plan option lets you pull existing content into your Idea Canvas sections.
This saves you from re-entering ideas you’ve already documented.
Summary: Importing from your Plan
Click Import from Plan in any available section to pull relevant content from your existing LivePlan business plan which is then formatted to fit into that canvas section.
Note: Imported content also feeds into Idea Check’s analysis through LivePlan’s Market Research tool.
Step-by-step guide: Importing from Plan
Navigate to the section you would like to edit and click the Import from Plan button.
LivePlan pulls relevant content from your existing business plan into the canvas section.

Review the imported content. You can edit, reorder, or delete imported entries just like any other canvas entry.
Imported content is also used by LivePlan’s Market Research tool as part of the Idea Check analysis, giving you a more comprehensive validation of your business idea.
Using Idea Check to refine your ideas
Idea Check evaluates your business idea using real research and evidence paired with AI suggestions. It provides a confidence rating, identifies risks, and offers actionable recommendations to strengthen your idea.

Summary: Running Idea Check
Once an Idea Canvas section is completed, click Check Idea Now to start your research.
LivePlan will display a panel with a confidence level, top risks, and next steps.
Note: Re-run Idea Check after completing each section for deep analysis each step of the way.
Step-by-step guide: Running Idea Check
Once an Idea Canvas section is completed, the Idea Check indicators will be filled in and can now be interacted with.
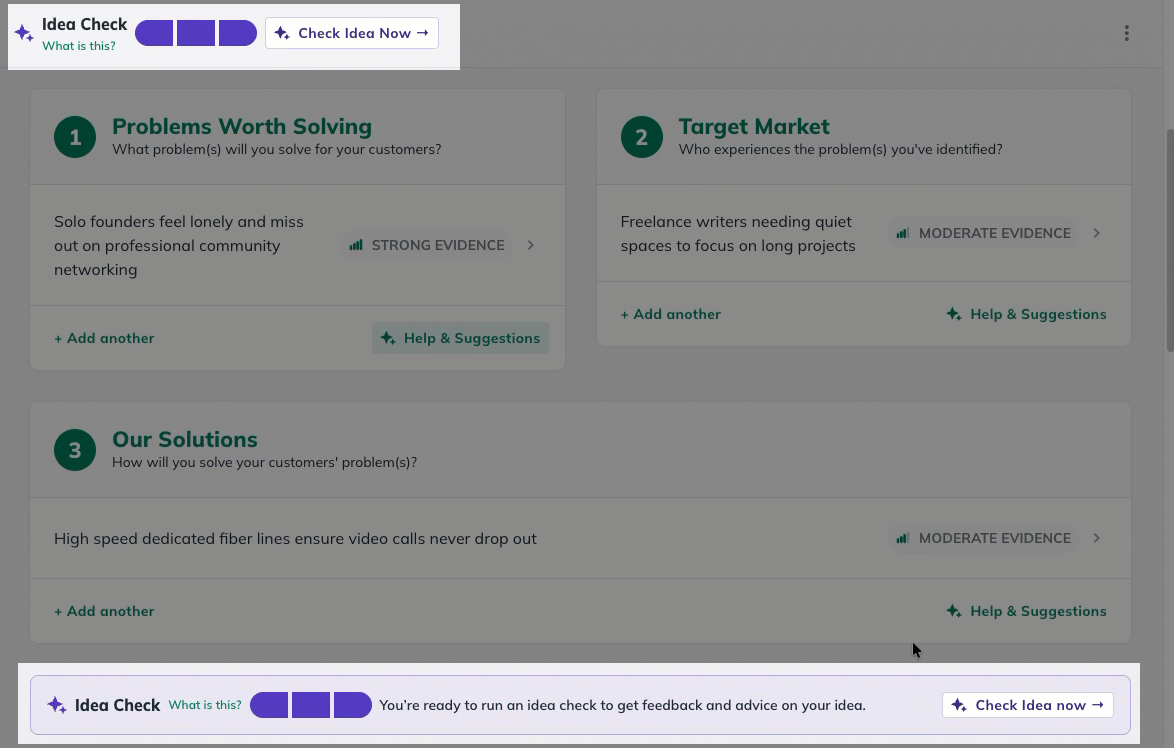
Click Check Idea Now.

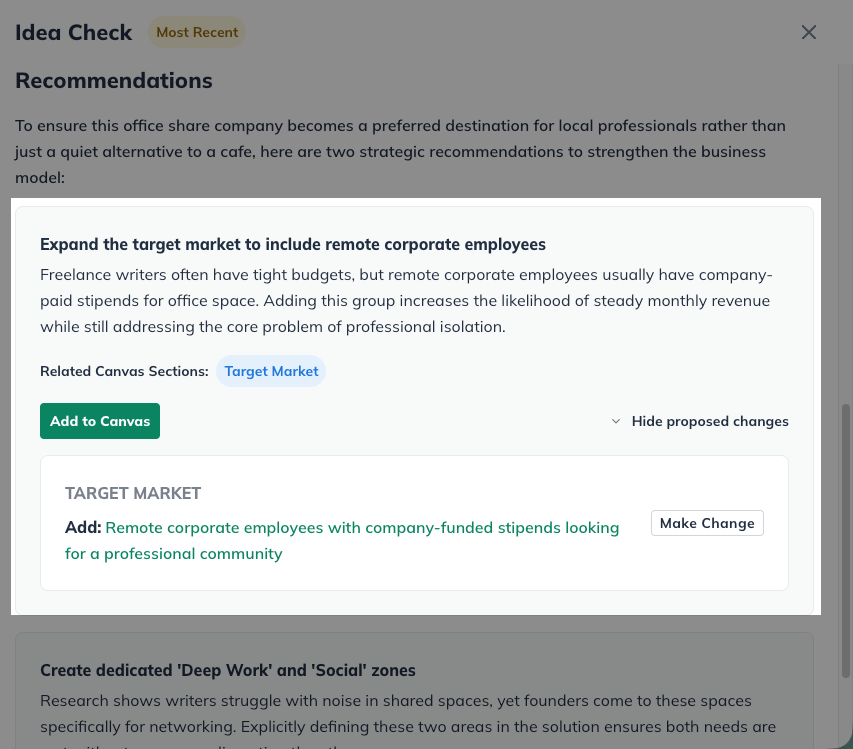
The Idea Check panel opens, showing your confidence level, a summary, top risks, and recommendations.
Review the recommendations. Each includes a Make Change or Add to Canvas button so you can act directly.
Idea Check confidence levels at a glance
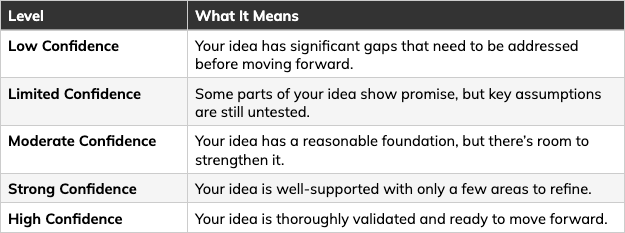
Don’t worry if your confidence level starts less than perfect. That’s completely normal. Many new business ideas begin with untested assumptions.

The goal is to fill in more sections, act on Idea Check’s feedback, and re-run the check as your canvas grows. Each re-check captures a new snapshot so you can see your progress.
Exporting Your Idea Canvas
Once you’ve built out your Idea Canvas, you can export it as a PDF or share it via a public Web Link.
Summary: Exporting Idea Canvas to PDF
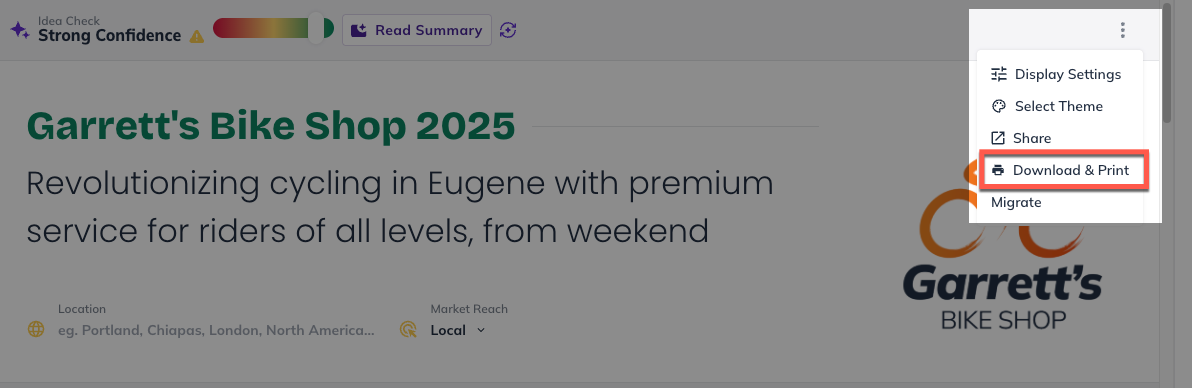
Click the publishing menu in the top right of the navigation bar.
Select your options, including whether to include status badges and your confidence score, and download a PDF of your canvas.
Step-by-step guide: Exporting Idea Canvas to PDF
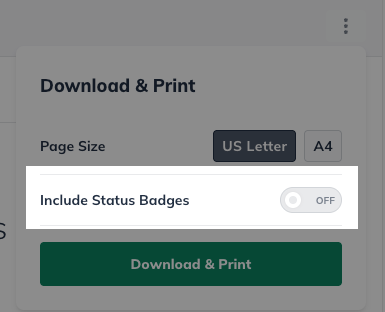
In the publishing menu in the top right of the navigation bar, click Download & Print to display the PDF export menu.
In the PDF export menu, you can select your page size.
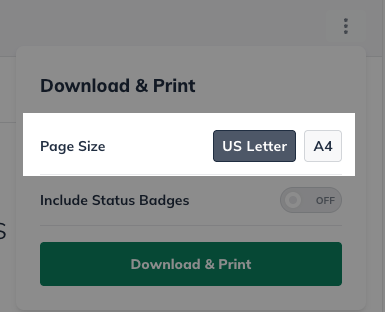
You can also select if you want to display assumption status badges in your PDF.
Click Download & Print to export your Idea Canvas to PDF.
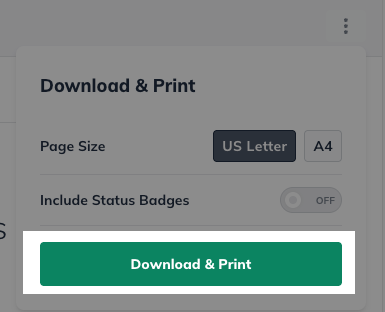
This produces an easily attachable PDF file for sharing your Idea Canvas.
Summary: Sharing via Web Link
Click the publishing menu in the top right of the navigation bar.
Select your options, including whether to include status badges and your confidence score.
LivePlan generates a shareable web link that can be quickly shared.
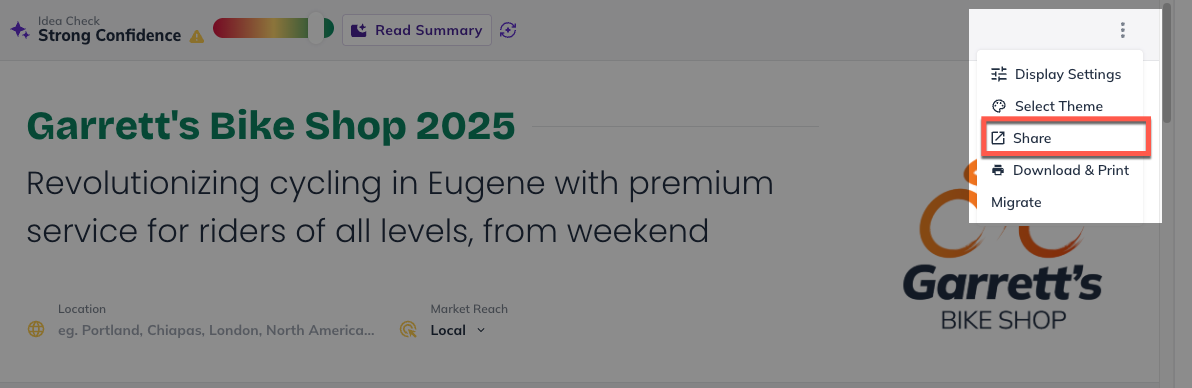
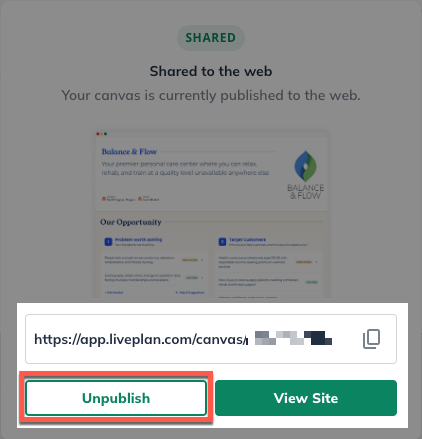
Step-by-step guide: Sharing via Web Link
In the publishing menu in the top right of the navigation bar, click Share to display the Web Link menu.
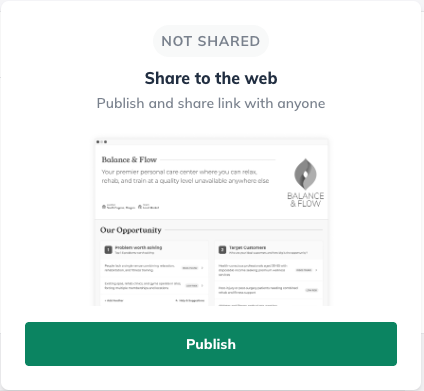
In the in Web Link menu, click Publish to generate a private URL link to a view-only version of your Idea Canvas.
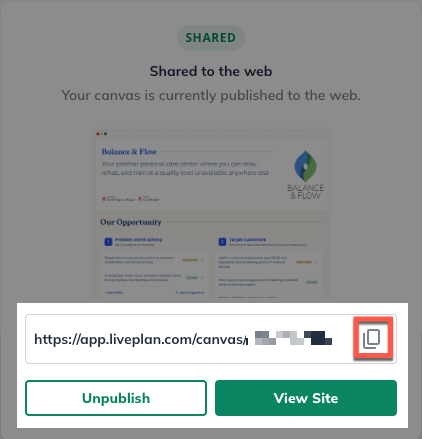
Once published, you can copy the private URL link into your clipboard to be pasted into emails or other communication.
You can also view the currently published link by clicking View Site.
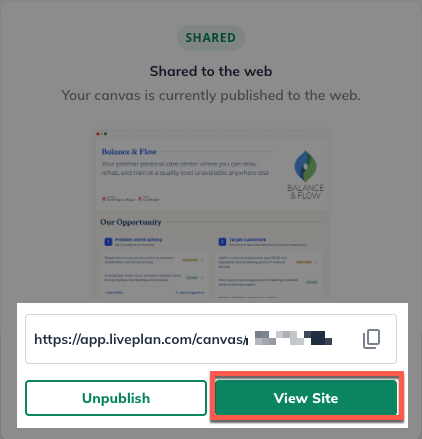
This will take you to the current version of your private URL link where you can review.
If you would like any currently active links to be unpublished to revoke access, click Unpublish.
Formatting Idea Canvas Exports
If you want to change the presentation of your Idea Canvas, you have a couple options:
Display Settings lets you filter displayed assumptions by evidence level.
Select Theme lets you choose your font or color theme.
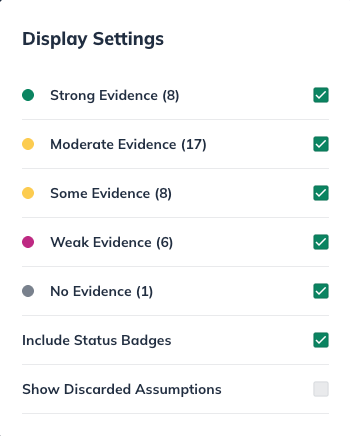
Display Settings
Display Settings lets you filter displayed assumptions by evidence level.
Why is this important?
This lets you curate which Sections of the Idea Canvas are shared so you only share what is prepared while you continue to iterate on less developed ideas.
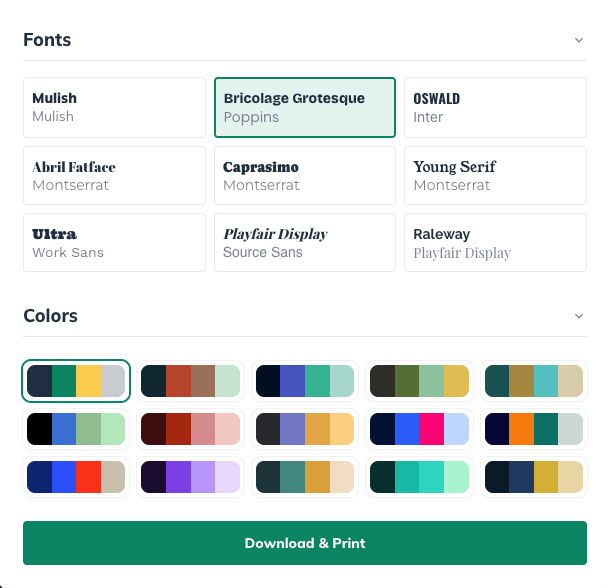
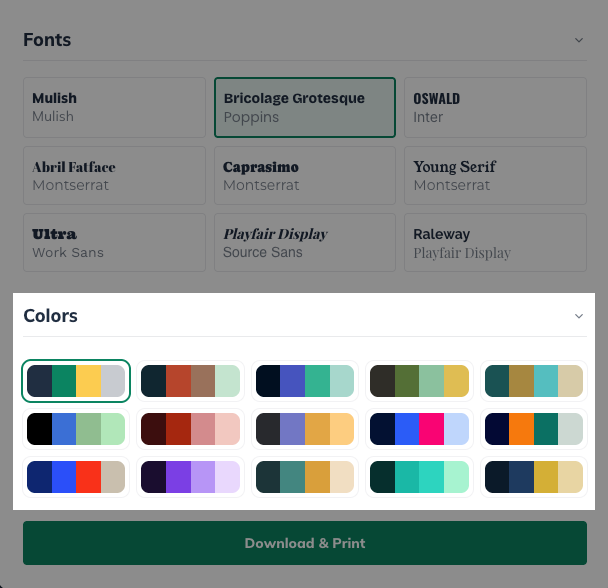
Select Theme
Select Theme lets you choose from one of 9 professional fonts.
Note: Any selected font will be immediately reflected in your Idea Canvas.
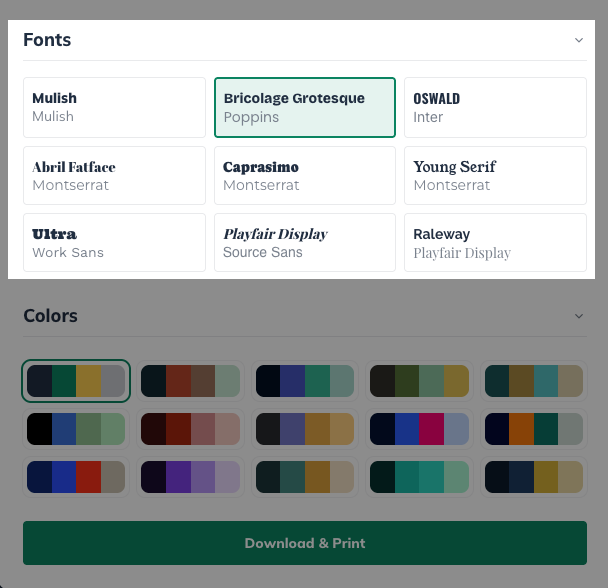
Select Theme also lets you choose from one of 15 color themes.
Note: Any selected color theme will be immediately reflected in your Idea Canvas.
Continue Learning
For more on how the Idea Canvas fits into your planning process:
Using the LivePlan Idea Canvas: A complete overview of the Idea Canvas and what you’ll find inside it.