Performance Tracking And Dashboard
Connect LivePlan to Xero
Getting set up with Xero
If you don't have a Xero account yet, you'll need to sign up for one.
You'll need to set up a Xero organization for your business. For help doing this, refer to the Xero Help Center.
Once you have a Xero account and organization set up, you can connect LivePlan to Xero.
Two ways to connect
Depending on your situation, you may be connecting your Dashboard to Xero in one of these two ways:
You're starting LivePlan in the Dashboard and working with a brand-new company file
You've already built a forecast in your LivePlan company file and are connecting to the Dashboard afterward
Your path through the connection process will differ depending on which of these options you choose. Please take a look at the instructions below on each option.
If you need help setting up the connection between Xero and LivePlan, please chat with us now, or contact us and we'll be happy to walk you through the process.
If you're starting a LivePlan company through the Dashboard
If you begin using LivePlan by connecting to Xero, then you'll have access to some automated features.
Sign in to your LivePlan account and Create a new company.
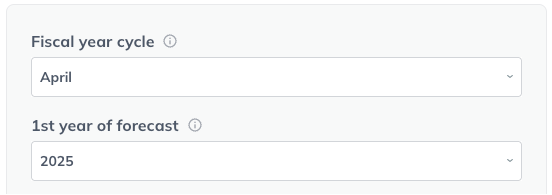
Set the start date for your forecast to the start of your current fiscal year:
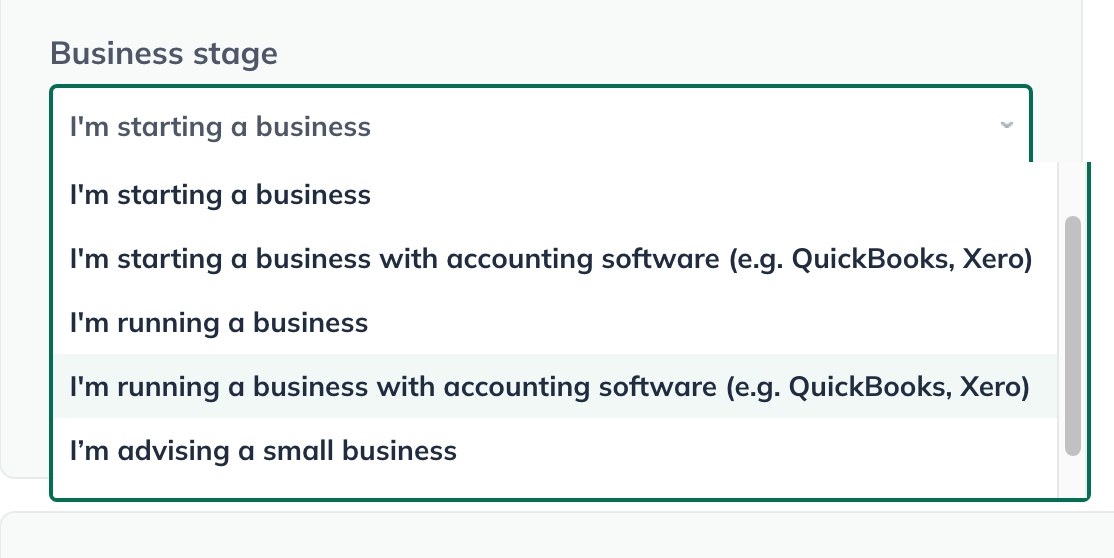
Choose I'm running a business with accounting software (e.g. QuickBooks, Xero) from the Business stage dropdown
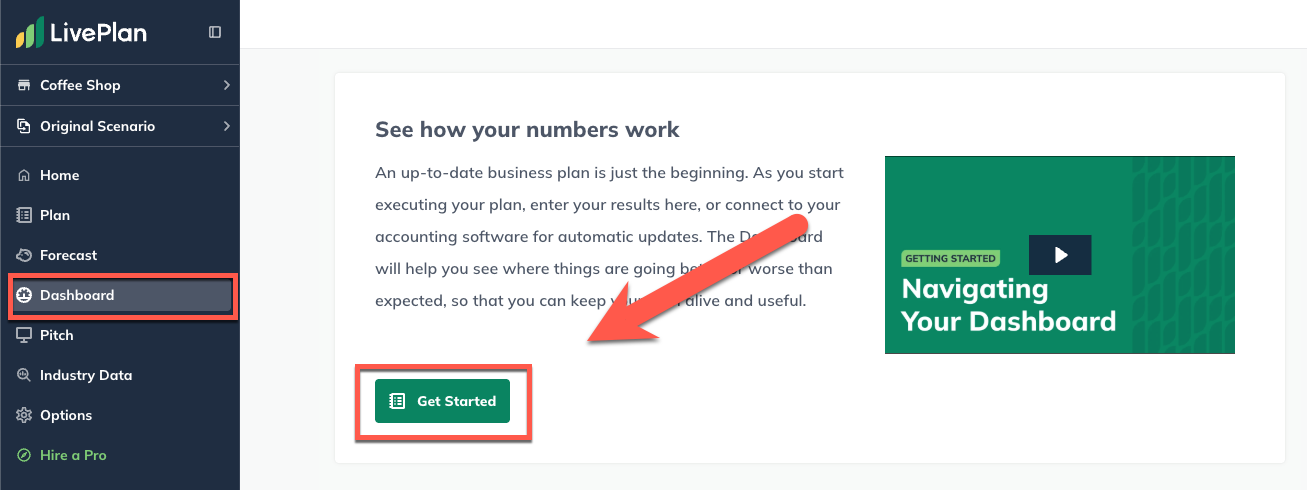
In the Dashboard section, click the Get Started button:
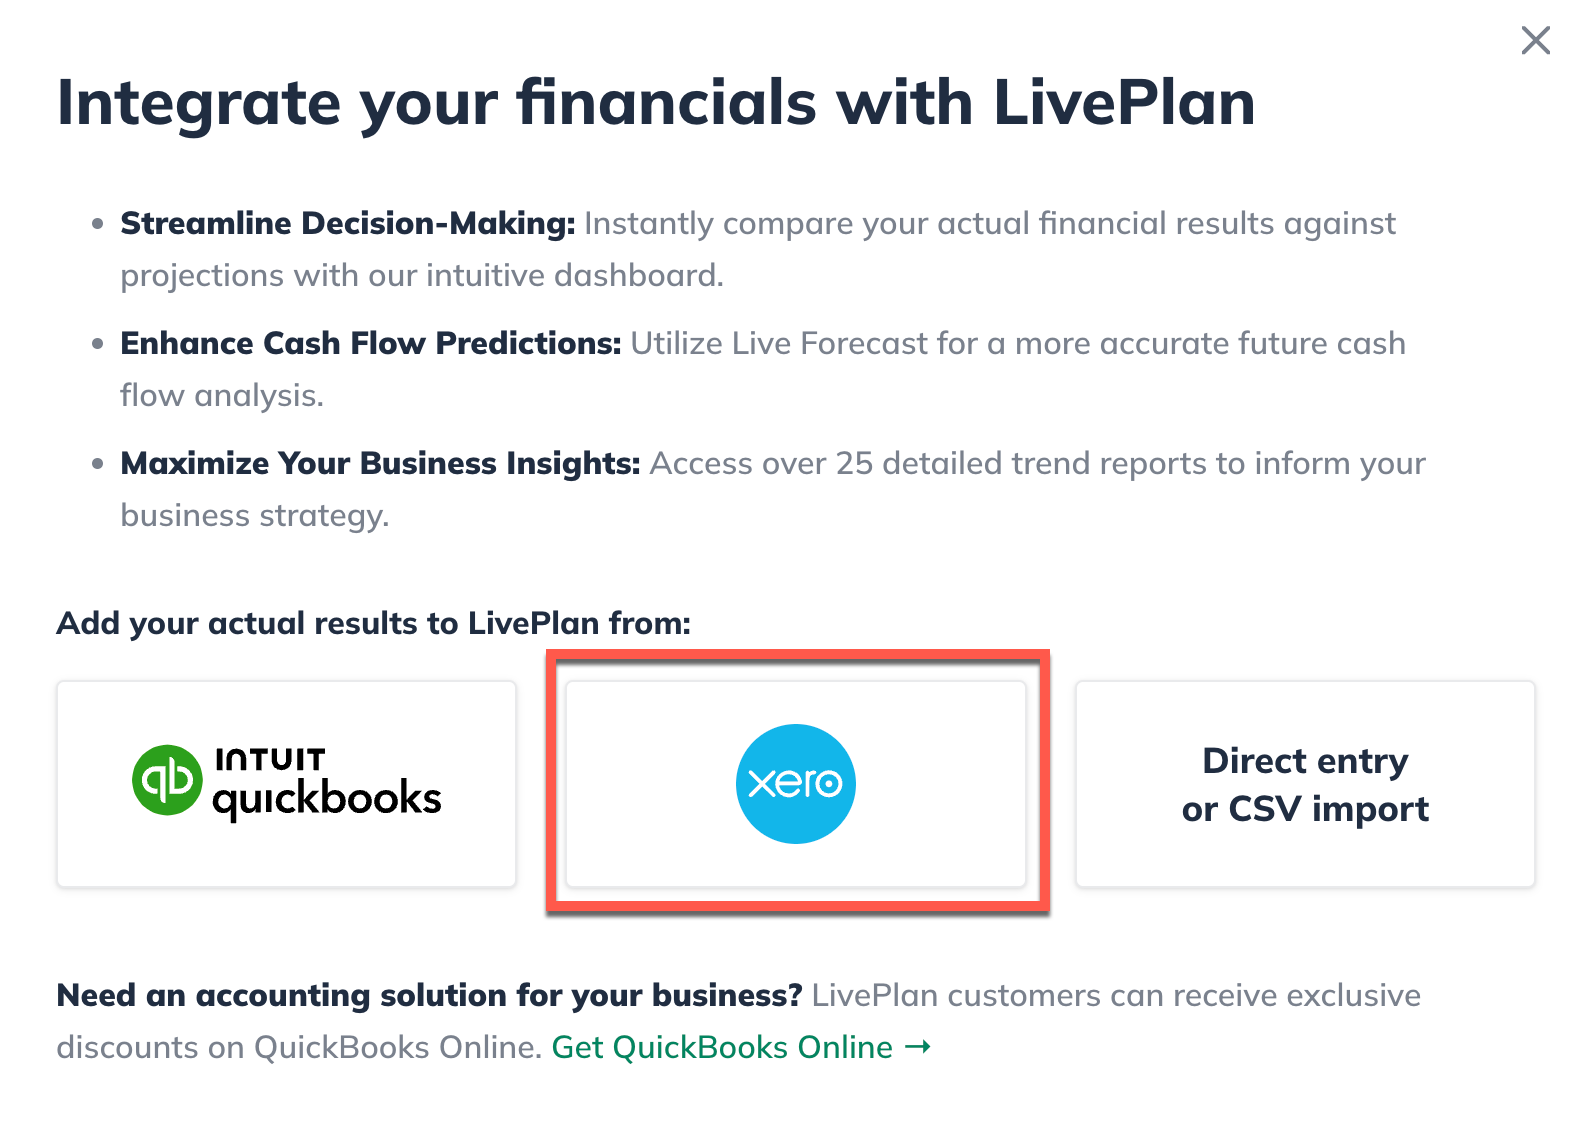
In the Integrate your financials with LivePlan overlay, select the Xero:
If you have used direct entry to enter any data into the Dashboard prior to connecting, an overlay will appear to warn you that the data will be discarded when you connect to Xero. Click Continue:

The next overlay outlines the steps you need to take to connect to Xero. Click Connect to Xero:
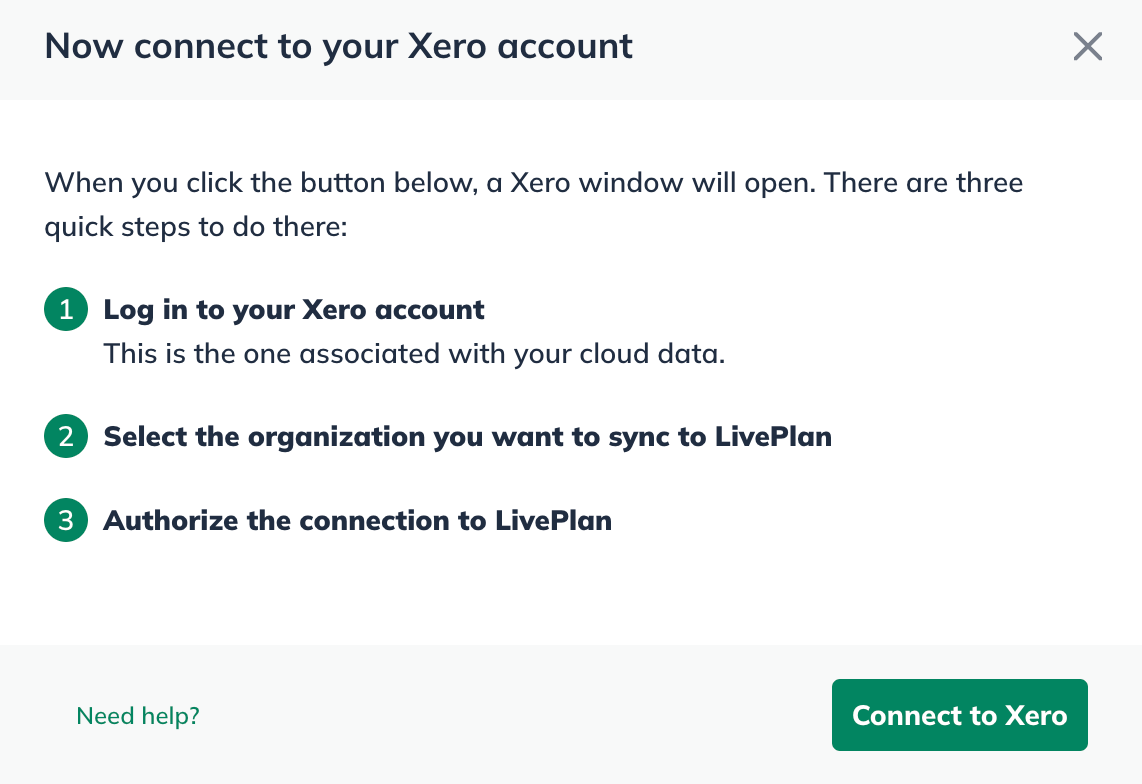
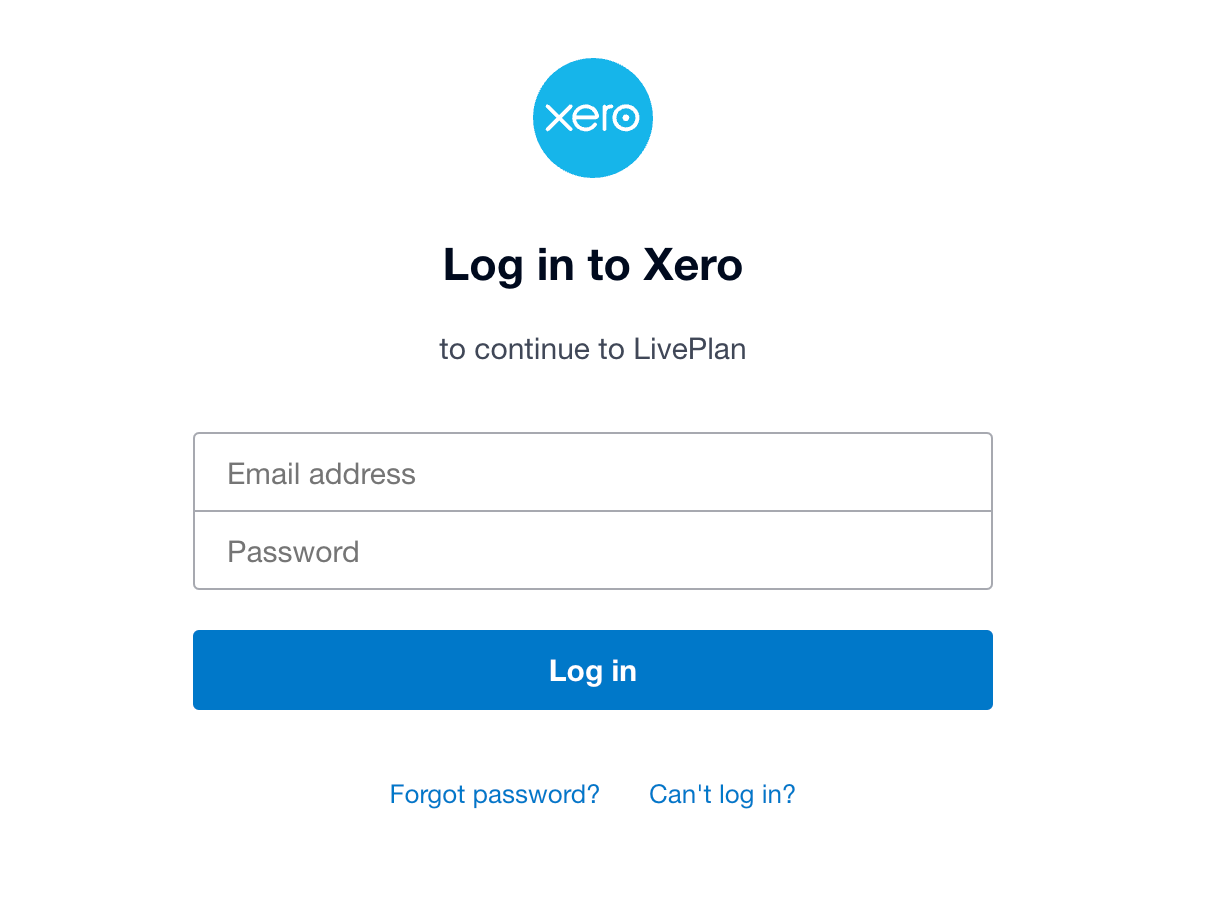
In the Xero overlay that appears, enter the username and password for your Xero account, and then click Log in:
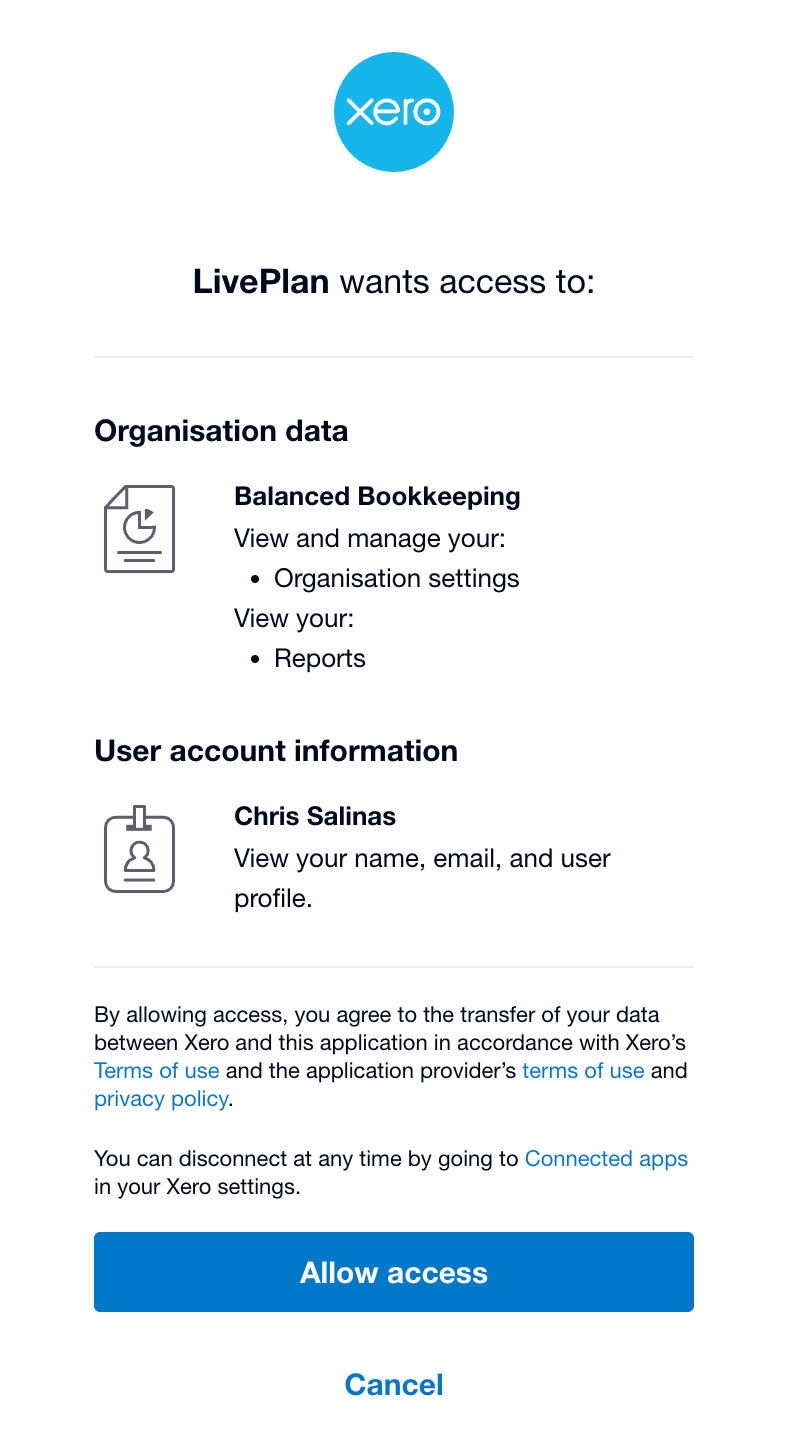
In the overlay that asks you to authorize LivePlan to connect to your Xero account, click Allow access:
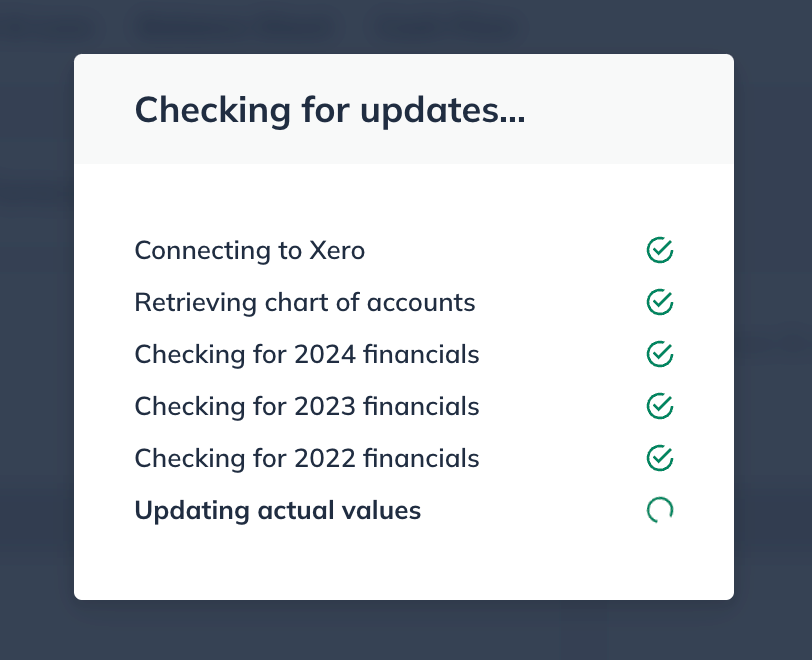
LivePlan will pull in your Xero data for the current year and up to two fiscal years in the past. You'll see the following overlay during this process:
Once the connection is successful, the next step is to build a starting forecasting using the Forecast Builder. Click OK, let's go to begin:

If you need to make adjustments to that mapping, please see Adjusting the mapping between Xero accounts and LivePlan.
If you've already built your forecast
Many start-up businesses won't have any accounting actuals until later, when the business is up and running. So if you started LivePlan by building a business plan and forecast, and are now setting up your Dashboard, you can either build a fresh forecast starting with your accounting actuals, or follow the steps below to map your original forecast to your actuals.
In the lower-left corner of the LivePlan window, click Connect Accounting:
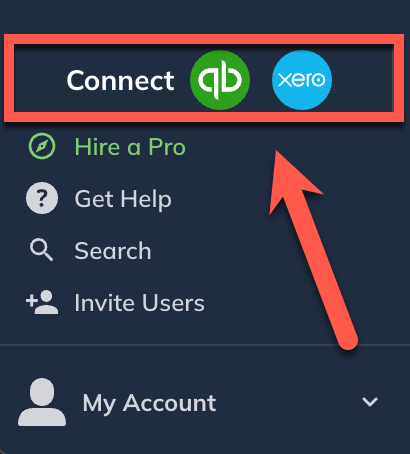
In the Integrate your financials with LivePlan overlay, select the Xero:
If you have used direct entry to enter any data into the Dashboard prior to connecting, an overlay will appear to warn you that the data will be discarded when you connect to Xero. Click Continue:
The next overlay outlines the steps you need to take to connect to Xero. Click Connect to Xero:
In the Xero overlay that appears, enter the username and password for your Xero account, and then click Login:
In the overlay that asks you to authorize LivePlan to connect to your Xero account, click Allow access:
LivePlan will import your Xero data for the current fiscal year as well as up to two previous fiscal years. After you finish the mapping process, you can view this data on the Dashboard. Once LivePlan is connected to Xero, the Mapping view will be displayed.
You can now move on to Mapping Xero accounts to LivePlan data.
Disconnecting from Xero
Once you're connected to Xero, your Dashboard will remain that way until you disconnect it from Xero. As long as the connection is intact, LivePlan will automatically sync the data between LivePlan and Xero nightly.
To view the last successful sync, click the three vertical dots next to the Xero logo in the left sidebar:

Select Sync Now to download any new accounting data from Xero, or Update Mapping to enter the Mapping view of the Company Options menu.
If at some point you want to disconnect LivePlan from Xero, click the Disconnect from Xero link at the top of the Mapping view:
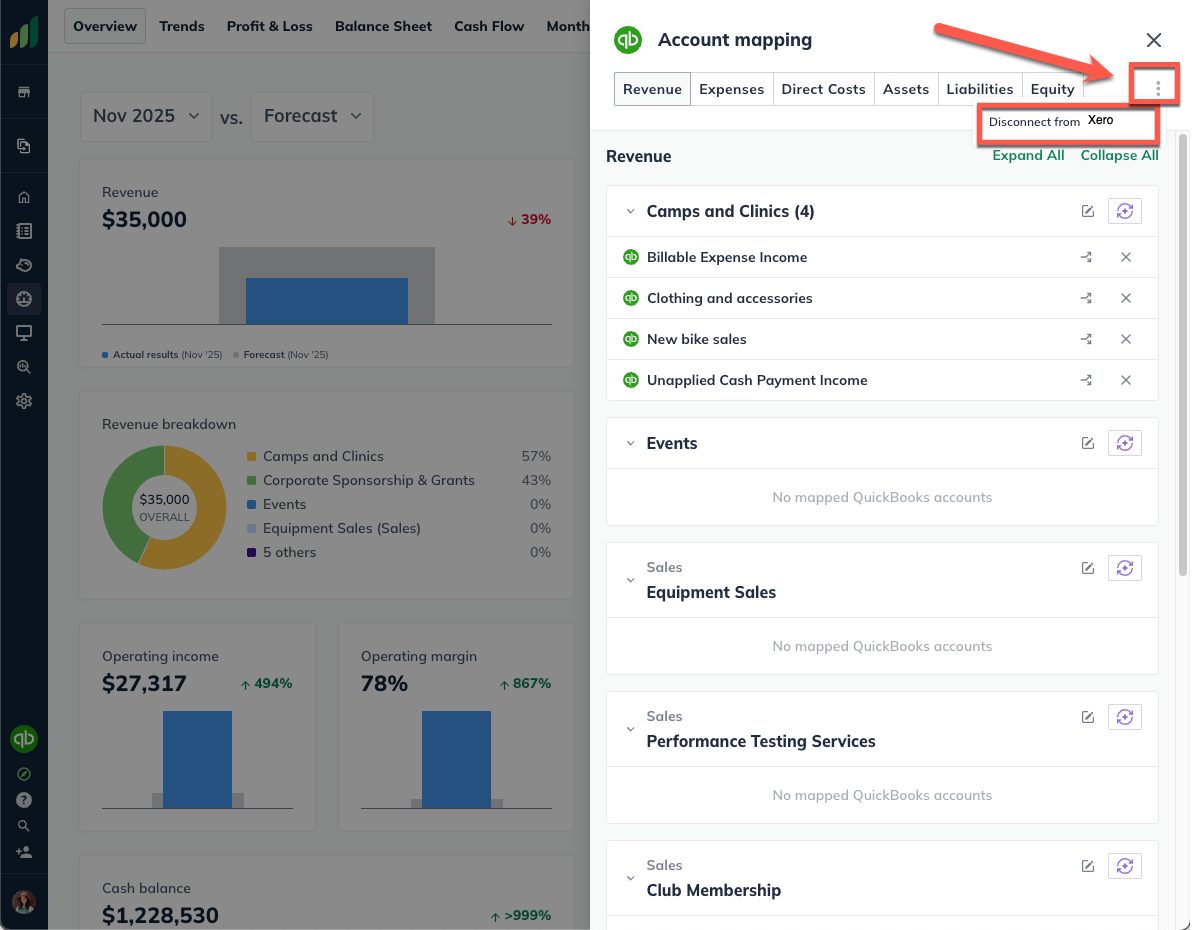
When your LivePlan account is disconnected from Xero, all previously-downloaded financial actuals will remain in LivePlan. This data can then be updated directly or via CSV template upload.