Performance Tracking And Dashboard
Connect LivePlan to QuickBooks Online
Jump to
The LivePlan Dashboard easily integrates with QuickBooks Online. This allows you to import your accounting actuals in a hassle-free manner. As a result, you'll be able to keep your results continually updated and make quick comparisons between your actuals and LivePlan forecast.
Getting set up with QuickBooks Online
If you don't have a QuickBooks Online account, you'll need to sign up for one. Then, you'll need to create a QuickBooks Online company for your business. Once you have a QuickBooks account and company set up, you can connect LivePlan to QuickBooks Online. LivePlan supports the following versions of QuickBooks Online:
QuickBooks Simple Start
QuickBooks Essentials
QuickBooks Plus
QuickBooks Advanced
QuickBooks Online Accountant
Note: QuickBooks Solopreneur (formerly QuickBooks Self-Employed) is a simplified version of QuickBooks Online that doesn't use a Chart of Accounts. LivePlan cannot sync to this version of QuickBooks Online.
Two ways to connect
Depending on your situation, you may be connecting your Dashboard to QuickBooks Online in one of these two ways:
You're starting LivePlan in the Dashboard, and working with a brand-new company file
You've already built a forecast in your LivePlan company file, and are connecting to the Dashboard afterward
Your path through the connection process will be a little different depending on which of these two options you've chosen. Please see below for instructions for each option.
Note: If you're an accountant and have access to multiple client companies in QuickBooks Online, please see this article.
If you're starting a LivePlan company through the Dashboard
If you begin using LivePlan by connecting to QuickBooks online, then you'll have access to some automated features.
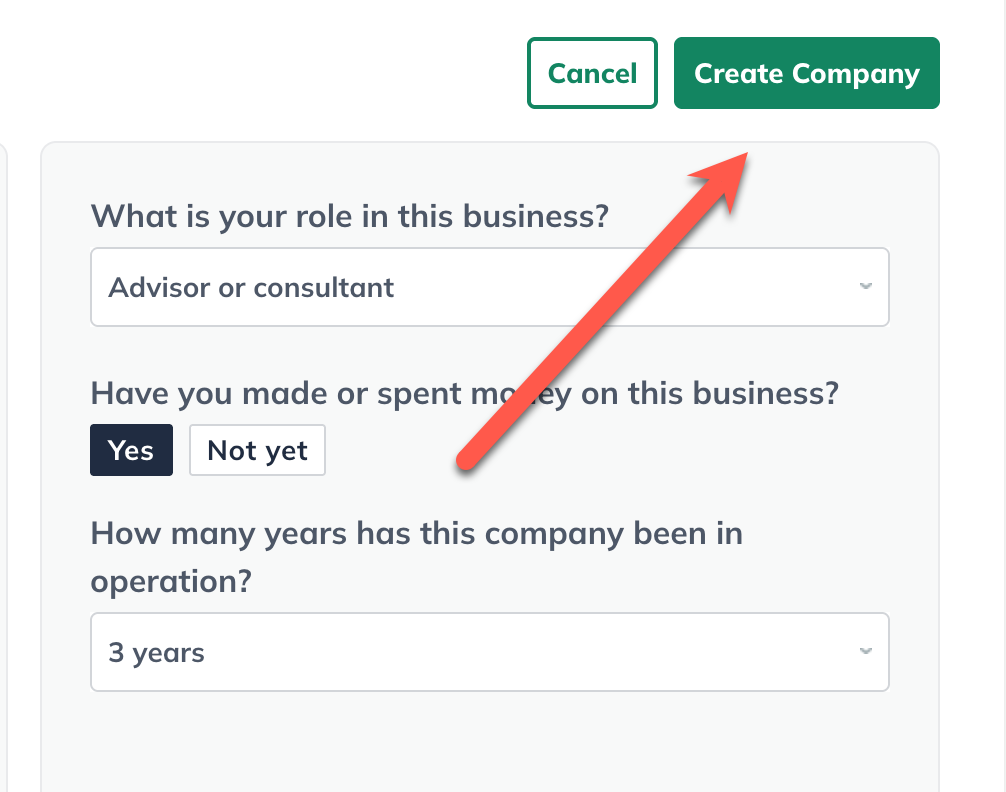
Sign in to your LivePlan account and create a new company.
Set the start date for your forecast to the start of your current fiscal year.
Once you have selected your starting options, click Create Company to begin your plan:
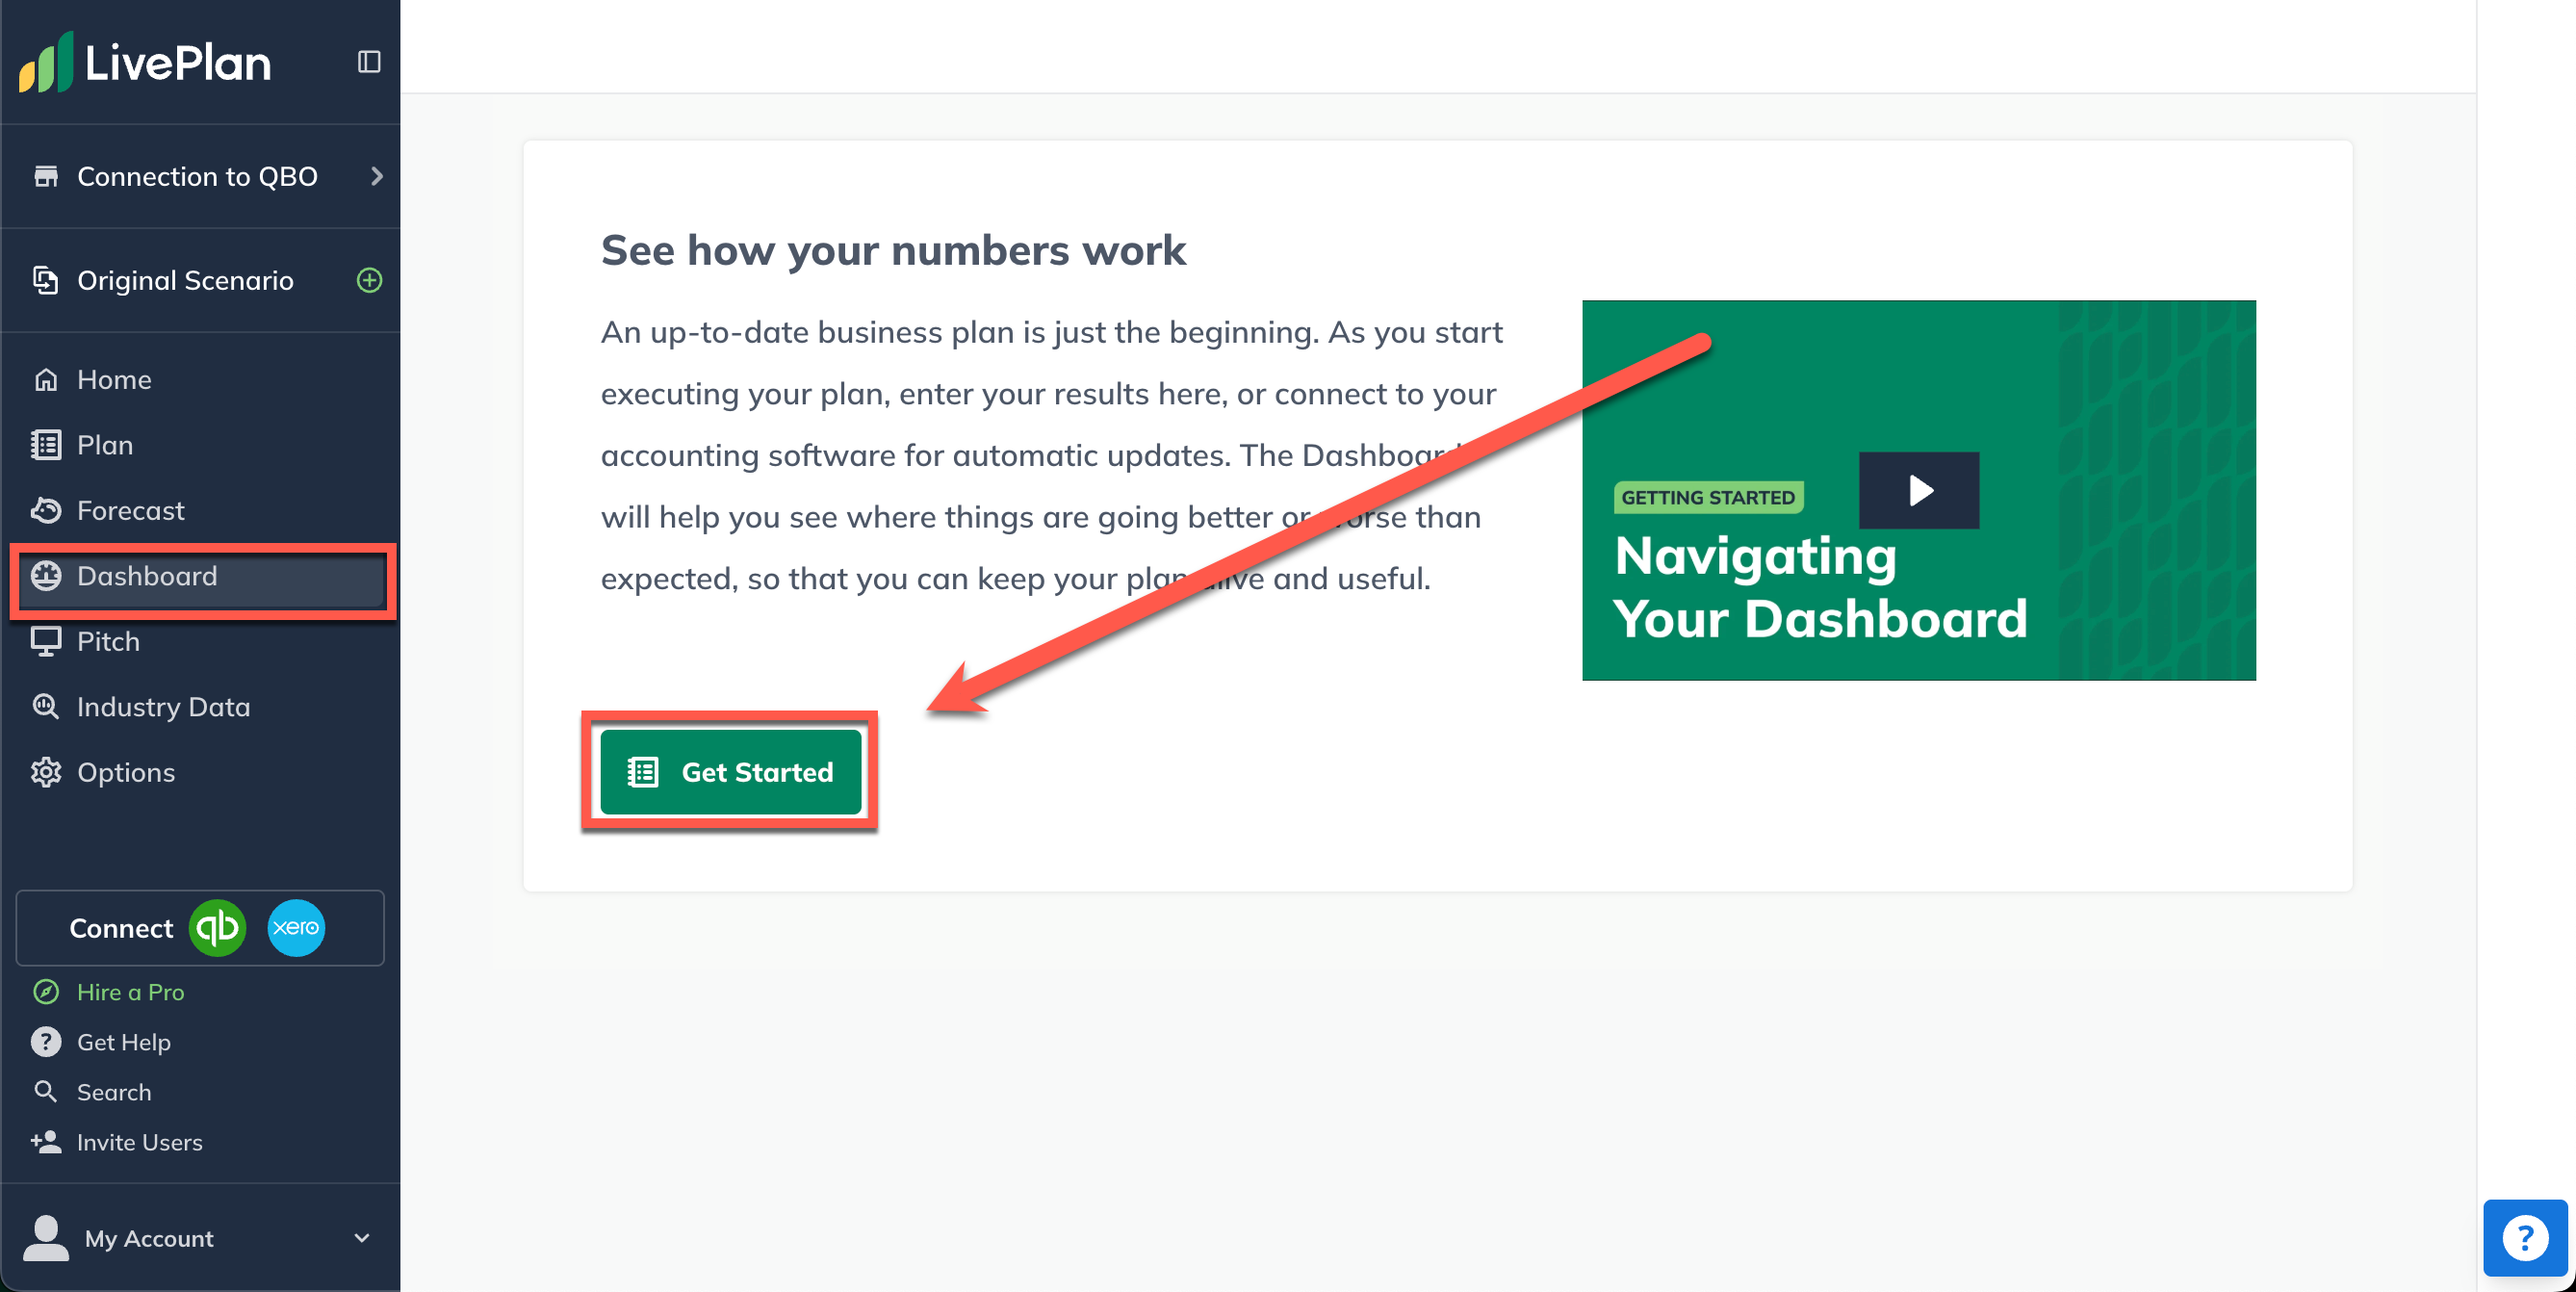
In the Dashboard section, click the Get Started button:
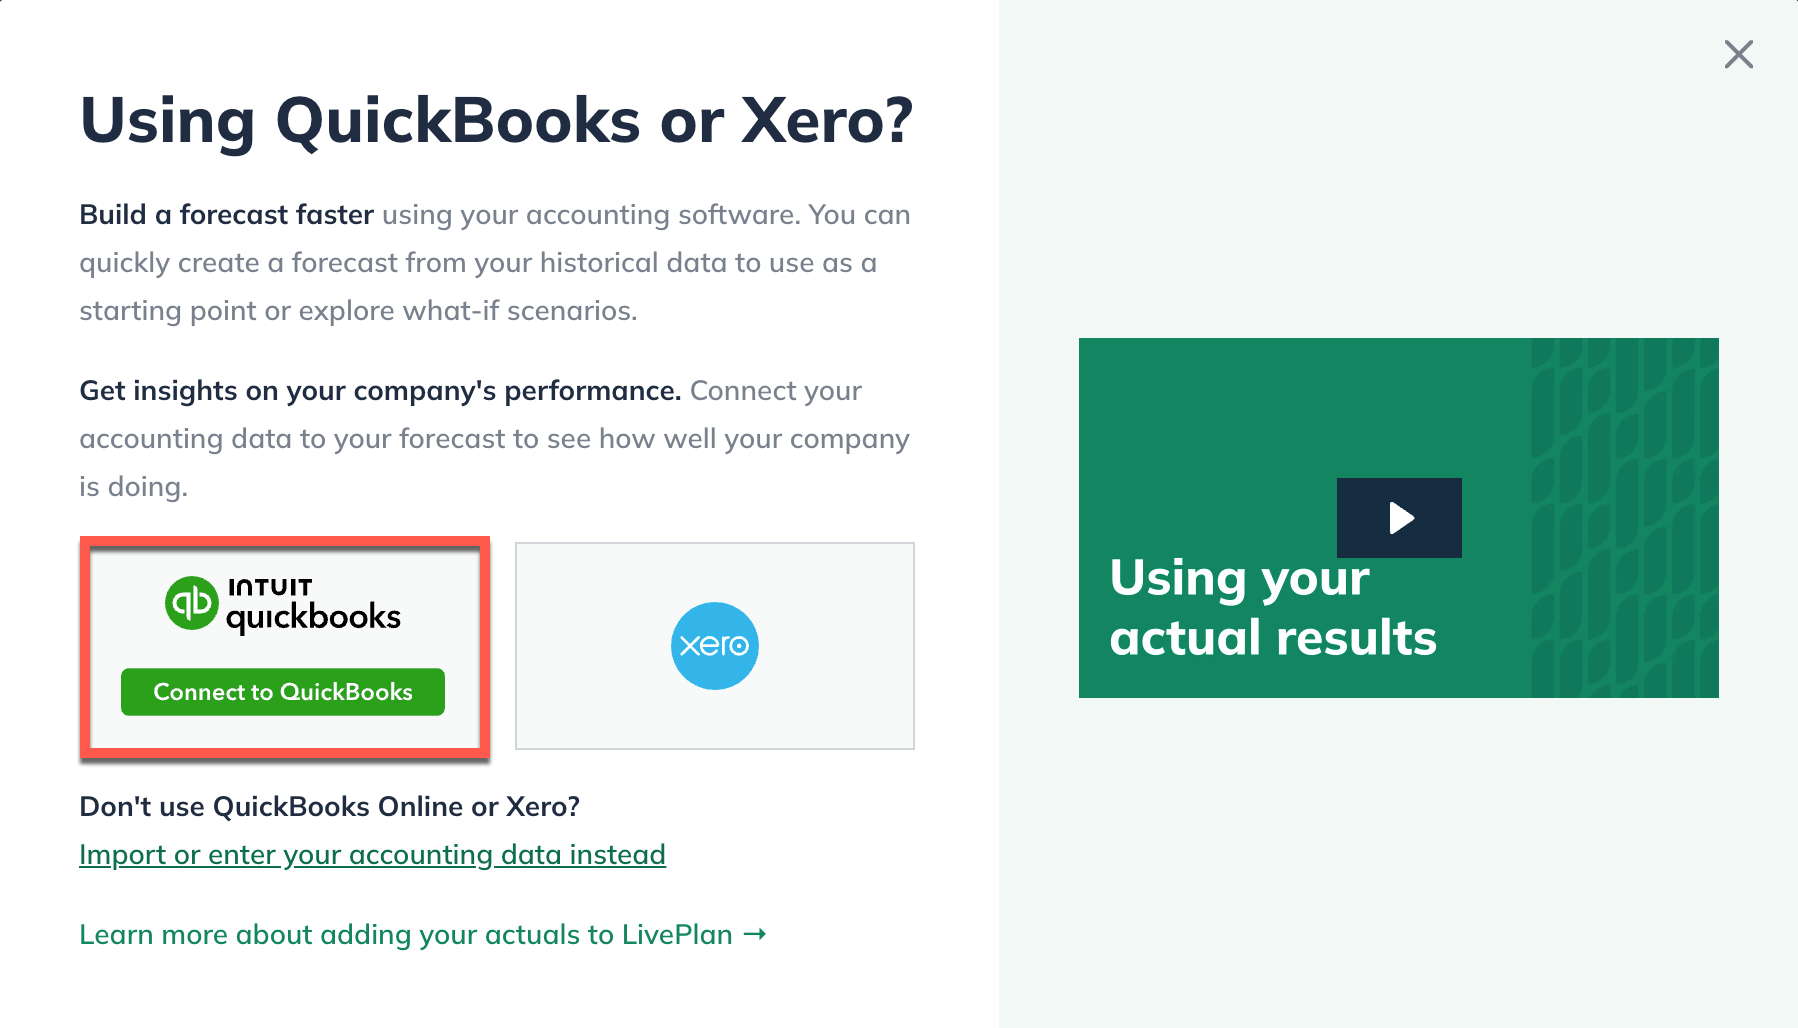
In the Choose a data source overlay, click on the Intuit QuickBooks option, and then click Continue:
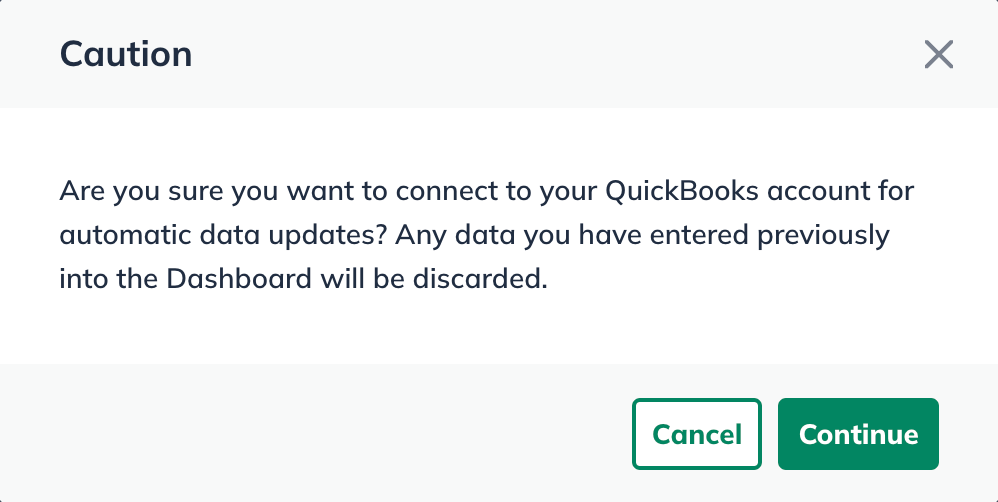
If you have entered any data into the Dashboard prior to connecting, an overlay will appear to warn you that the data will be discarded when you connect to QuickBooks Online. Click Continue:
The next overlay outlines the steps you need to take to connect to your Intuit account. Click Connect to QuickBooks:
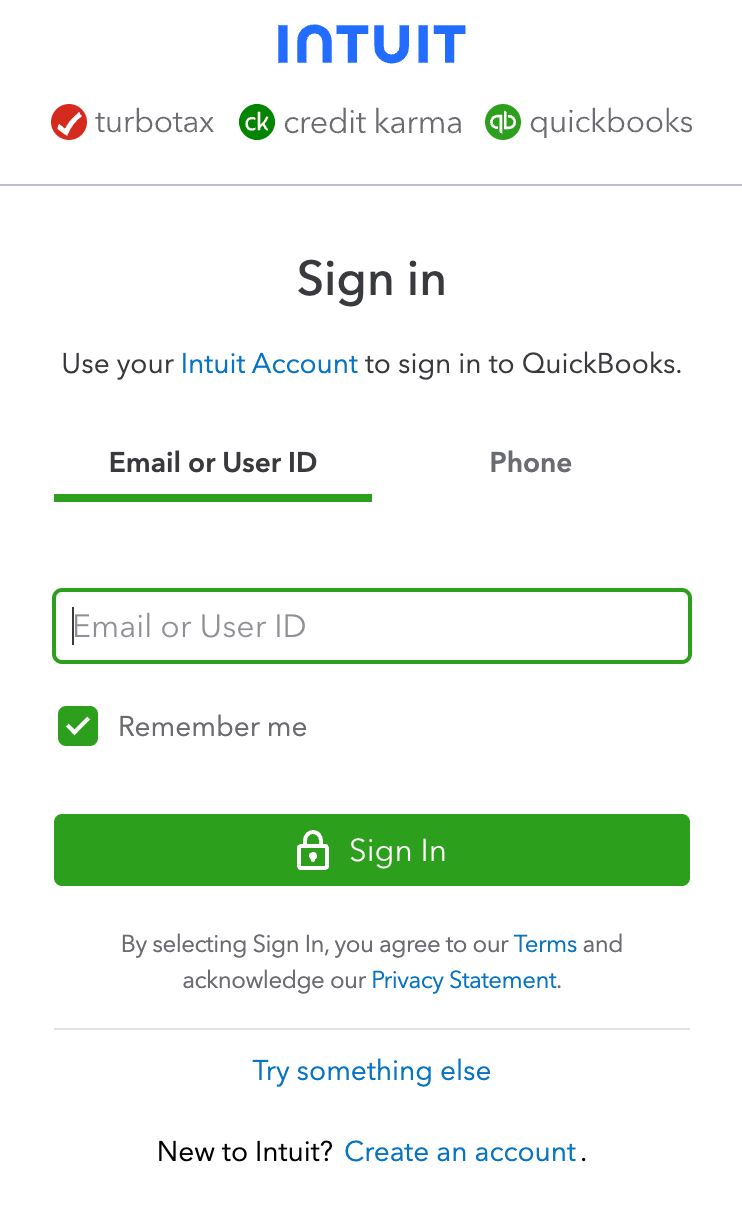
Sign in your Intuit online account:
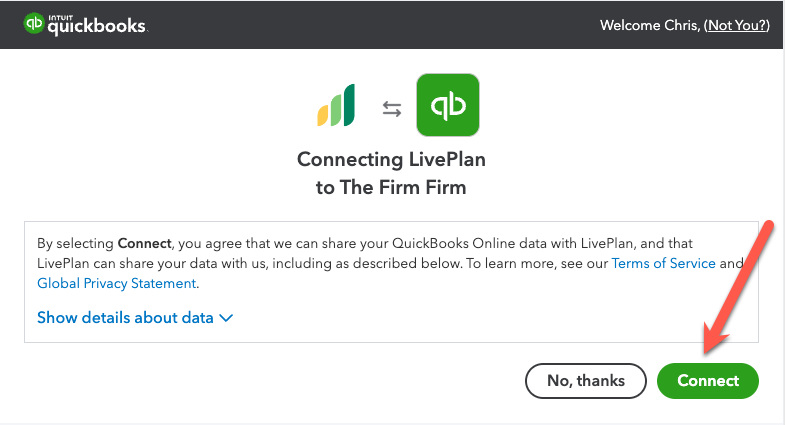
Click Connect to allow LivePlan to access your QuickBooks Online company data:
LivePlan will pull in your QuickBooks Online data for the current year and up to two past fiscal years.
Once LivePlan and QuickBooks Online are connected, LivePlan will automatically map the two together so you can see a side-by-side comparison in the Dashboard.
If you need to make adjustments to that mapping, please see Adjusting the mapping between QuickBooks Online accounts and LivePlan.
In the connection process, LivePlan will also create a starting point for your forecast in the Forecast tab. You'll want to make adjustments to this starting forecast.
If you've already built your forecast
Many start-up businesses won't have any accounting actuals until later, when the business is up and running. So if you started LivePlan by building a business plan and forecast, and are now setting up your Dashboard, you can either build a fresh forecast starting with your accounting actuals, or follow the steps below to map your original forecast to your actuals.
Sign in to your LivePlan account.
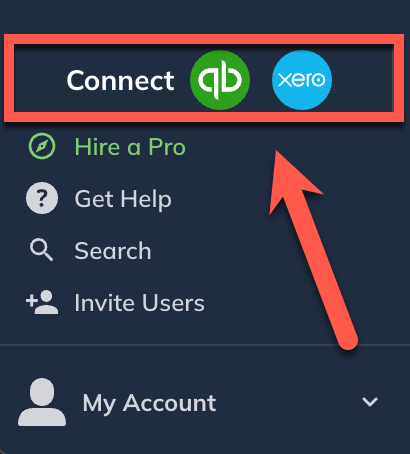
Near the lower-left of your LivePlan window, click Connect Accounting:
In the Choose a data source overlay, select the Intuit QuickBooks Online option:
If you have entered any data into the Dashboard prior to connecting through direct entry, CSV import, or a previous connection to accounting software, an overlay will appear to warn you that the data will be discarded when you connect to QuickBooks Online. Click Continue:
The next overlay outlines the steps you need to take to connect to your Intuit account. Click Connect to QuickBooks:
Sign in your Intuit online account:
Click Connect to allow LivePlan to access your QuickBooks Online company data:
LivePlan will pull in your QuickBooks Online data for the current year and up to two past fiscal years. You can see this data in the Dashboard once you completed the mapping process. Once LivePlan and QuickBooks Online are connected, then click on the Edit Mappings in the bottom left hand corner. The mapping panel will slide out from the right:
Now, you can move on to Mapping QuickBooks accounts to LivePlan data.
Disconnecting from QuickBooks Online
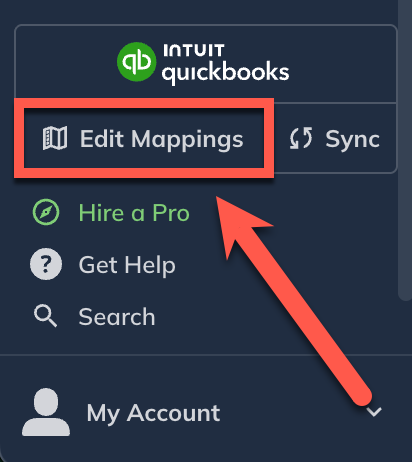
Click the Edit Mappings button, near the bottom of the left sidebar:
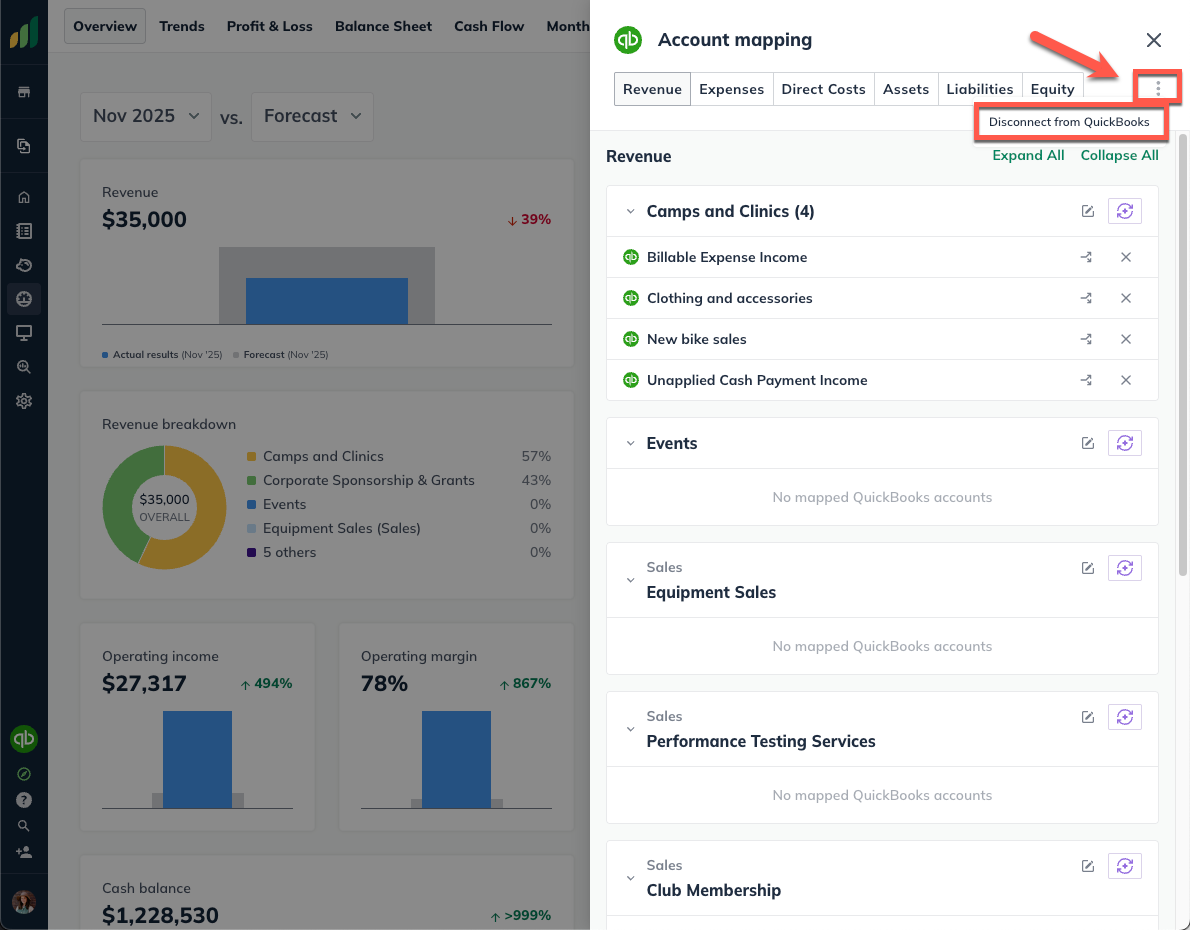
Near the top-right of the Account mapping pane, click the three vertical dots and select Disconnect from QuickBooks:
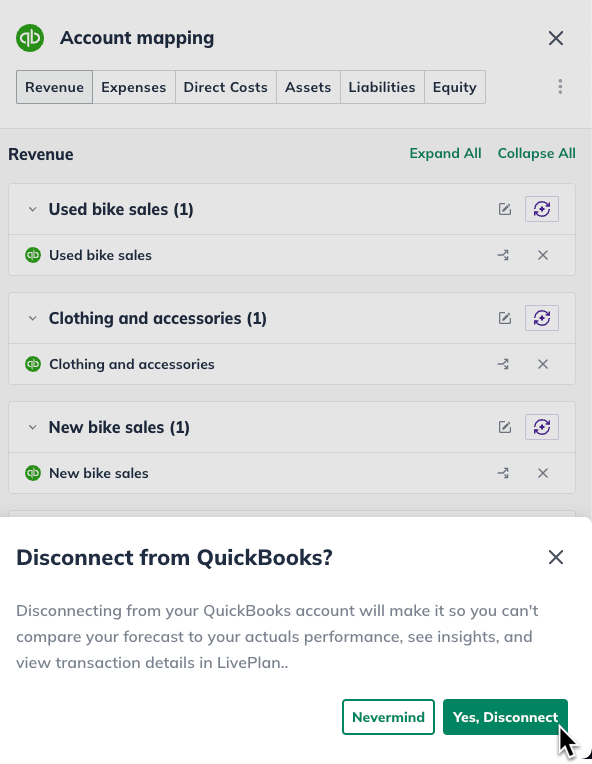
Select Yes, Disconnect to confirm:
Note: All actuals downloaded from QuickBooks Online will be retained upon disconnecting, and can be edited or updated by clicking Update Your Actuals in the Dashboard section:You can also disconnect LivePlan from within QuickBooks Online using the My Apps menu. This article, from QuickBooks Online help center, explains the process.
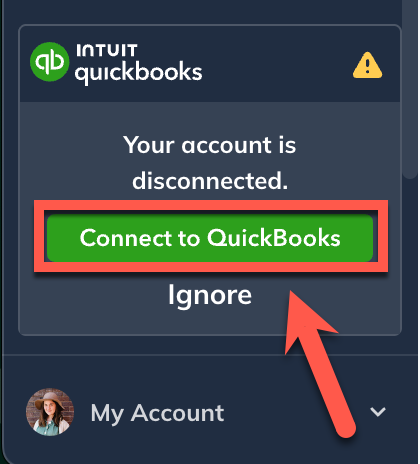
Reconnecting a disconnected QuickBooks Online account
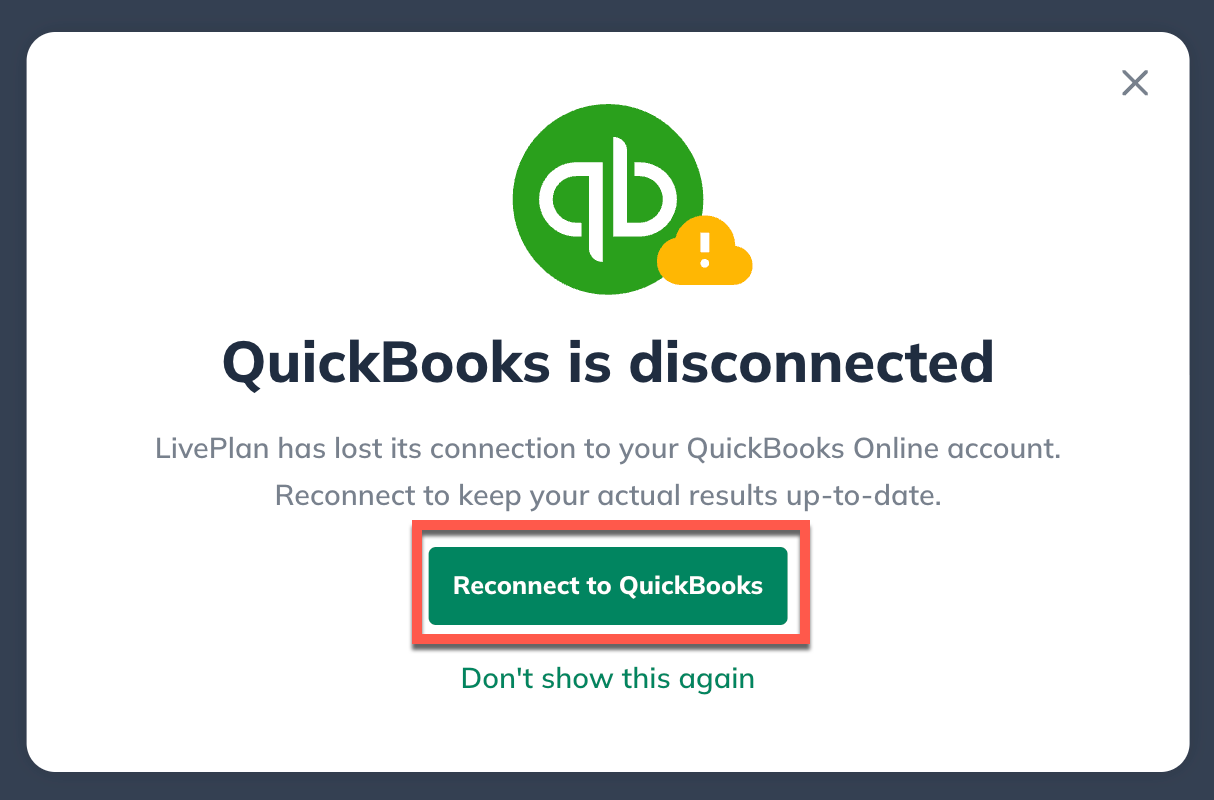
If your QuickBooks Online account has disconnected while you weren't logged into LivePlan, you will be prompted to reconnect to QuickBooks upon signing in. Select the Reconnect to QuickBooks and you will be taken through the QuickBooks connection process again.
What if I don't see the reconnect prompt upon login?
If you close this reconnect prompt or had previously selected 'Don't show this again,' you can still reconnect to your QuickBooks by selecting the Reconnect button in the lower left corner of your LivePlan account.
If you dismiss this reconnect prompt or had previously selected 'Don't show this again,' you can still reconnect to your QuickBooks chart of accounts by selecting the Reconnect button in the lower left corner of your LivePlan account.
Viewing Quickbooks transaction details in LivePlan
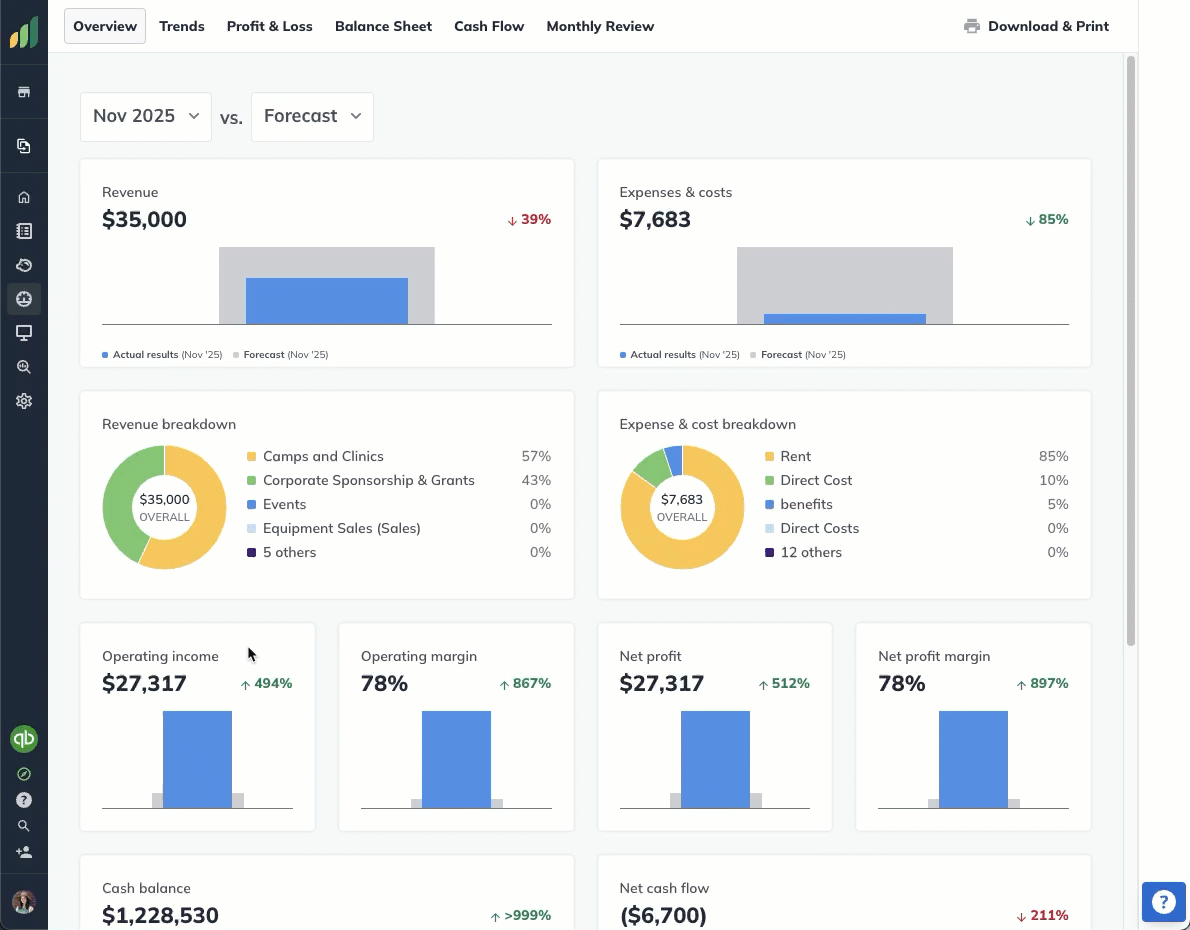
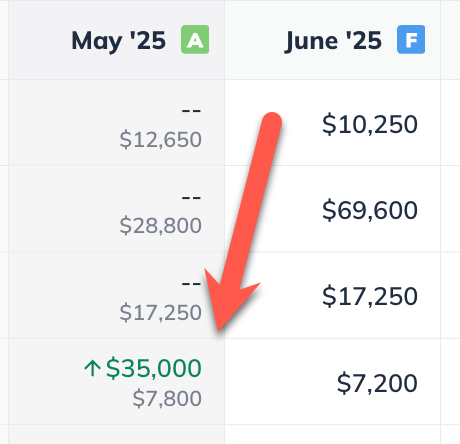
When you connect LivePlan to QuickBooks Online, you can choose to display your mapped accounting data alongside your forecasted projections, providing a more comprehensive view of your business performance. When the Actuals + Forecast view is selected, forecast tables will display color-coded monthly indicators:
Blue for forecasted data
Green for actuals pulled from QuickBooks.
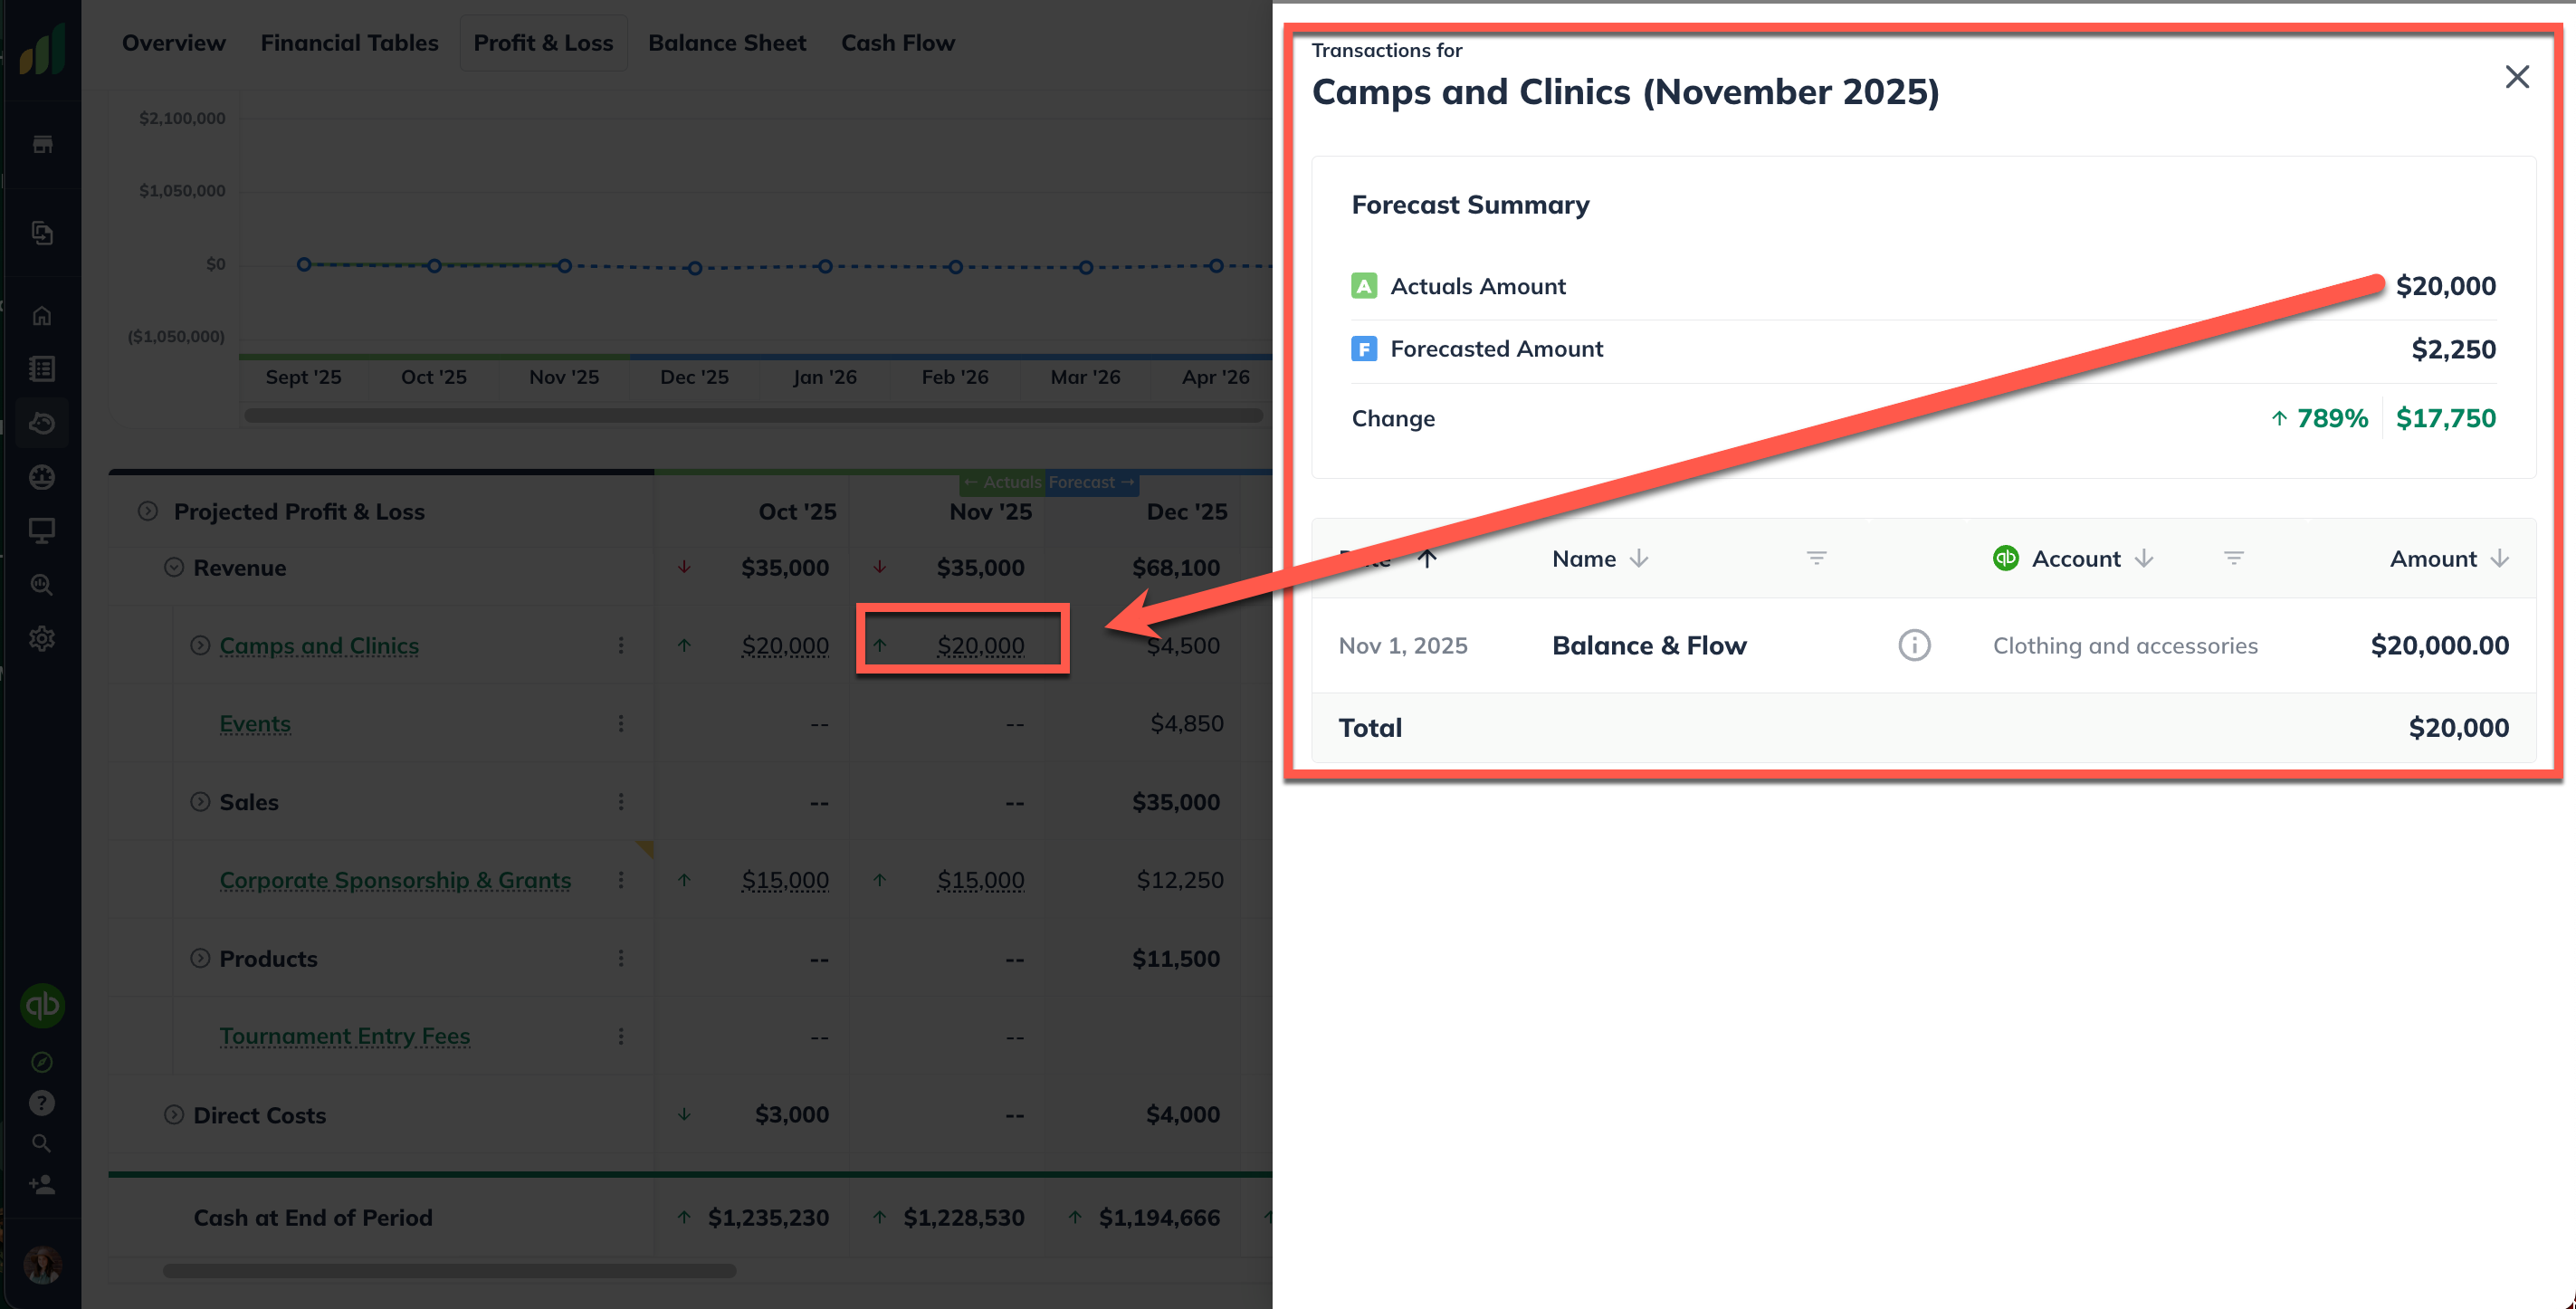
For any forecast entry that is mapped to actuals, a green marker will appear, and the corresponding values will be shown in bold green. Clicking on these values will open the transaction details for that period, allowing for deeper insight into your financial activity.

To learn more about how this feature works, please review our comprehensive guide to Actuals + Forecast
Where to find your transaction details
You can access detailed transaction information in both the Forecast and Dashboard sections by clicking any green-highlighted numerical value for a given period. These green values represent actuals pulled from your connected QuickBooks Online account. Selecting one will expand a detailed view, showing the individual transactions that make up the total for that forecast item during the selected time frame.
You’ll find these clickable values that are linked to your detailed transaction data, in the following sections of LivePlan:
Projected Profit & Loss Statement
Forecast Editor Windows
Dashboard Trends
Projected Profit & Loss Statement
When the Actuals + Forecast view is enabled, each past-period column includes a hover state pop-up that provides an expanded comparison between your forecasted values and the actuals from your connected accounting data.
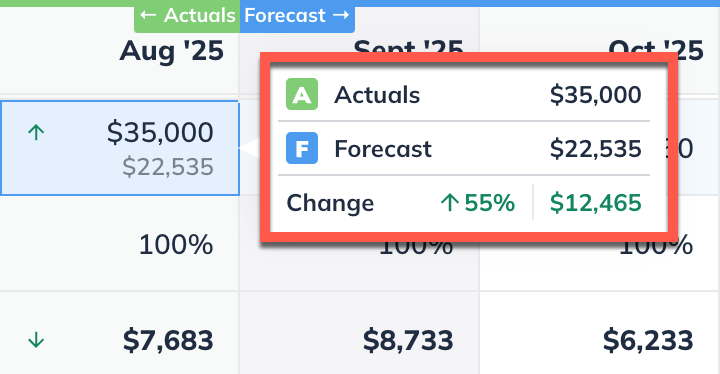
Clicking green-highlighted numerical value in the hover pop-up will expand a detailed view that displays transaction-level data sourced from the QuickBooks accounts that are mapped to that forecast entry.
Forecast Editors
Within the forecast entry editors, you’ll find a side-by-side display of your forecasted values and the actuals pulled from your connected QuickBooks account. These actuals are shown only if the entry has been mapped to an account in your accounting solution. This side-by-side comparison allows you to easily assess how your projections align with real-world performance, making it easier to adjust your forecasts based on historical trends or recent activity.

Any green-highlighted value represents actuals from your connected QuickBooks account. Clicking these values for a selected month will expand a detailed view showing the individual transactions that make up that total.

For more information on mapping your Quickbooks Online data, please refer to Mapping your accounting solution to LivePlan data
Dashboard Trends
In addition to the Forecast section, you can also access your transaction details directly from the Dashboard. This makes it easy to review the source of your actual results across both areas of LivePlan.
These figures can be found in the following Dashboard Trends:
Revenue Breakdown
Expense & Cost Breakdown
Gross Margin Breakdown
Personnel Breakdown
Similarly to the forecast entry editors, clicking a green-highlighted actual value in applicable Dashboard trends will open a detailed view showing the individual transactions that make up that amount for the selected period.

For more information about Dashboard Trends, please review our guide to Comparing actuals to your forecast with Dashboard Trends