
Writing Your Business Plan
Adding and removing images
You can personalize your plan by adding your company logo, product photos, or other images that help bring your business to life.
File requirements
Images selected for upload must be in PNG, JPG, GIF, or WEBP format.
Image files can be up to 20MB in size. Larger files will need to be resized with an image editing tool to fit under that size restriction.
Adding images to your plan:
To add an image to your plan, click on the Plan tab. This will bring you to the Plan Editor.
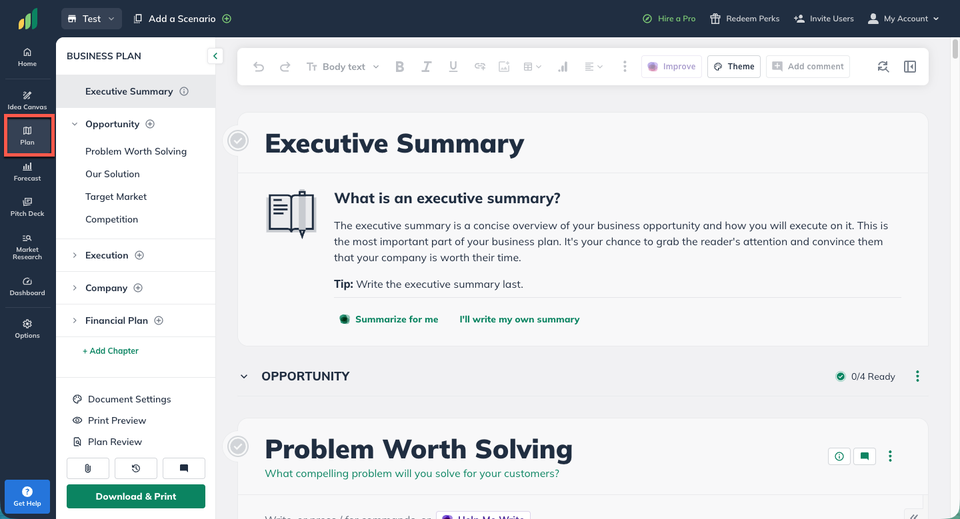
The main area of the page then displays the sections and chapters that make up the outline.
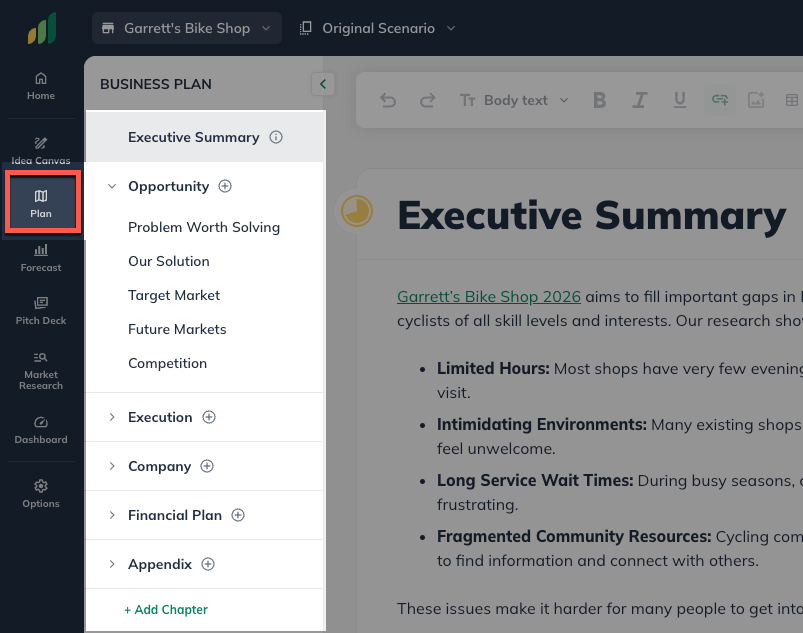
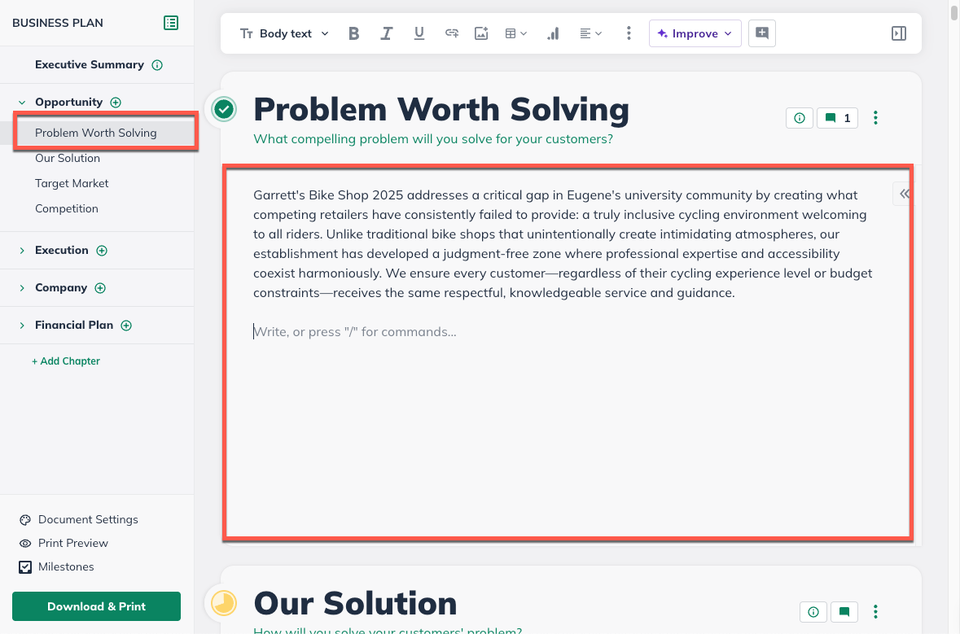
Select the section you want to work on and you will be automatically brought to that section to begin editing.
In the text editor, place the cursor where you want to insert the image, then click the Add an image button in the toolbar:
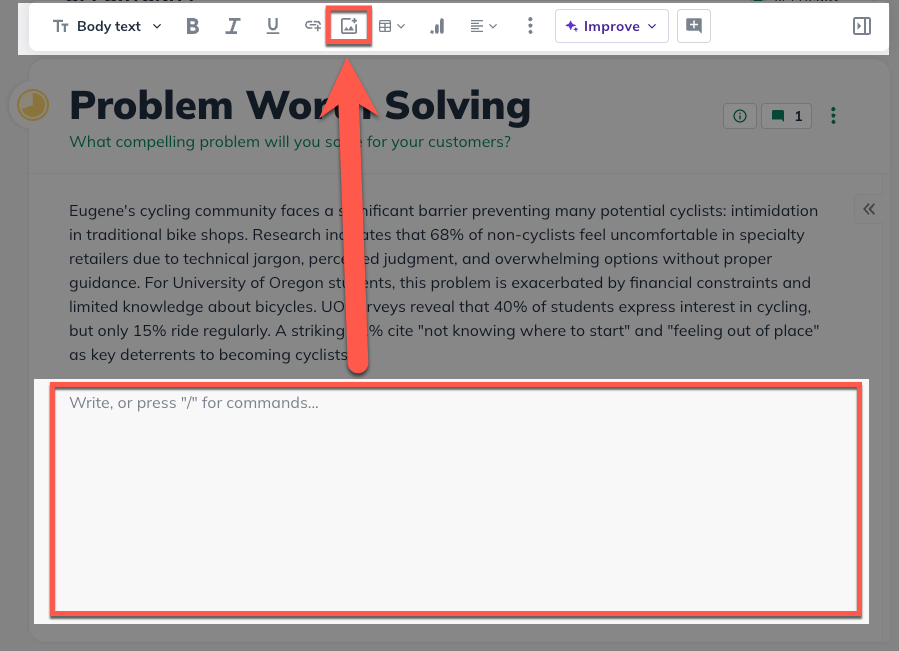
An image field and dialog box will appear. Select the image from the location where it is stored on your computer.
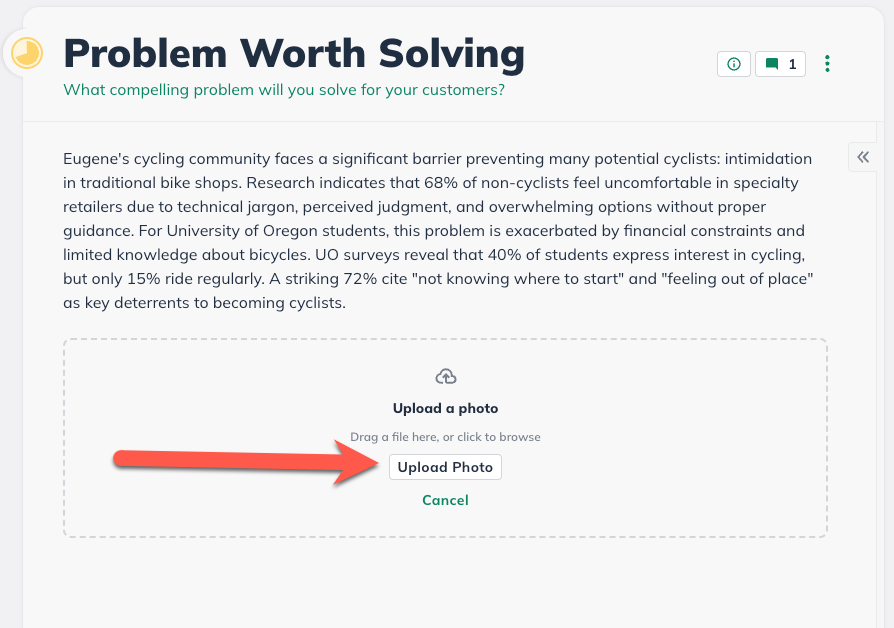
When the image is done uploading, click on it to adjust the size and alignment:
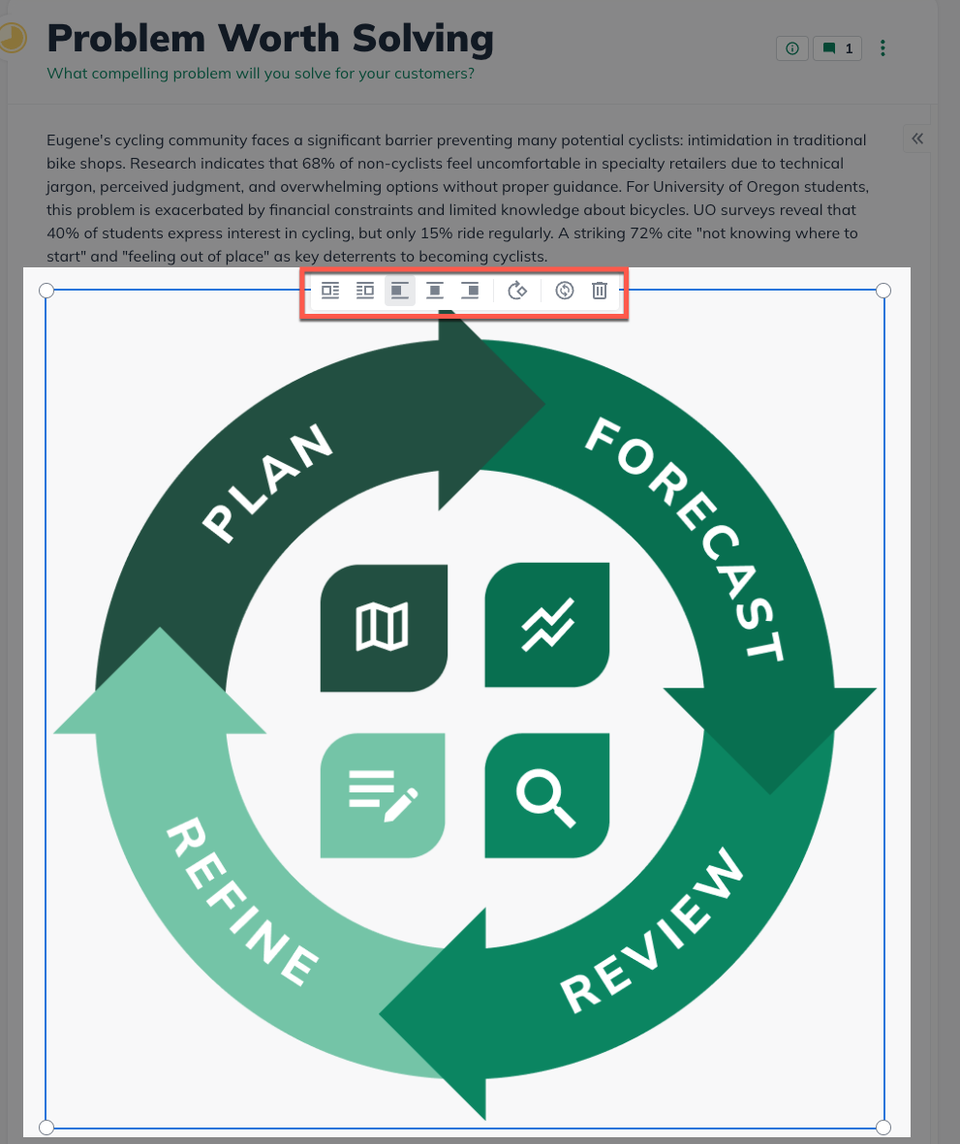
Choose whether you want to align the image to the left, center, or right of any accompanying text:

Choose how big you want the image to appear in your plan by using any of the resizing handles located in the corners of any image.
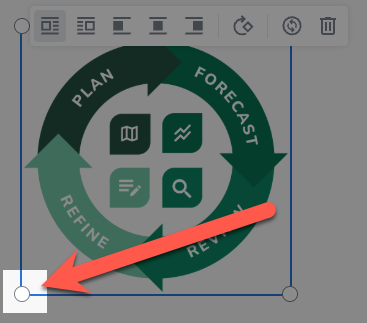
Any changes you make will save automatically.
Changing image sizes or alignment
Even after you’ve inserted an image in LivePlan, you can easily go back and adjust its size or alignment.
To edit an image to your plan, click on the Plan tab. This will bring you to the Plan Editor.
Select the section with the image you want to adjust and you will be automatically brought to that section to begin editing.
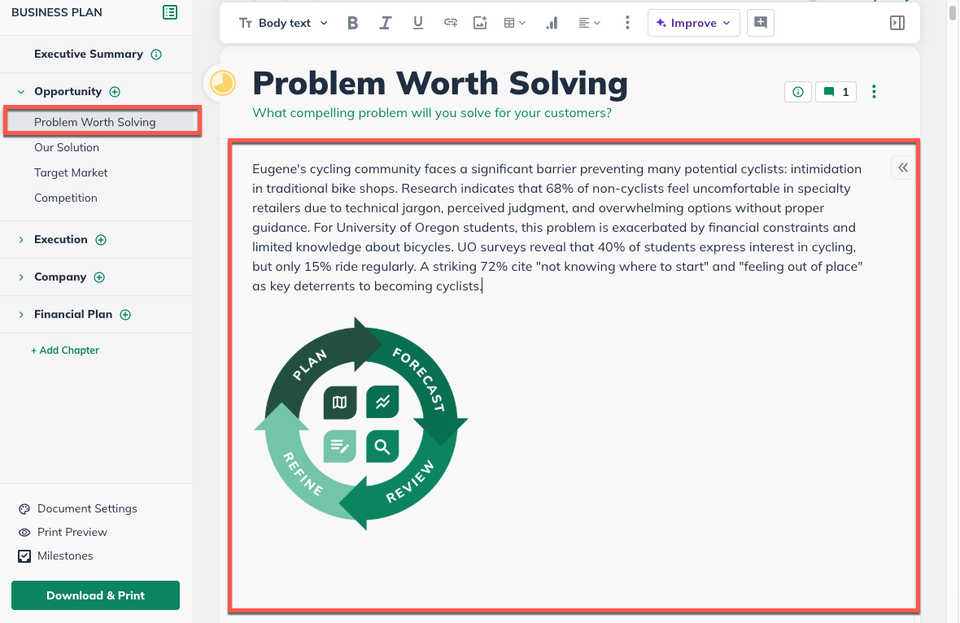
Click on the image to adjust the size and alignment:
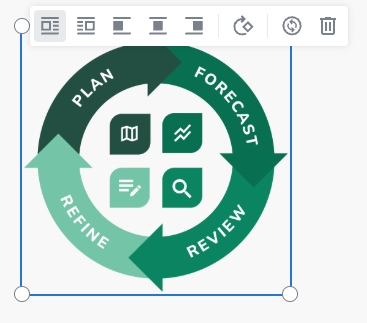
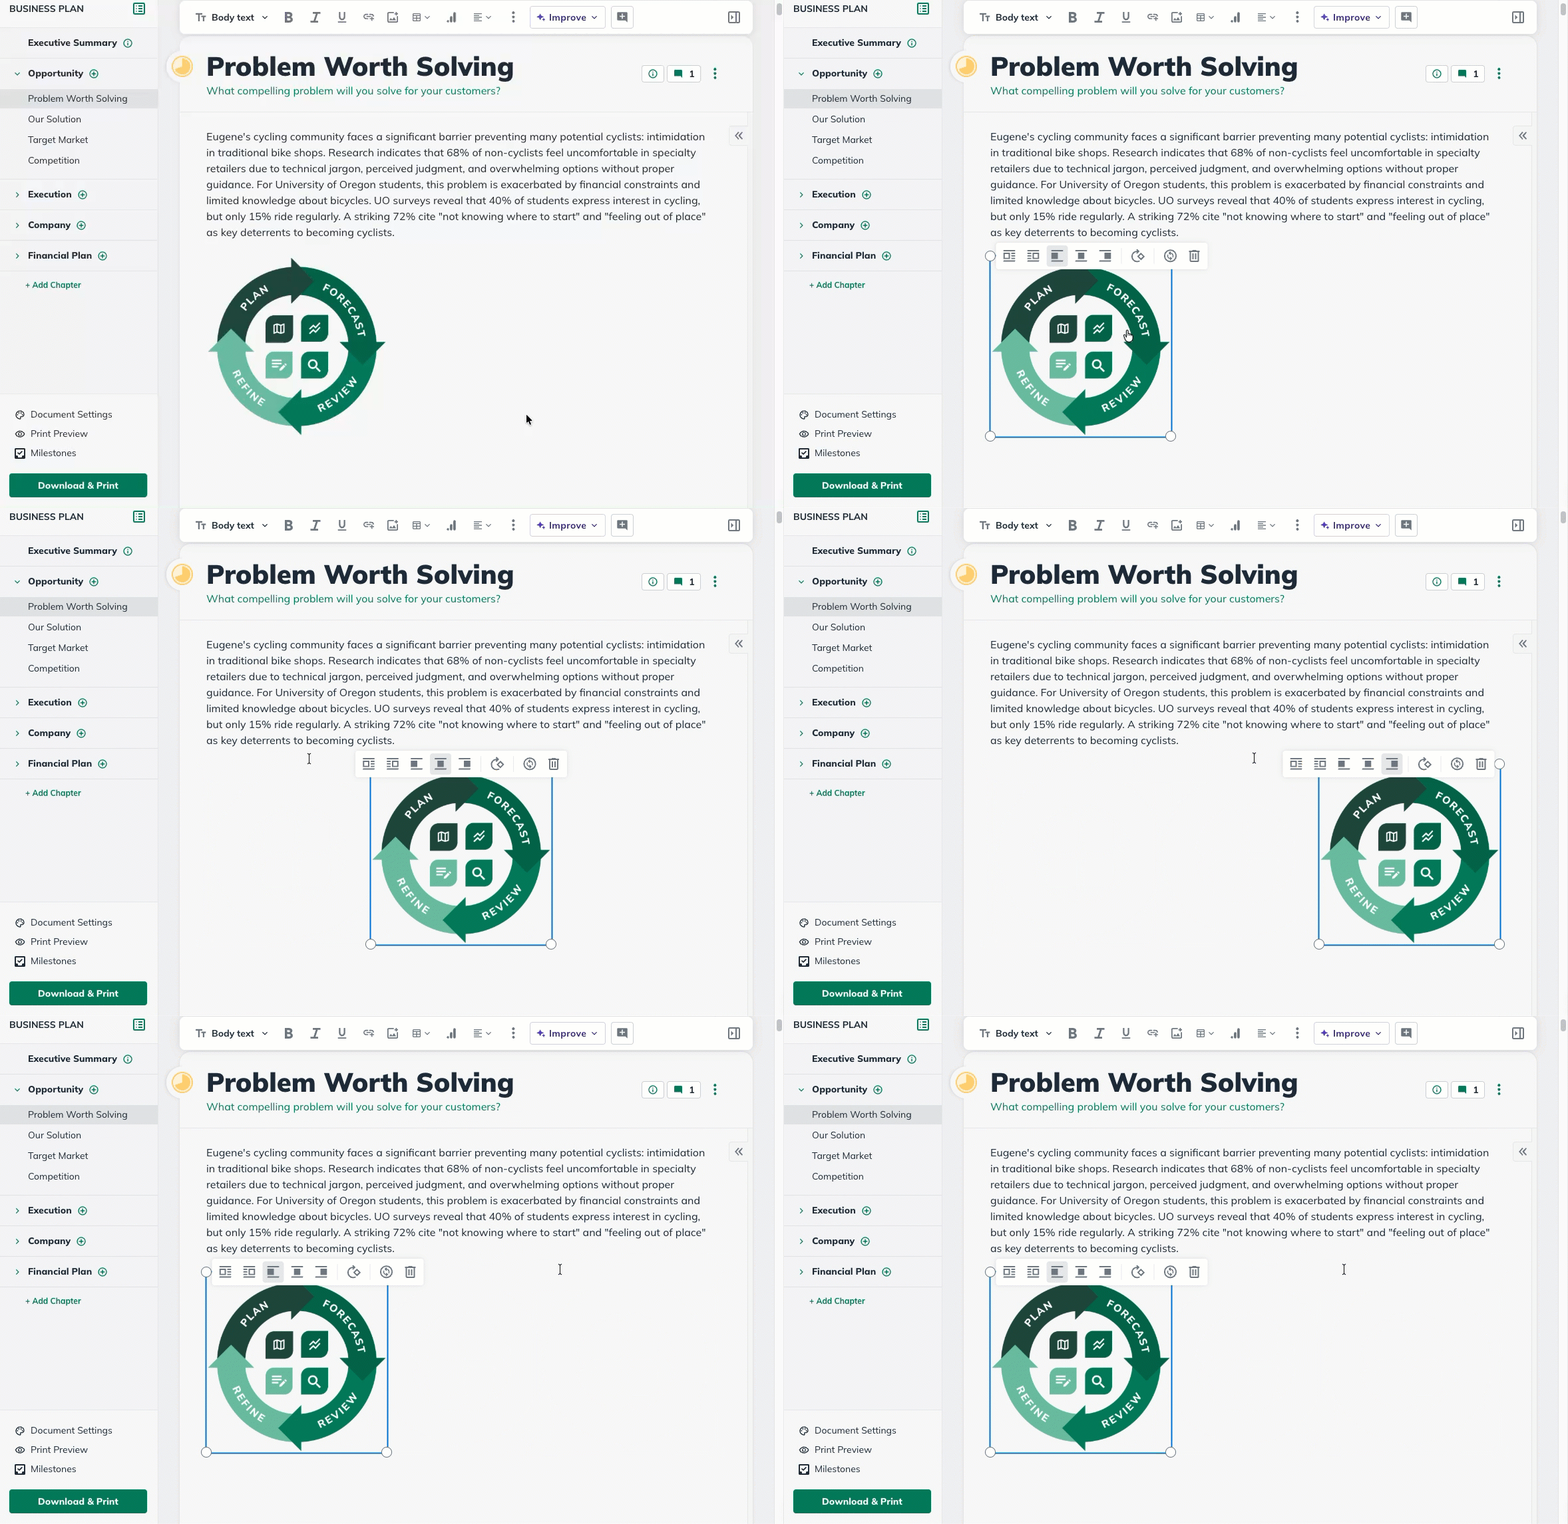
Choose whether you want to align the image to the left, center, or right.
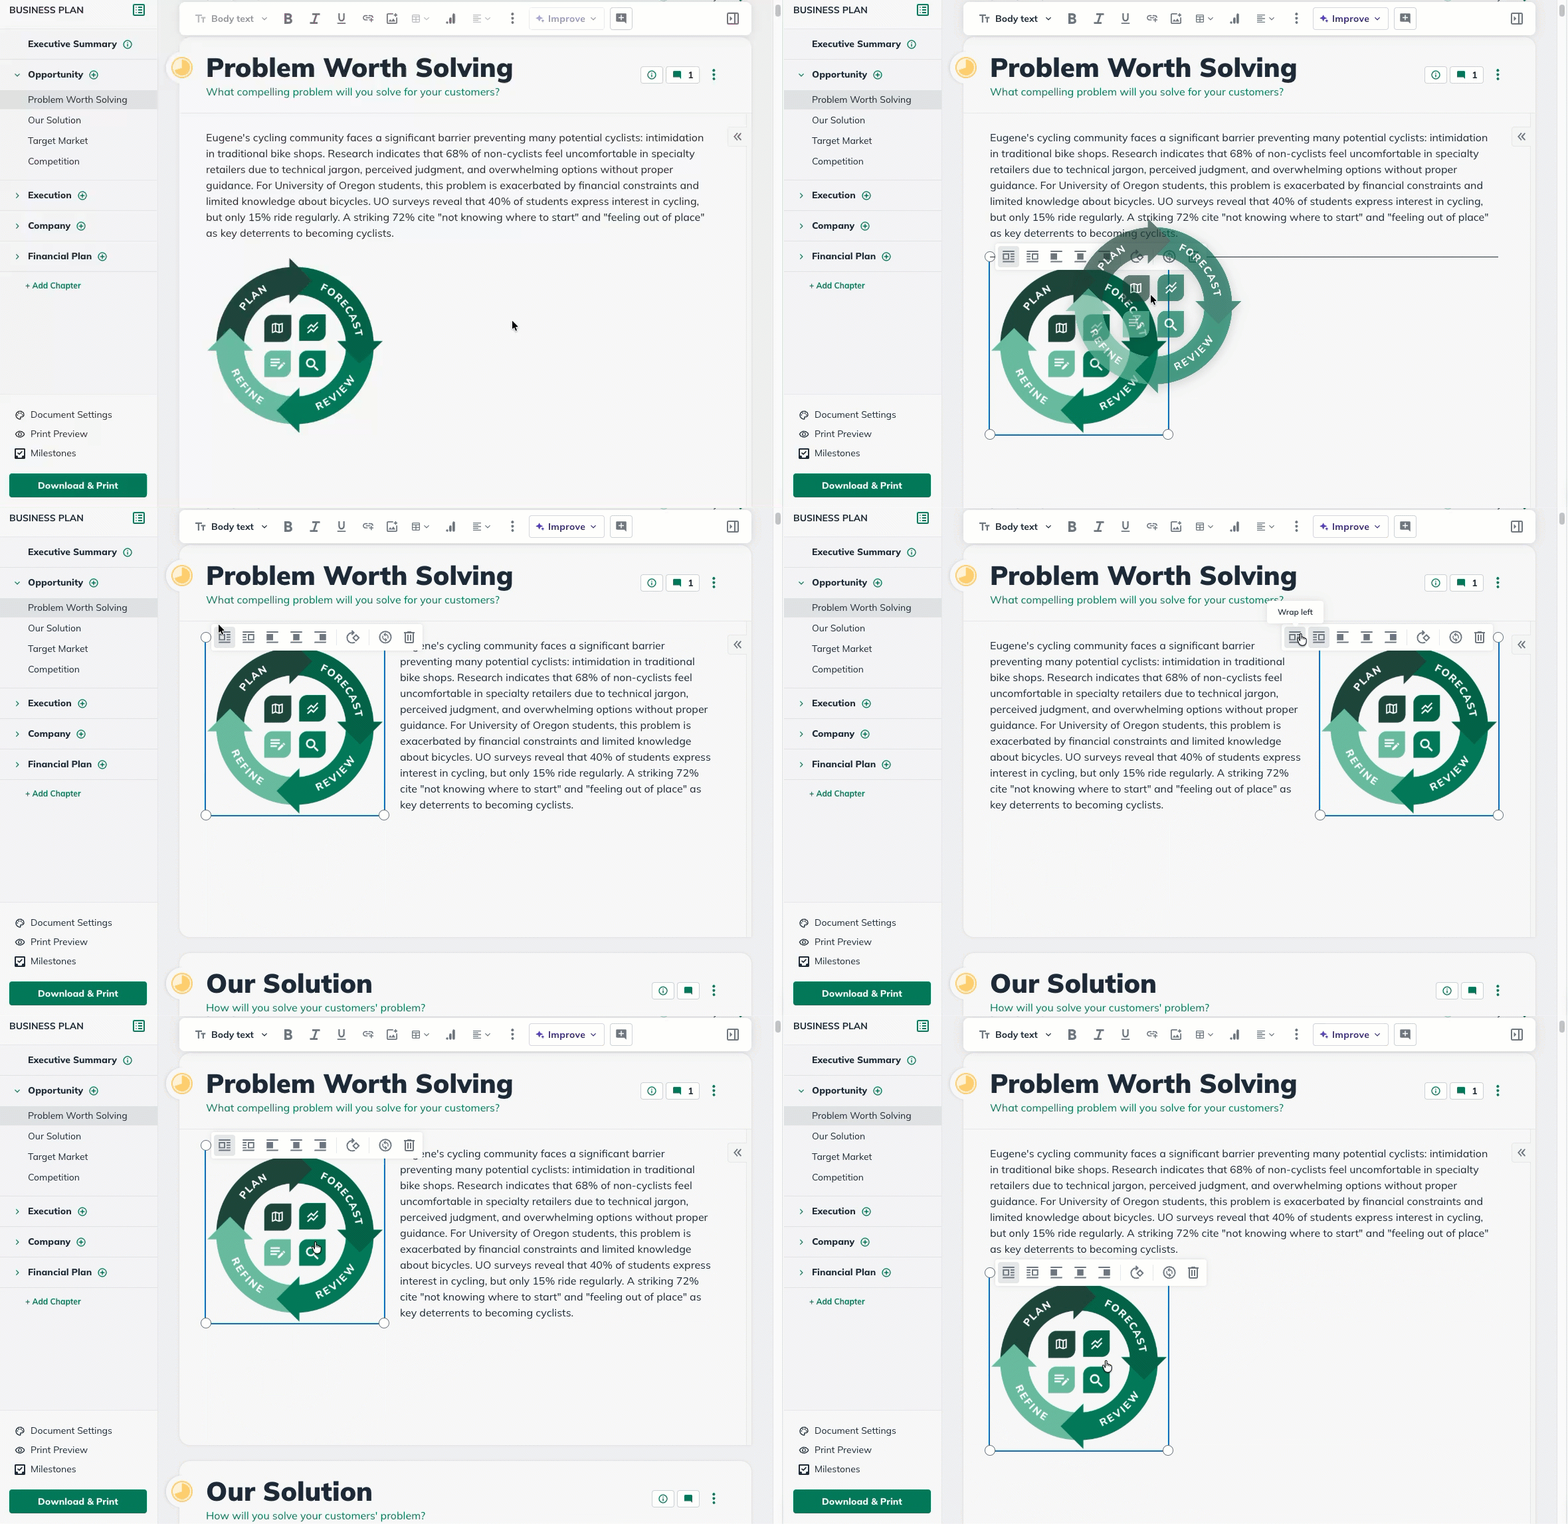
You can also change alignment and text wrapping by dragging the image to a desired location and selecting the text wrapping settings.
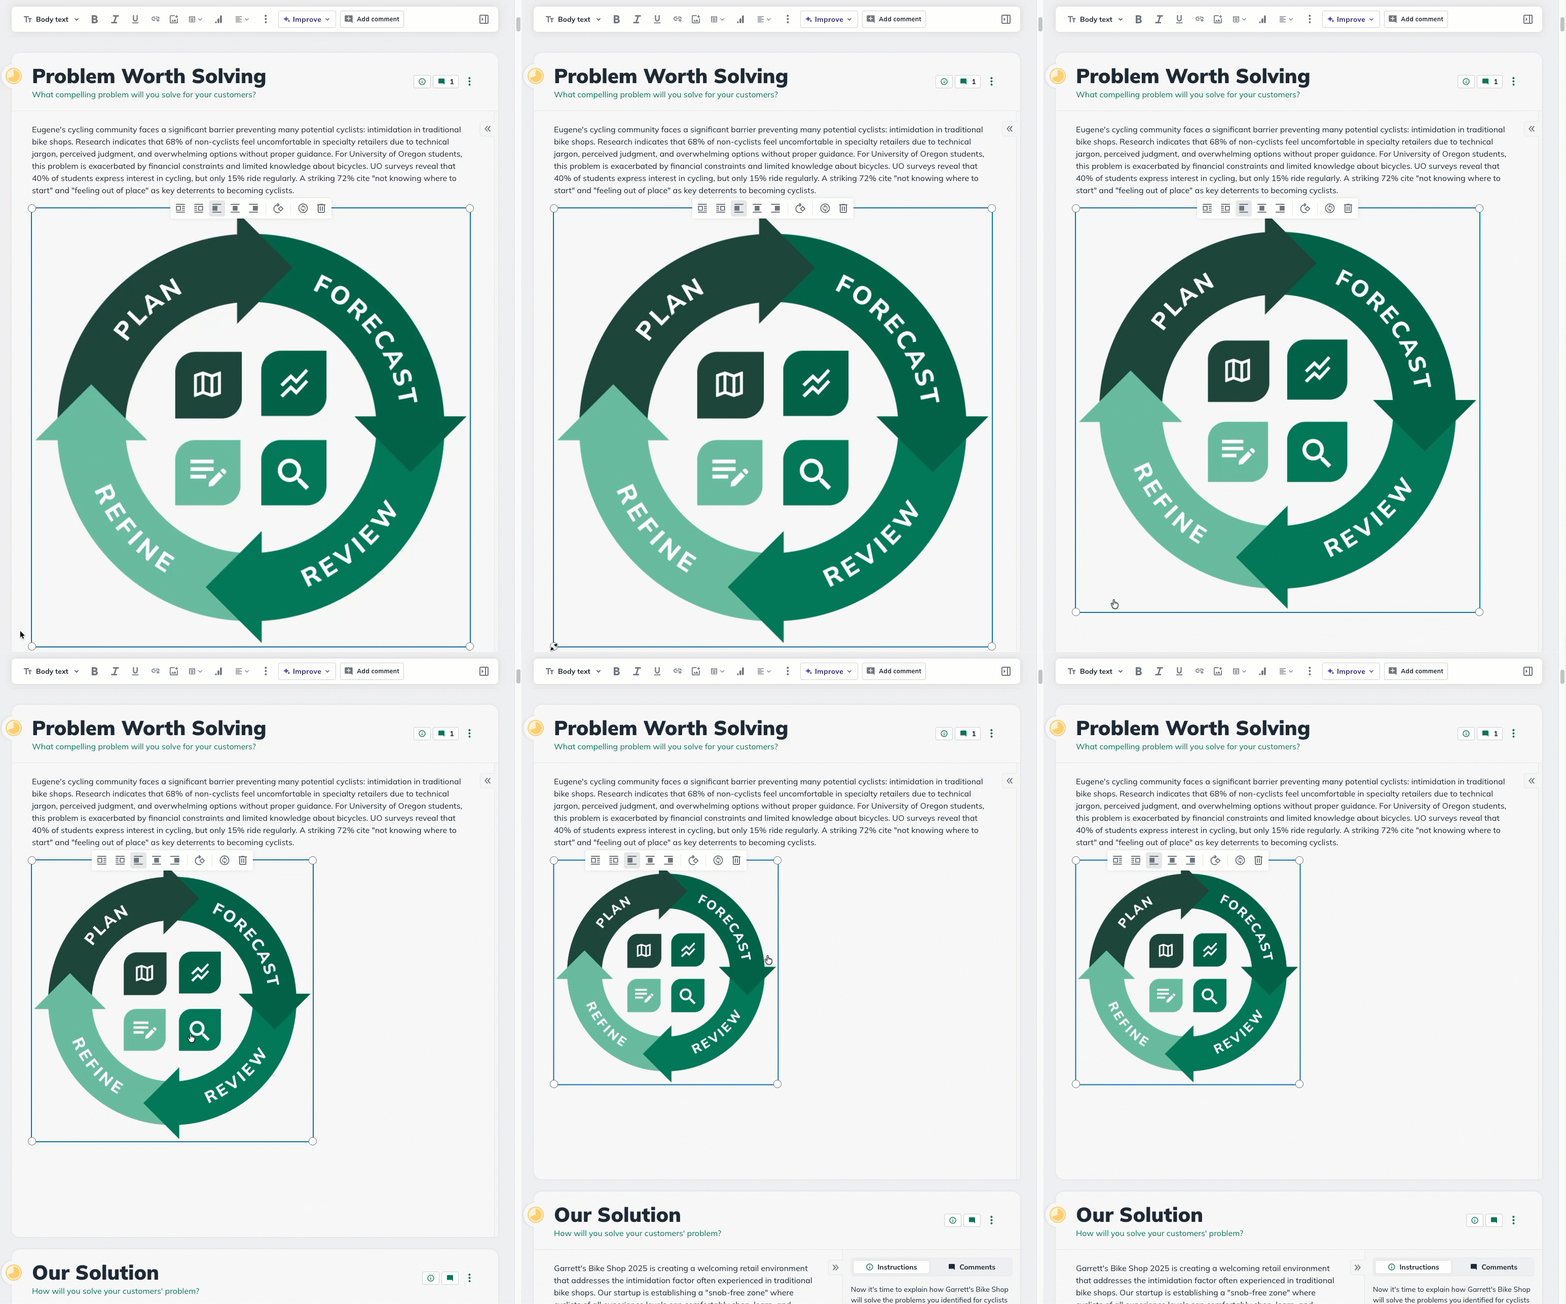
Choose how big you want the image to appear in your plan by using any of the resizing handles located in the corners of any image.
Removing an image
To delete an image in your plan, click on the Plan tab. This will bring you to the Plan Editor.
Select the section with the image you want to delete and you will be automatically brought to that section.
Click on the image to display the editing toolbar.
Select the trashcan icon to delete the image.
