Downloading And Printing
Adding and editing the cover page
When you download your plan, the document does not include a cover page by default. That's because we need to gather more information before preparing the cover page. But it's easy to add a cover page whenever you are ready.
Adding a cover page:
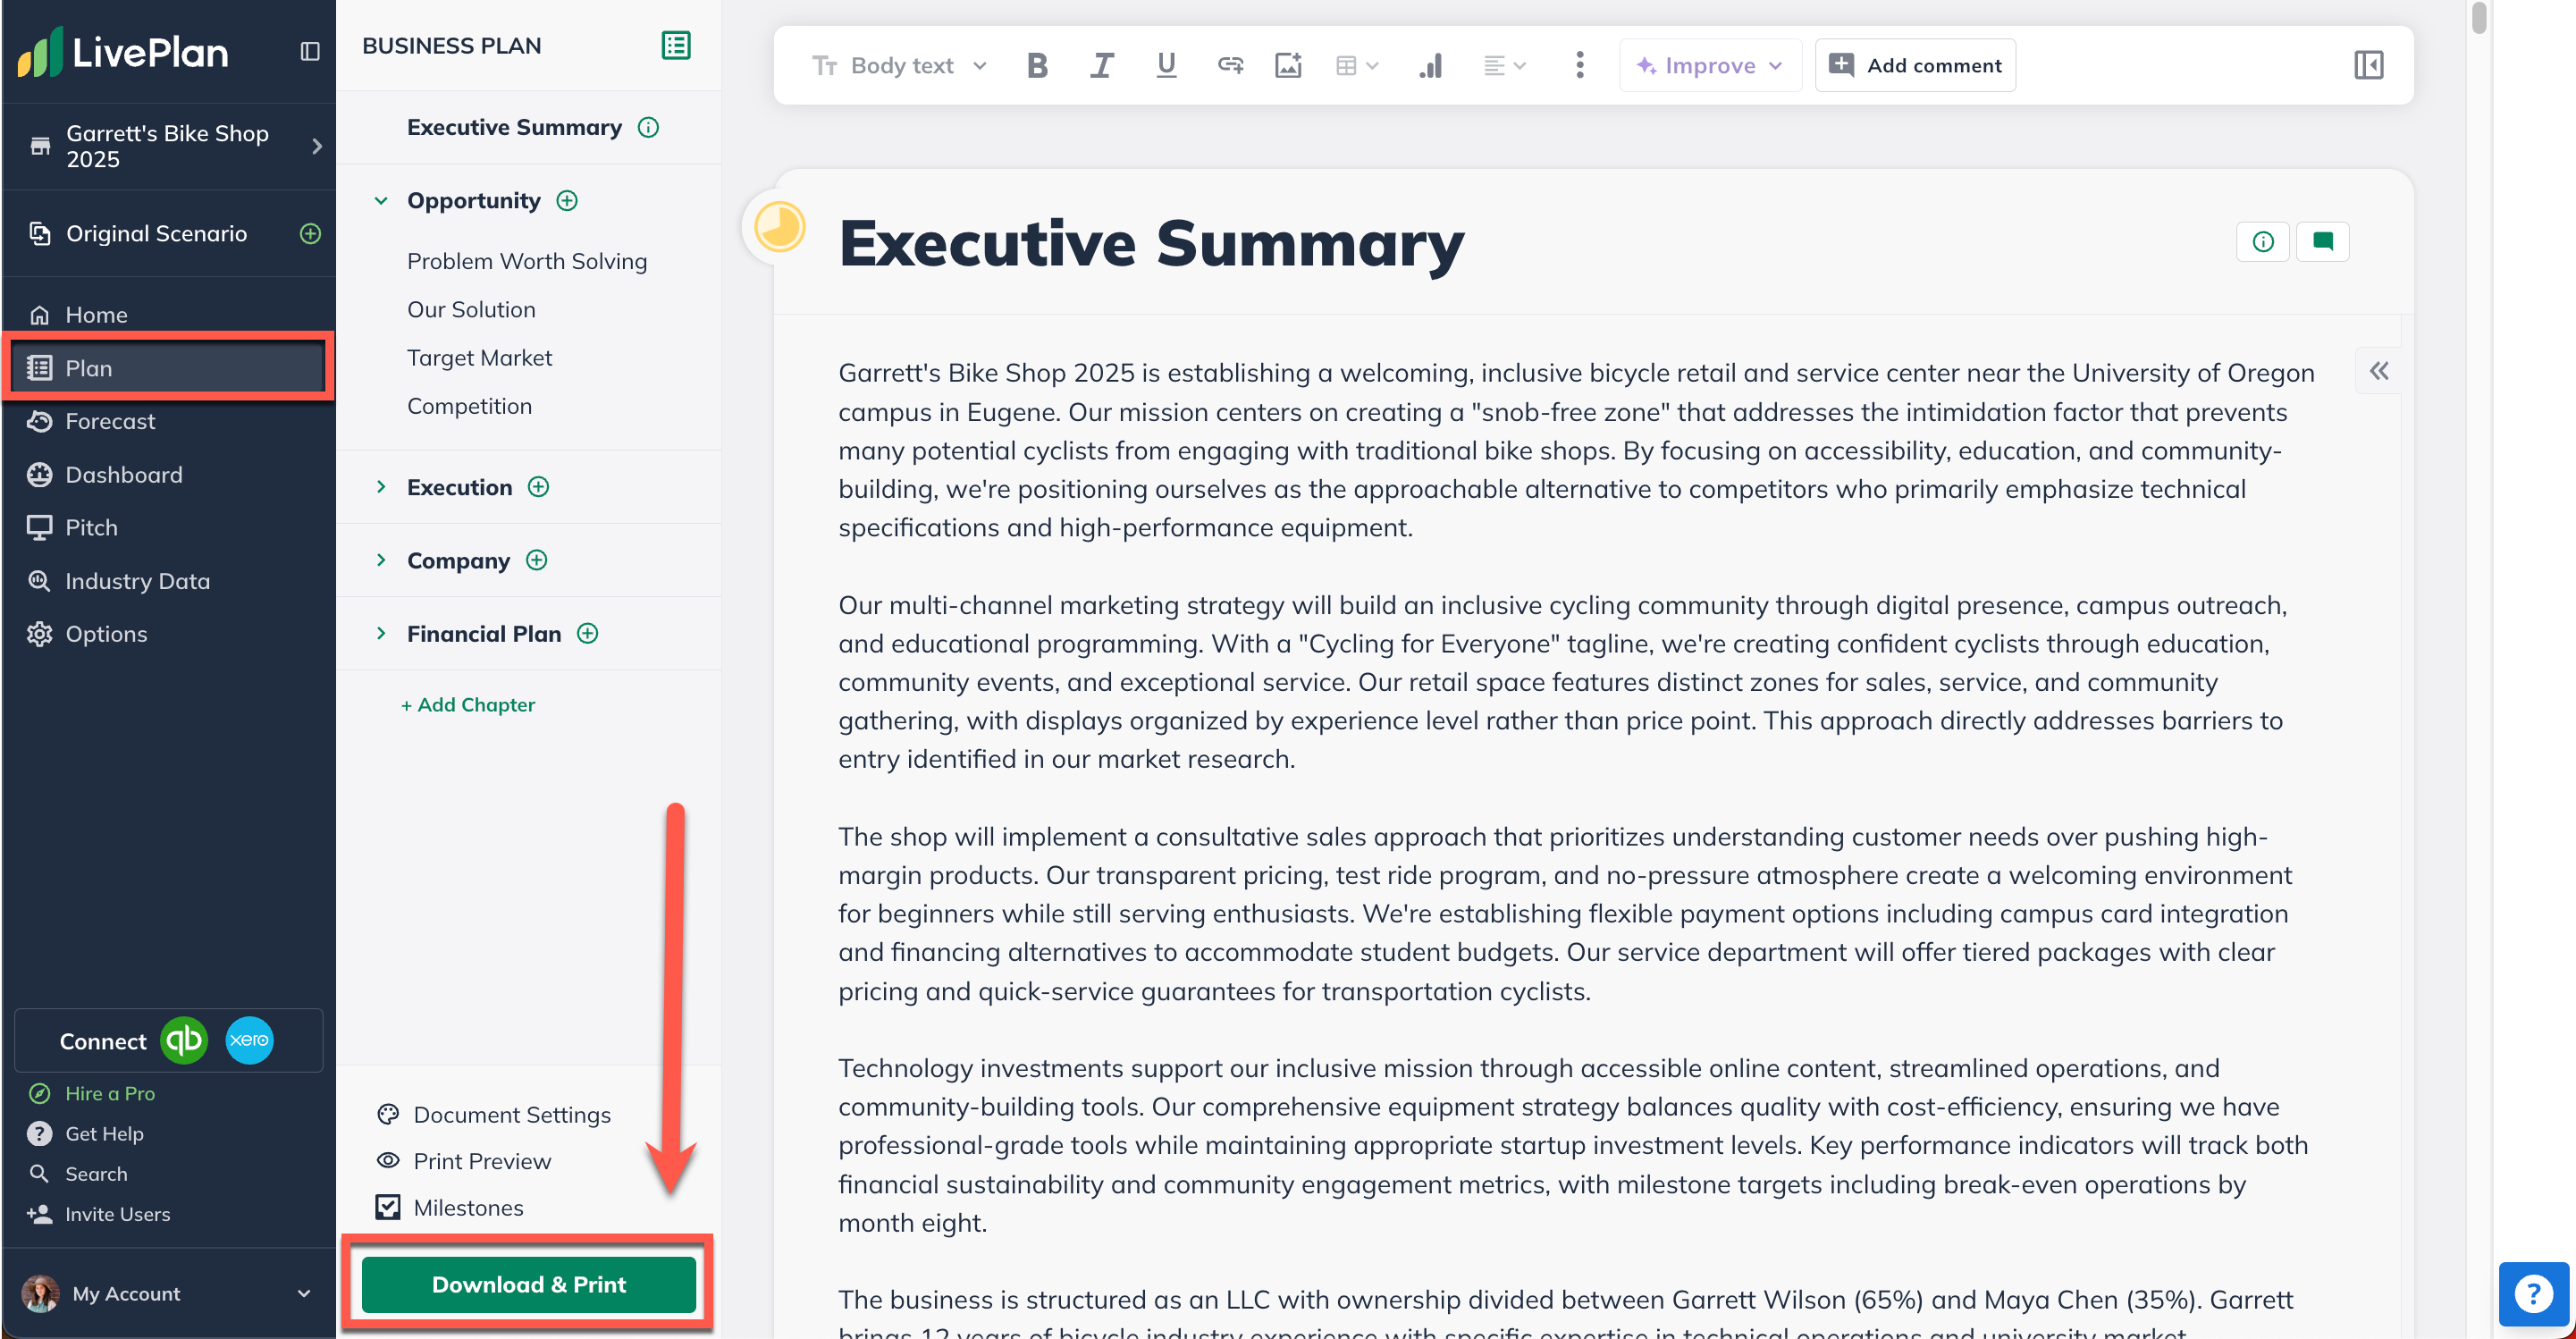
In the Plan section, click the Download & Print button:
From the Document Settings slide out, scroll to the More Settings and make sure the Cover page toggle is set to green:
All of the fields in the Company Info section will display on the cover page when exported or view in Print Preview:
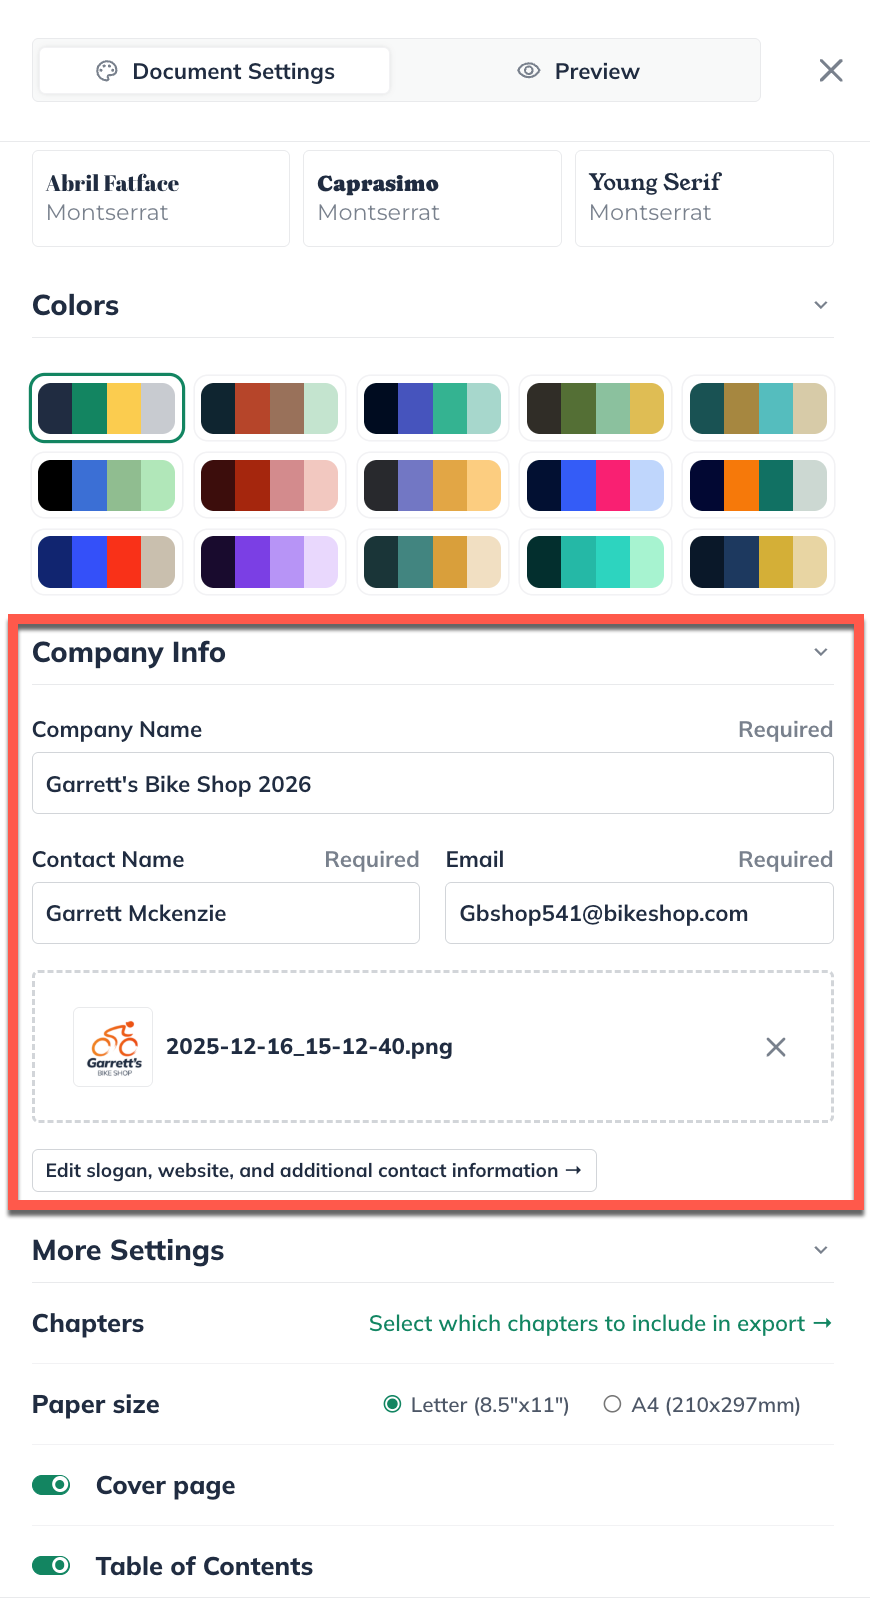
If you want to add a logo to the cover page of your plan, drag an image into the Upload a logo box or click into said box to select an image:
Note: A logo can be added to any combination of templates, fonts, and color schemes.
The logo image here is the specific to the Plan document. If you want the Pitch document to also include the logo, then you'll need to add it in the Pitch.
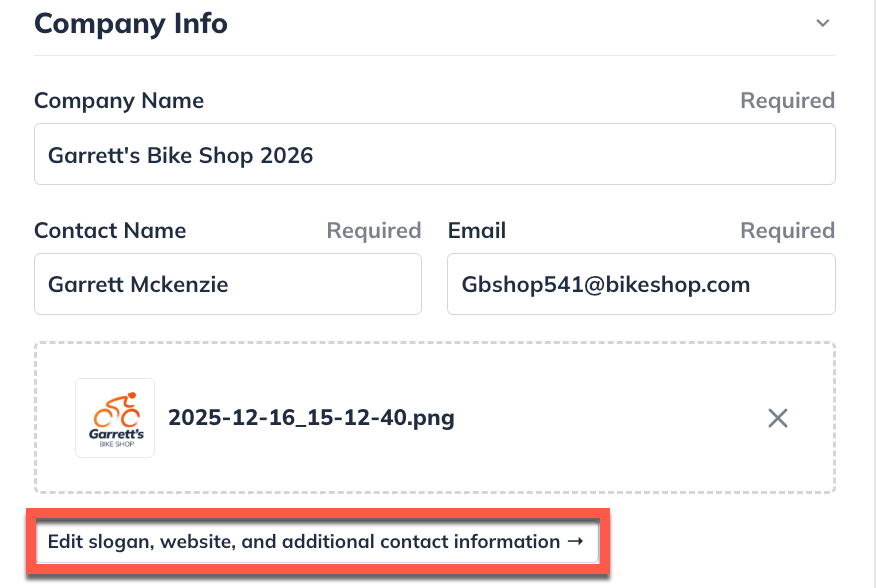
Click on Edit slogan, website, and additional contact information button to include more data to the cover page:
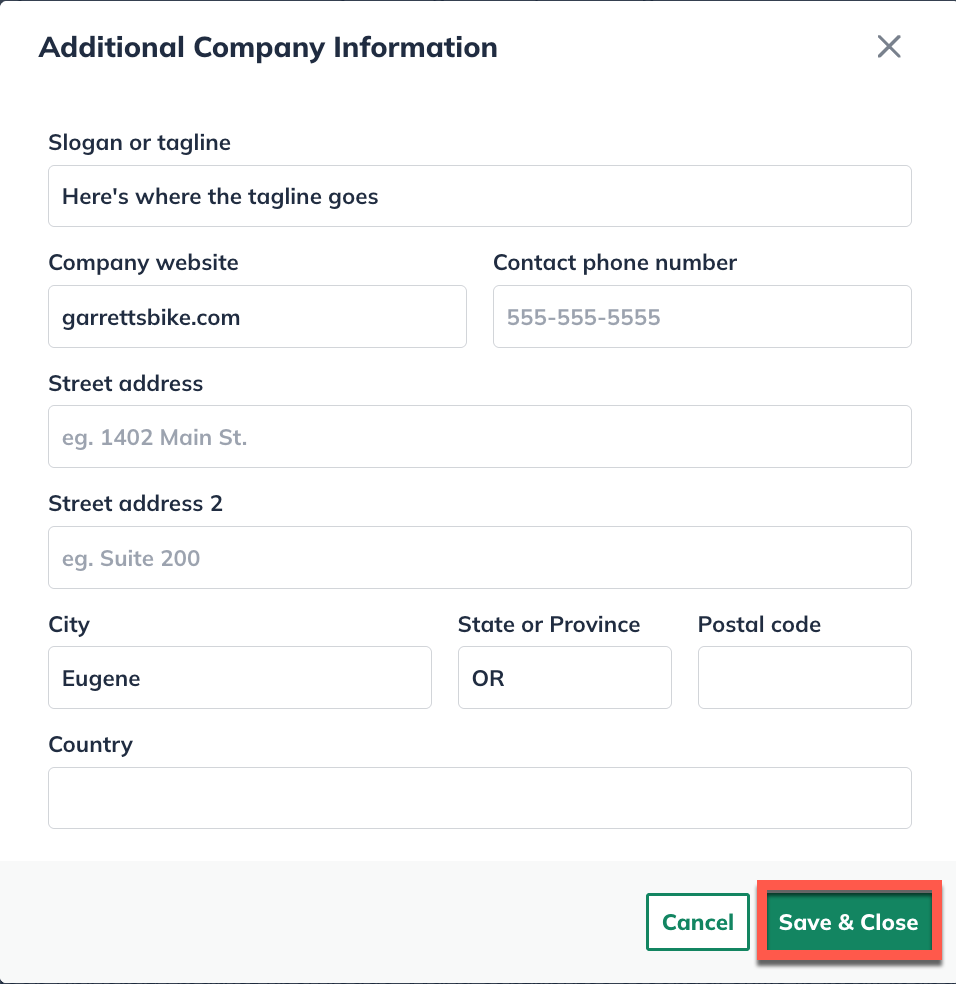
Enter in the data you want into the fields in the pop up window and then click Save & Close:
Editing the cover page:
In the Plan section, click Download & Print:
From the Document Settings slide out, scroll down to the Company Info section. You can then edit the fields in this section and LivePlan will auto save:
Click on Edit slogan, website, and additional contact information button to edit:
Click Save & Close at the bottom of the page once the edits are complete to return to the Document Settings slide out: