
Writing Your Business Plan
How do I add a logo to my Plan?
You can add your logo to both the Idea Canvas and the Plan. Your logo image should be either a .jpg or .png file, no larger than 5MB.
Adding your logo to the Idea Canvas:
Note: These steps will place your logo near the top of your Idea Canvas on the right side of the page. You'd then add a headline to your Idea Canvas to fill the space to the left of your logo.
In the Idea Canvas page, click on the Add a logo box:

This will then allow you to upload a photo from your computer and automatically add it when selected:

Note: You can also drag and drop your logo.

Adding your logo to the Plan:
Note: These steps will place your logo on the cover page of your plan. The logo will fit into a square image area, so markedly horizontal or vertical logos may appear smaller.
In the Plan section, click on the Download & Print icon:
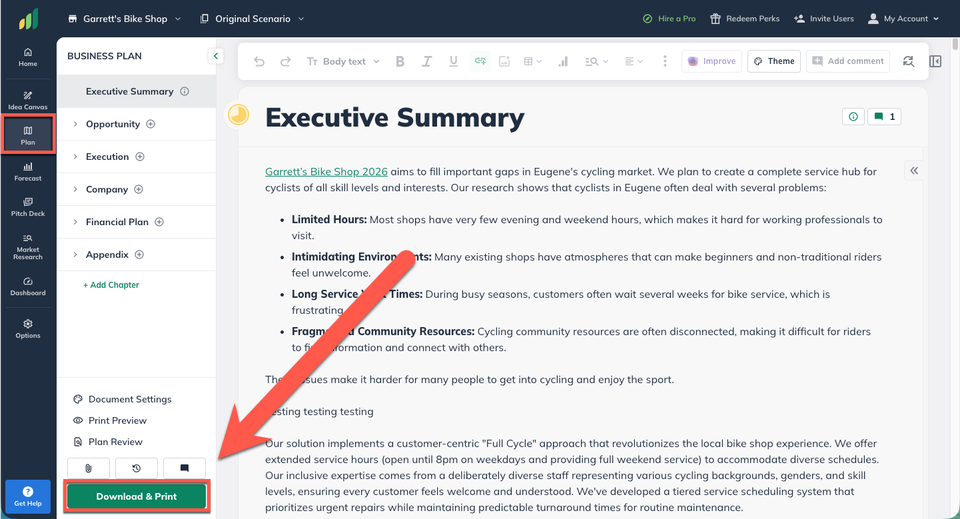
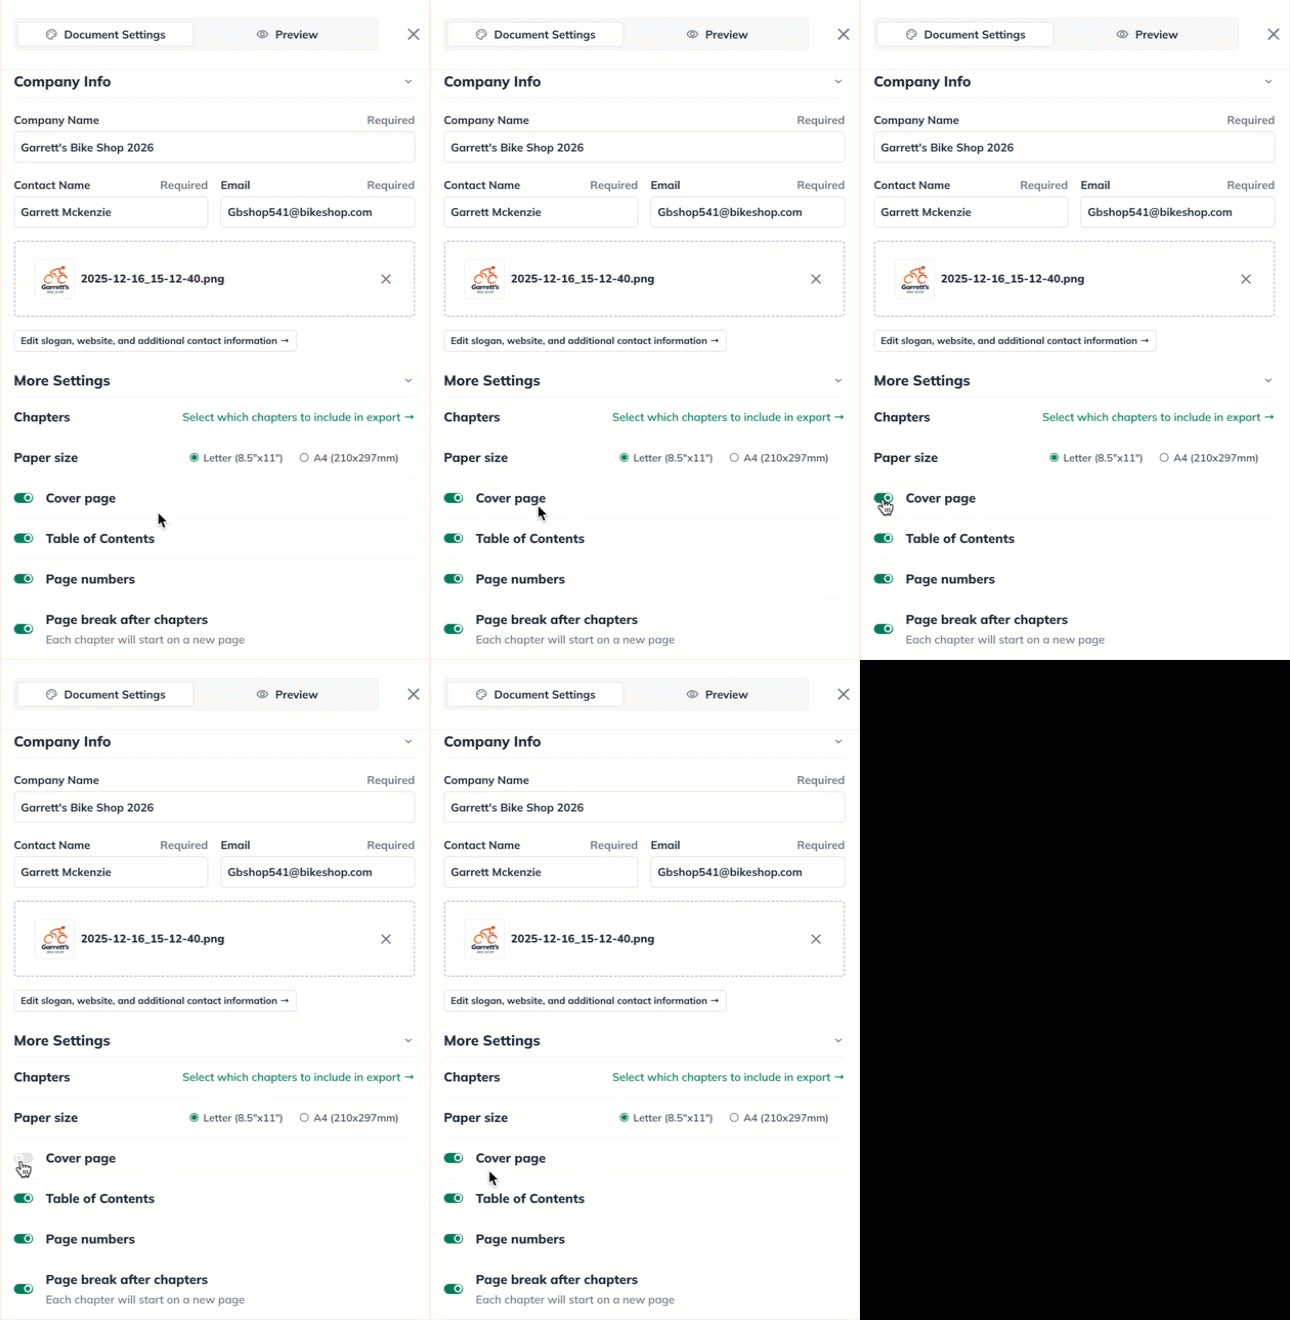
After the Document Settings menu slides out, scroll down to More Settings. You'll want to set the toggle button to green for the Cover Page option to be included in the export.
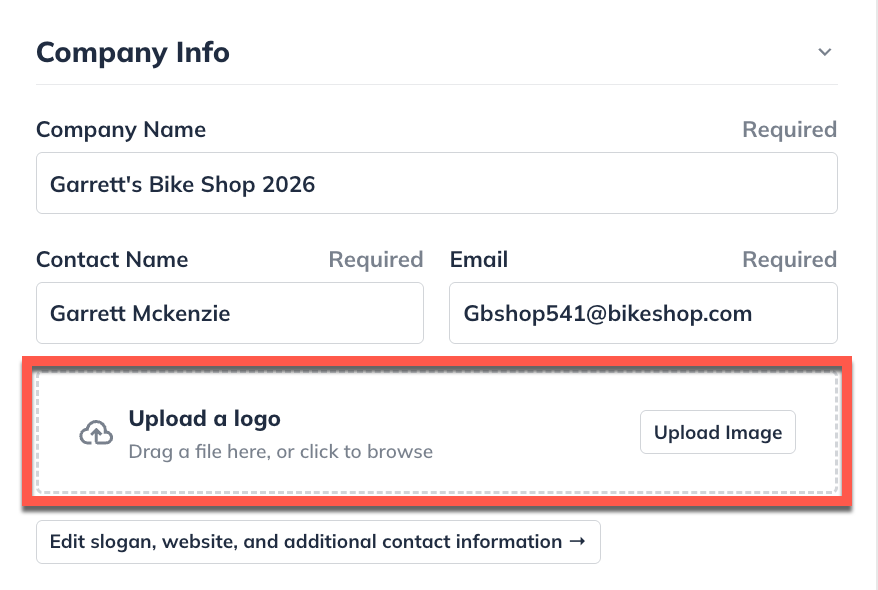
Scroll back up to Company Info and click on the Upload Image button, or drag and drop a logo image to the upload area:
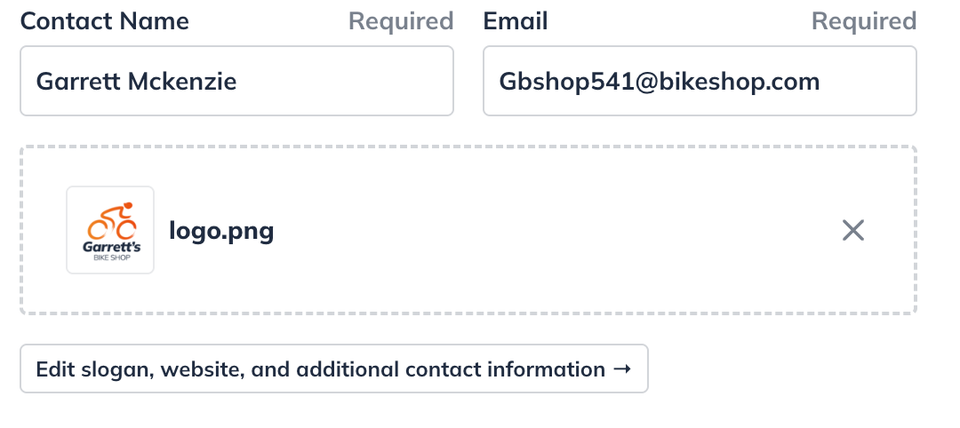
LivePlan will upload the image and automatically save the edit:
Removing your logo from the Idea Canvas or Plan:
The Idea Canvas
In the Idea Canvas section, hover your mouse over your company's logo. You’ll see a Remove button display:

Click the Remove button and it will instantly remove the logo:

The Plan
In the Plan section, click on the Download & Print icon.
After the Document Settings menu slides out, scroll down to the Company Info area:
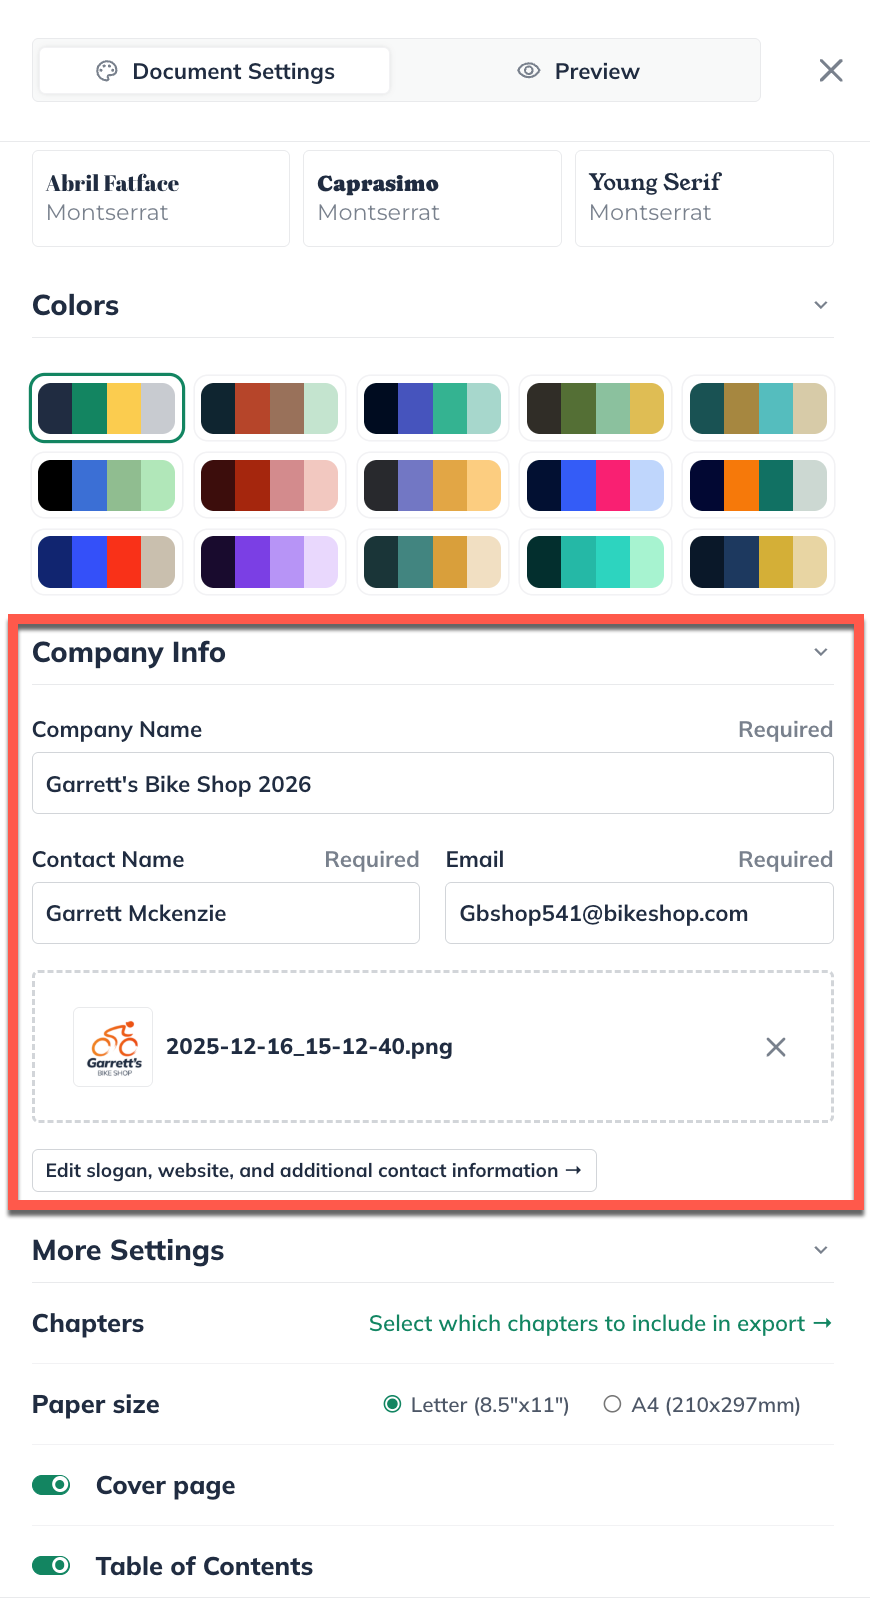
In the logo area, click on the "x" icon and then click Confirm to delete the logo:
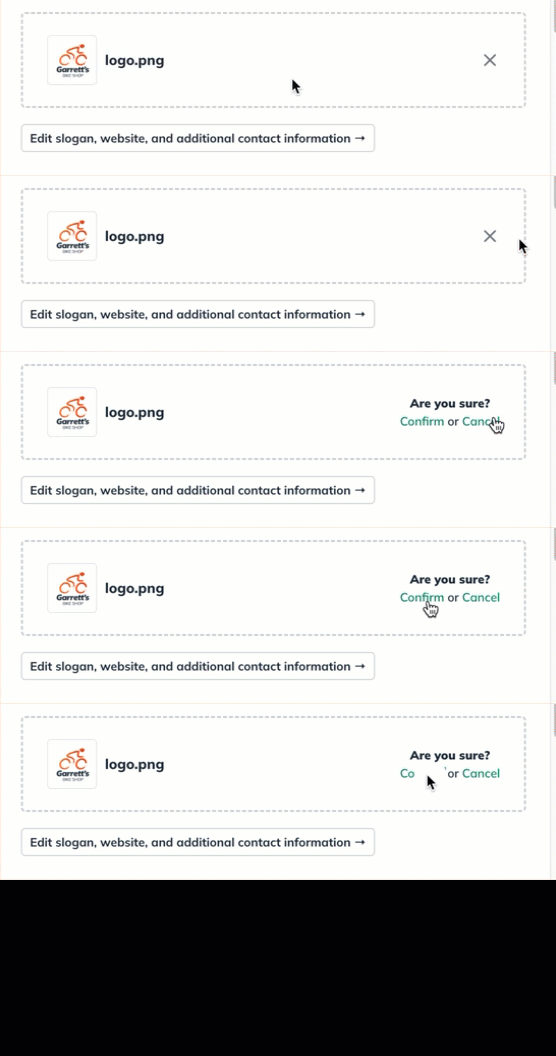
The logo will no longer appear in the Plan export until you decide to upload a logo.