Downloading And Printing
Adding and editing the cover page
When you download your plan, the document does not include a cover page by default. That's because we need to gather more information before preparing the cover page. But it's easy to add a cover page whenever you are ready.
Adding a cover page:
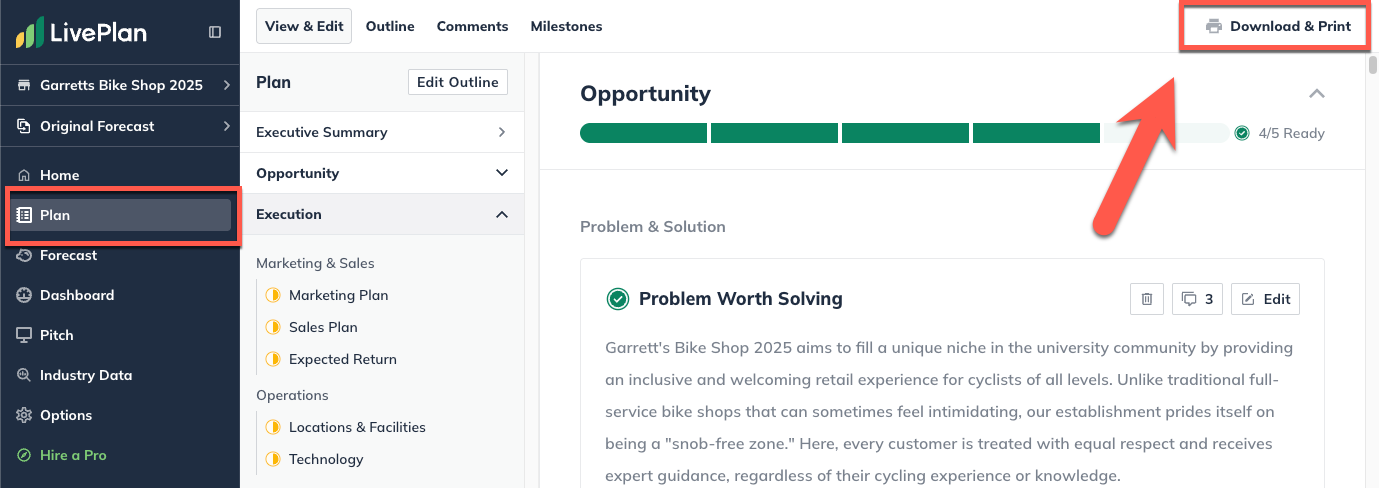
In the Plan section, click the Download & Print button:
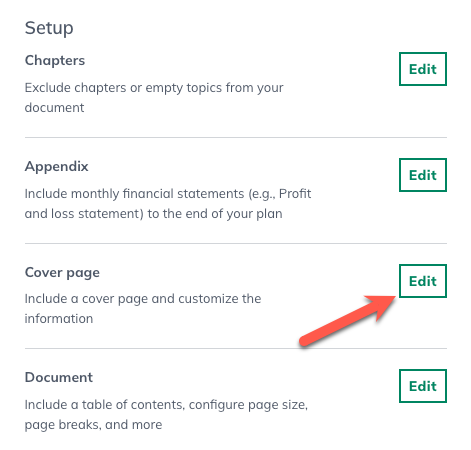
Locate the Setup box in the lower right corner of the page. Next to the Cover Page section, click the Edit button:
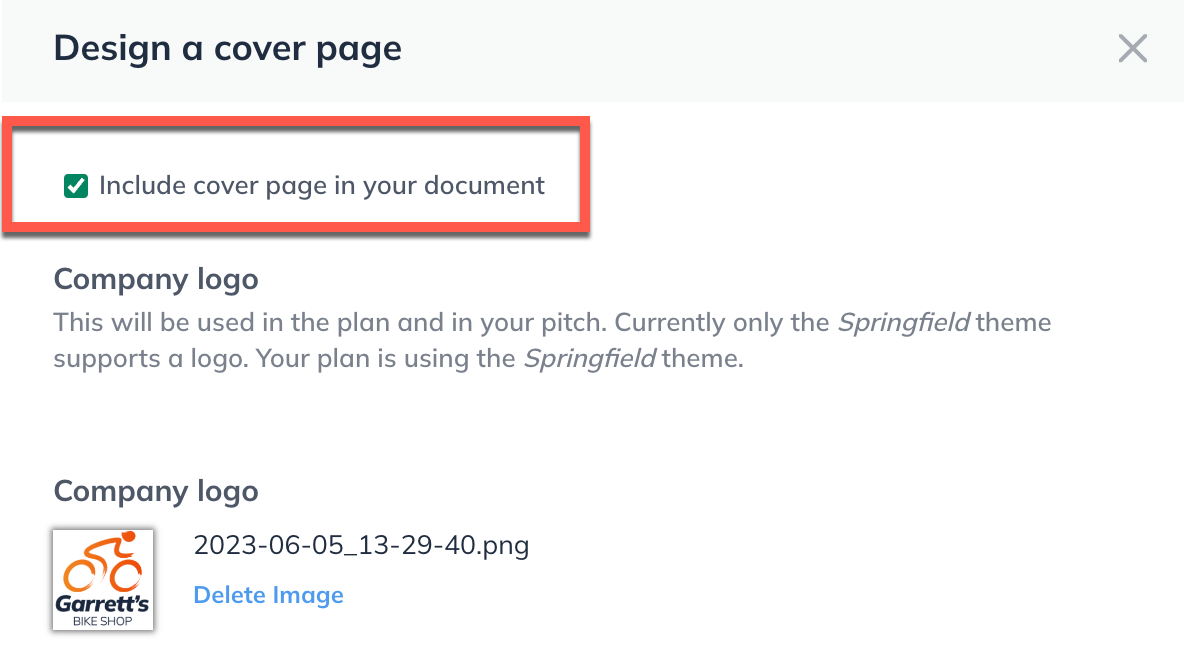
At the top of the overlay that appears, click the check box to include a cover page in your plan document:
If you want to add a logo to the cover page of your plan, click Select an image from your computer or drag and drop an image to the upload area on the overlay:

Important note We will only enable logo upload if your plan is set to the default Springfield theme. If you have changed the theme, be sure to change it back to Springfield.
The logo image here is the same one used for the Pitch company logo. If you have already uploaded a logo in the Pitch, it will appear here (and vice versa).
Complete the rest of the information in the form you would like printed on the cover page.
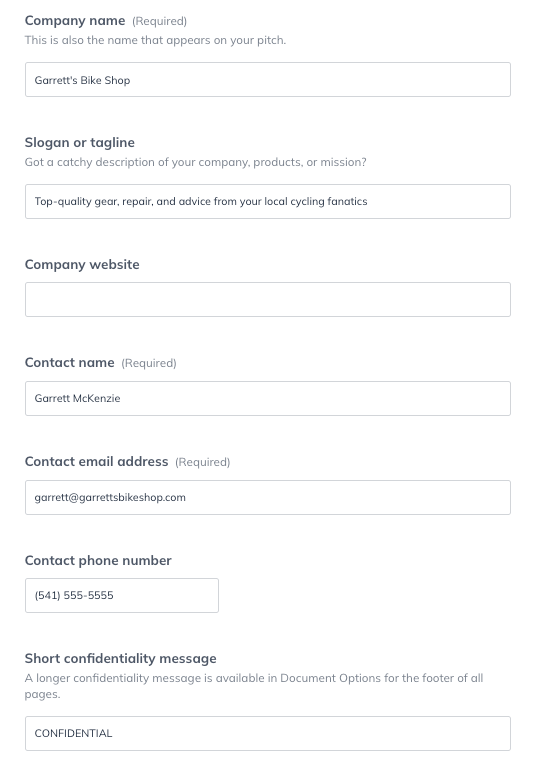
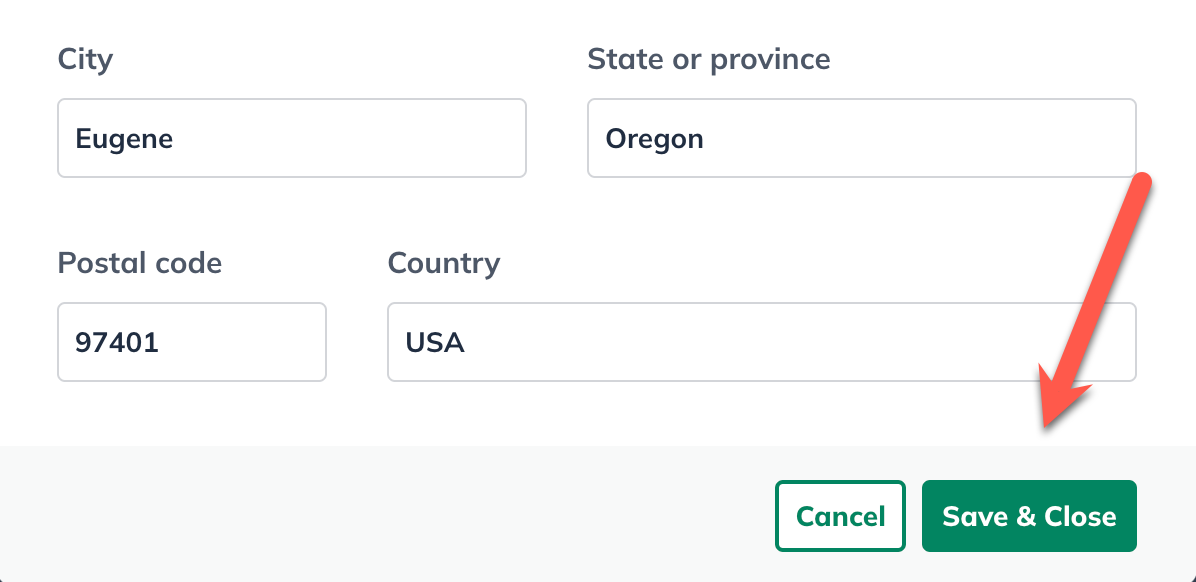
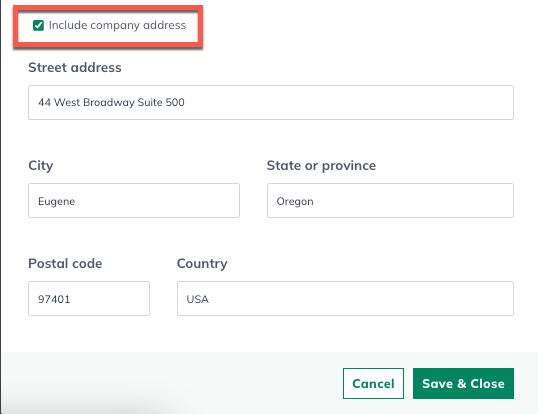
Check Include company address if you wish to add mailing address info for your company. When completed, click Save & Close:
Editing the cover page:
In the Plan section, click Download & Print:

Locate the Setup box in the lower right corner of the page. In the Cover Page section, click the Edit button:

Click Save & Close at the bottom of the page once the edits are complete to return to the Download & Print page:
